905E, 9.1, 9.10 Treadmills
Page 28
this occurs, use the flat-head screwdriver and rubber mallet to force the collar from its mounting
position.
13. Pull the lift jack from the lift column and set it aside.
Note:
If necessary, hammer the lift jack shaft to loosen the lift jack from its mounting position.
14. Remove the old ribbon cable from the ribbon cable channel in the lift column. Pull the ribbon
cable out of the lift column.
Replacing the Ribbon Cable
15. With the treadmill still on its right side, feed the new ribbon cable into the top of the lift
column until only 6–8 inches of cable are hanging out of the top of the lift column. Fold the
top of the ribbon cable over the top edge of the lift column and use the tape to secure the
cable to the side of the lift column that faces the floor.
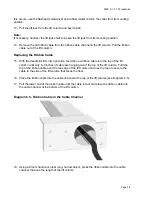
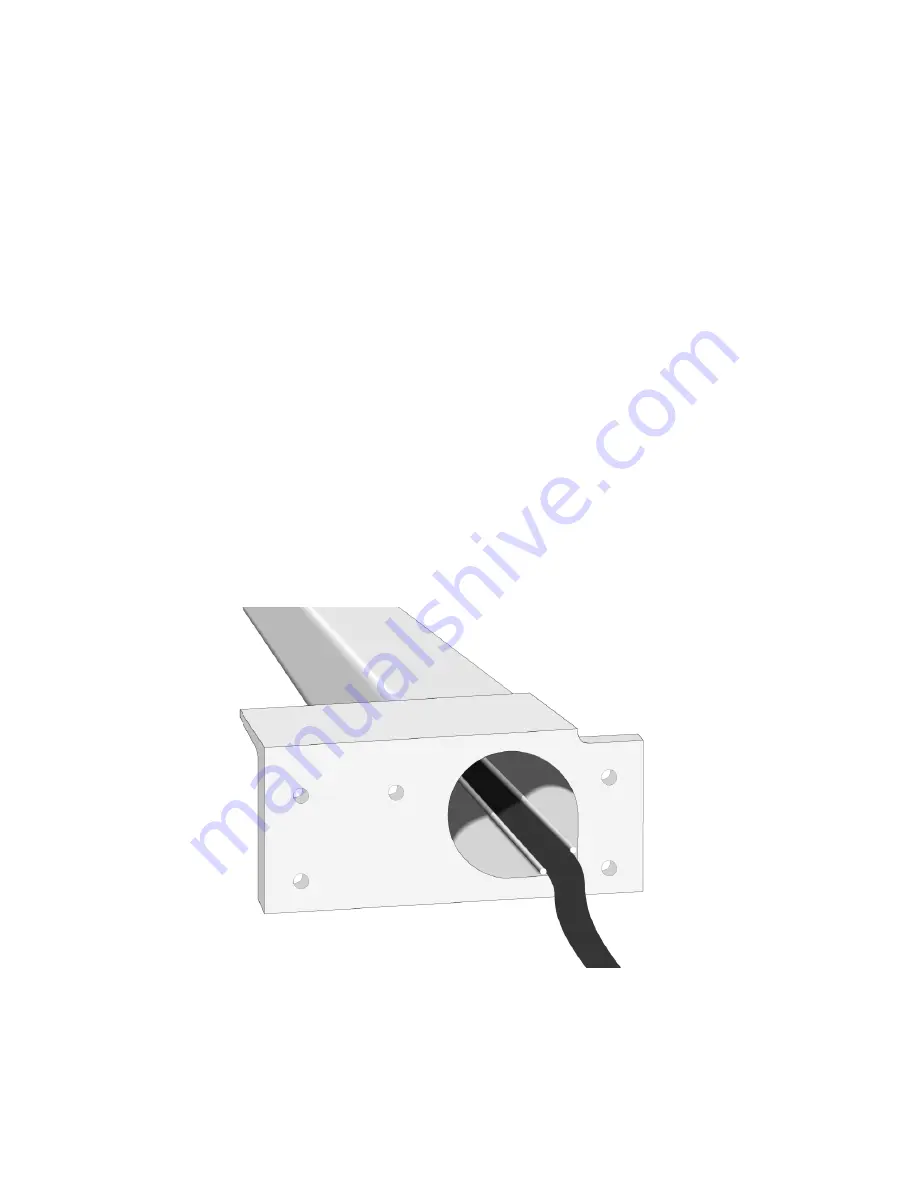
16. Place the ribbon cable into the cable channel at the top of the lift column (see Diagram 6.5).
17. Pull the lower end of the ribbon cable until the cable is taut and place the ribbon cable into
the cable channel at the bottom of the lift column.
Diagram 6.5 - Ribbon Cable in the Cable Channel
18. Using a broom handle or other long, narrow object, press the ribbon cable into the cable
channel that runs the length of the lift column.
Summary of Contents for 9.10
Page 5: ...905E 9 1 9 10 Treadmills Page 5 9 1 Electronic Console 9 10 Electronic Console...
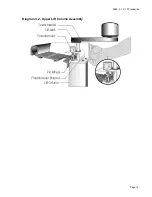
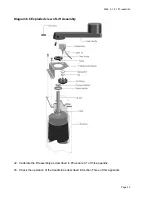
Page 15: ...905E 9 1 9 10 Treadmills Page 15 Diagram 4 2 Upper Lift Column Assembly...
Page 44: ...905E 9 1 9 10 Treadmills Page 44 Diagram 7 1 Wiring Diagram 905e 9 1 9 10...
Page 45: ...905E 9 1 9 10 Treadmills Page 45 Diagram 7 2 Block Diagram 905e 9 1 9 10 Treadmills...

