9.45, 9.45i Treadmill
Page 16
Section Three
- Checking Treadmill Operation
This section provides you with a quick method of checking treadmill operation. Check treadmill
operation at the end of a maintenance procedure and when it is necessary to ensure that the
treadmill is operating properly.
Procedure
1.
Plug the power cord into the wall outlet, then turn on the treadmill with the circuit breaker.
2.
Place the treadmill in Manual Mode. Adjust the speed of the running belt to 2–3 mph
Operate the treadmill for at least 5 minutes.
a
Concentrate on the feel of the running belt and the sound of the drive motor and rollers.
Be on the alert for unusual noises, smells, or vibrations.
b.
Measure and log the AC input current under loaded and unloaded conditions.
c
Observe the LEDs on the electronic console. Make sure that each LED lights as the
information corresponding to that LED is displayed on the electronic console.
d
Measure and note the AC input current at 3 MPH eith the treadmil unloaded and at 3
MPH with the treadmill loaded. Be sure to note the weight of the user on the loaded
current rreading.
e
Measure and note the AC (ripple) voltage at the drive motor capacitor at 3 MPH with the
treadmill loaded and unloaded
3.
Press the
STOP
key. When the treadmill comes to a stop, view the electronic console as the
treadmill scans time, speed, distance and percent.
4.
Press the
INCLINE
▲
key while viewing the electronic console. Confirm that the running
bed inclines and the incline display increments to twelve percent as the
INCLINE
▲
key is
pressed.
5.
Press the
INCLINE
▼
key while viewing the electronic console. Confirm that the running bed
returns to a level position and the incline display decrements to minus two percent as the
INCLINE
▼
key is pressed.
6.
Turn off the treadmill with the circuit breaker, then unplug the treadmill from the wall outlet.
Summary of Contents for 9.45
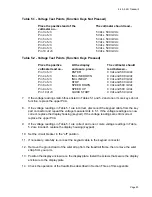
Page 55: ...9 45 9 45i Treadmill Page 55 Wiring Diagram 7 1 9 45 1L Unit...
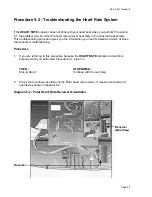
Page 56: ...9 45 9 45i Treadmill Page 56 Block Diagram 7 2 9 45 1L Units...
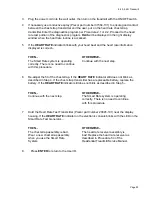
Page 57: ...9 45 9 45i Treadmill Page 57 Wiring Diagram 7 3 9 45 2P 3Y Units...
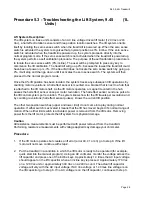
Page 58: ...9 45 9 45i Treadmill Page 58 Block Diagram 7 4 9 45 2P 3Y Units...

