9.45, 9.45i Treadmill
Page 37
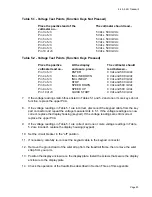
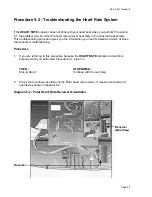
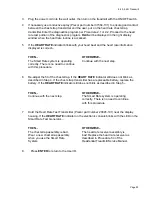
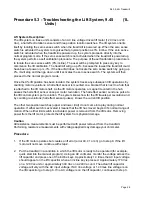
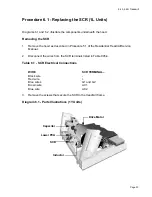
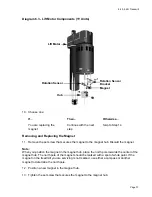
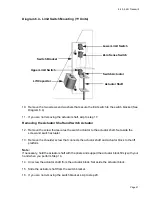
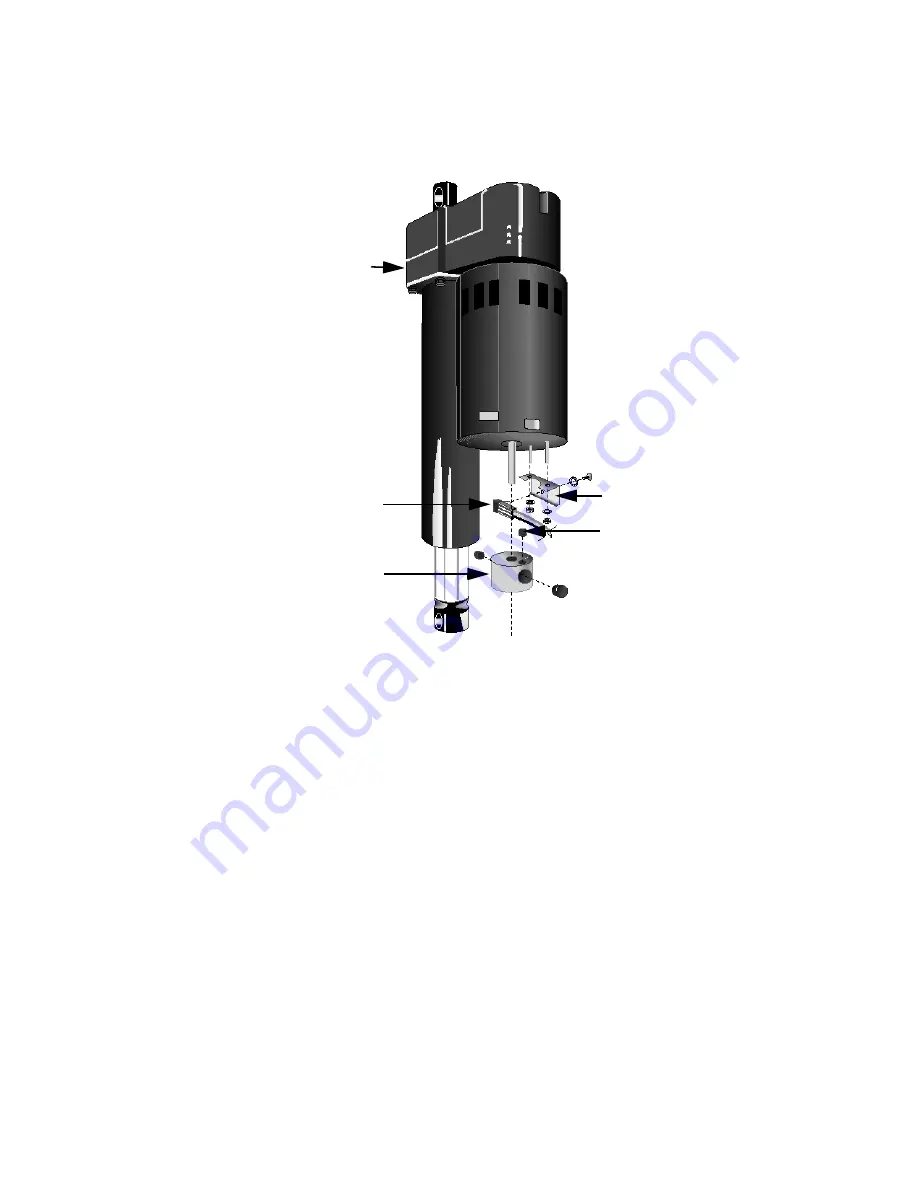
Diagram 6.3 - Lift Motor Components (1Y Units)
10. Choose one:
If...
Then...
Otherwise...
You are replacing the
Continue with the next
Skip to Step 14
magnet
step
Removing and Replacing the Magnet
11. Remove the set screw that secures the magnet to the magnet hub. Discard the magnet.
Note:
When you position the magnet in the magnet hub, place the north pole towards the center of the
magnet hub. The north pole of the magnet should be marked with a spot of white paint. If the
magnet on the treadmill you are servicing is not marked, use either a compass or another
magnet to determine the north pole.
12. Position a new magnet in the magnet hub.
13. Tighten the set screw that secures the magnet to the magnet hub.
Lift Motor
Rotation Sensor
Bracket
Magnet
Rotation Sensor
Hub
Summary of Contents for 9.45
Page 55: ...9 45 9 45i Treadmill Page 55 Wiring Diagram 7 1 9 45 1L Unit...
Page 56: ...9 45 9 45i Treadmill Page 56 Block Diagram 7 2 9 45 1L Units...
Page 57: ...9 45 9 45i Treadmill Page 57 Wiring Diagram 7 3 9 45 2P 3Y Units...
Page 58: ...9 45 9 45i Treadmill Page 58 Block Diagram 7 4 9 45 2P 3Y Units...

