9.45, 9.45i Treadmill
Page 53
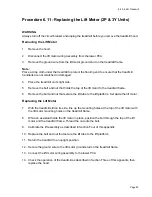
Procedure 6.11 - Replacing the Lift Motor (2P & 3Y Units)
WARNING
Always turn off the circuit breaker and unplug the treadmill before you remove the treadmill hood.
Removing the Lift Motor
1.
Remove the hood.
2.
Disconnect the lift motor wiring assembly from the lower PCA.
3.
Remove the ground wire from the lift motor ground stud on the treadmill frame.
Note:
Place a drop cloth under the treadmill to protect the flooring and to ensure that the treadmill
handrails are not scratched or damaged.
4.
Place the treadmill on its right side.
5.
Remove the bolt and nut that holds the top of the lift motor to the treadmill frame.
6.
Remove the bolt and nut that secure the lift tube to the lift platform. Set aside the lift motor.
Replacing the Lift Motor
7.
With the treadmill still on its side, line up the mounting holes at the top of the lift motor with
the lift motor mounting holes on the treadmill frame.
8.
While an assistant holds the lift motor in place, position the bolt through the top of the lift
motor and the treadmill frame. Thread the nut onto the bolt.
9.
Calibrate the lift assembly as described in Section Four of this appendix.
10. Replace the bolt and nut that secure the lift tube to the lift platform.
11. Return the treadmill to an upright position.
12. Secure the ground wire to the lift motor ground stud on the treadmill frame.
13. Connect the lift motor wiring assembly to the lower PCA.
14. Check the operation of the treadmill as described in Section Three of this appendix, then
replace the hood.
Summary of Contents for 9.45
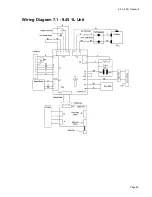
Page 55: ...9 45 9 45i Treadmill Page 55 Wiring Diagram 7 1 9 45 1L Unit...
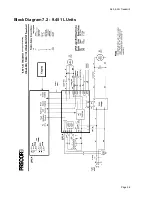
Page 56: ...9 45 9 45i Treadmill Page 56 Block Diagram 7 2 9 45 1L Units...
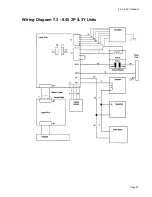
Page 57: ...9 45 9 45i Treadmill Page 57 Wiring Diagram 7 3 9 45 2P 3Y Units...
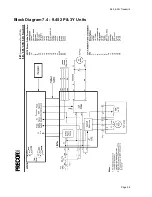
Page 58: ...9 45 9 45i Treadmill Page 58 Block Diagram 7 4 9 45 2P 3Y Units...

