Assembling the Equipment
7
3.
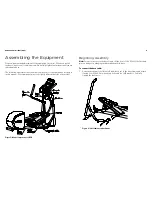
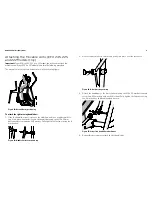
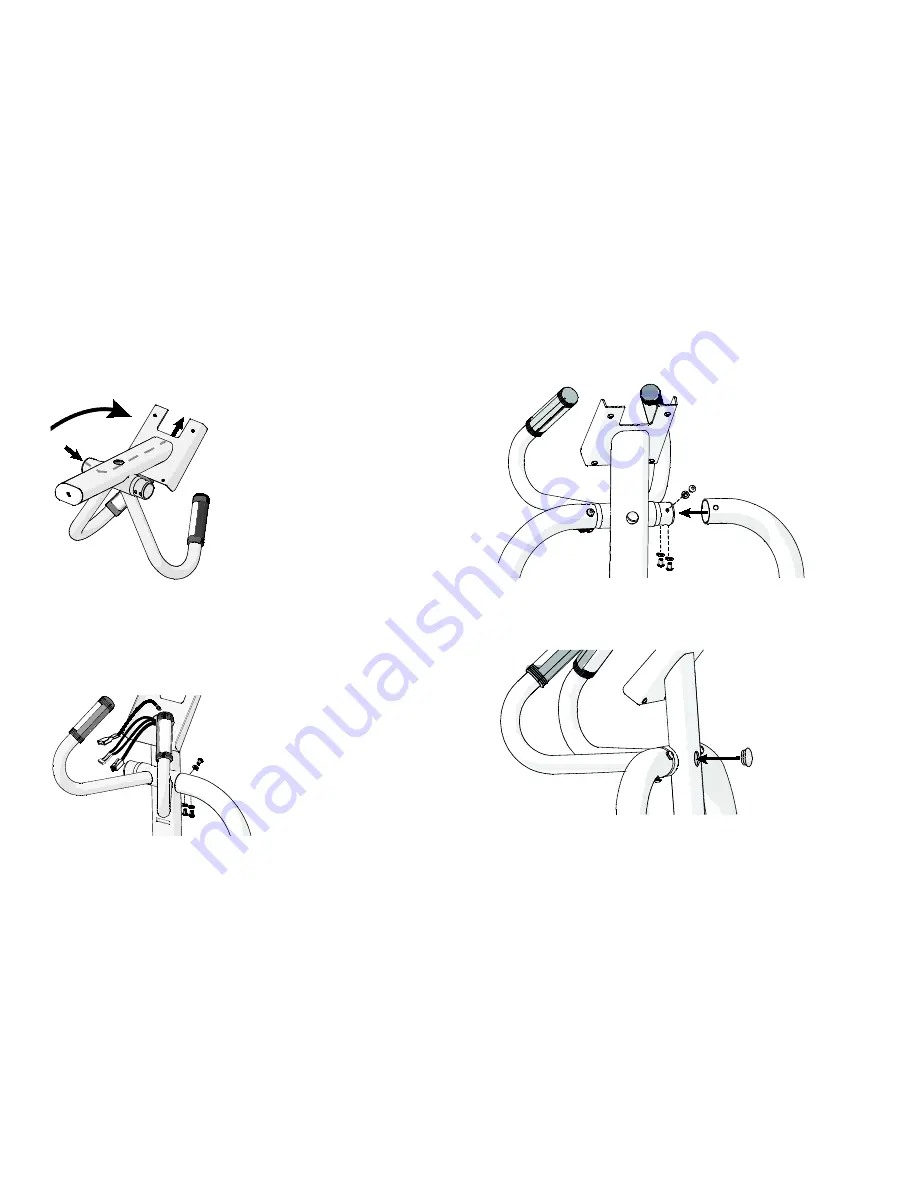
Tilt the console bracket forward and feed the cable up through the top of the
console bracket.
Note:
Use the hole on the back of the console bracket to reach the cable and
help guide it toward the top opening in the bracket.
Figure 8: Tilt console bracket forward
4.
Reposition the console bracket to its upright position and make sure all wires
are pulled through the top of the bracket.
5.
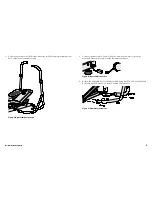
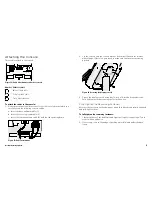
Insert the top M8 x 12 mm buttonhead screw and M8 lock washer and
partially tighten the fastener. Then, insert the bottom two buttonhead screws
and lock washers and partially tighten these fasteners.
Figure 9: Right stabilizer attachment
6.
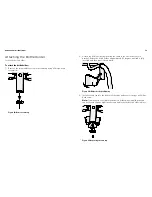
Attach the opposite side of the console bracket to the left stabilizer using the
three remaining M8 x 12 mm buttonhead screws and M8 lock washers. Fully
tighten all six console bracket fasteners using the 5 mm hex key.
Figure 10: Left stabilizer attachment
7.
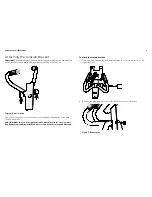
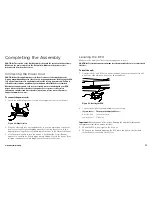
Install the plug over the hole in the console bracket.
Note:
Use a rubber mallet to tap the plug gently into place.
Figure 11: Replace the plug

