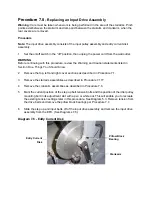
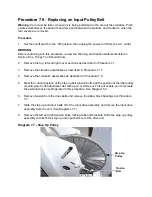
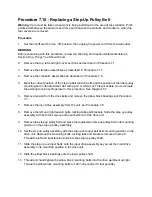

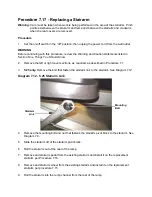
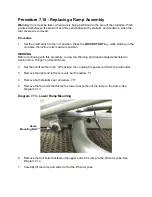

Procedure 7.15
- Replacing a Wheel Assembly
Warning:
Care must be taken when work is being performed in the area of the stairarms. Pinch
points exist between the stairarm and ramp and between the stairarm and crankarm, when the
rear covers are removed.
Procedure
1.
Set the on/off switch in the “off” position, then unplug the power cord from the wall outlet.
WARNING
Before continuing with this procedure, review the Warning and Caution statements listed in
Section One, Things You Should Know.
2.
Remove the left and right cover sections as described in Procedure 7.1
3.
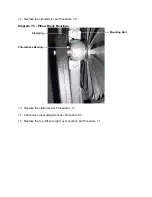
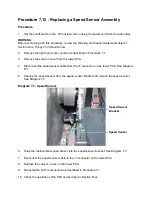
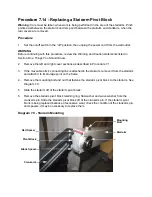
Remove the stairarm pivot block retaining ring, flat washer and wave washer from the
crankarm pin. See Diagram 7.9
4.
Remove the stairarm from the crankarm and roll the stairarm off of the rear of the ramp.
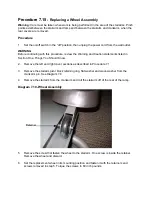
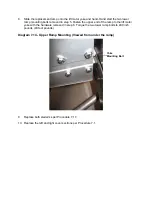
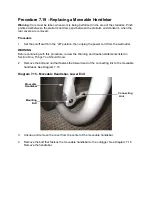
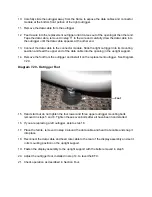
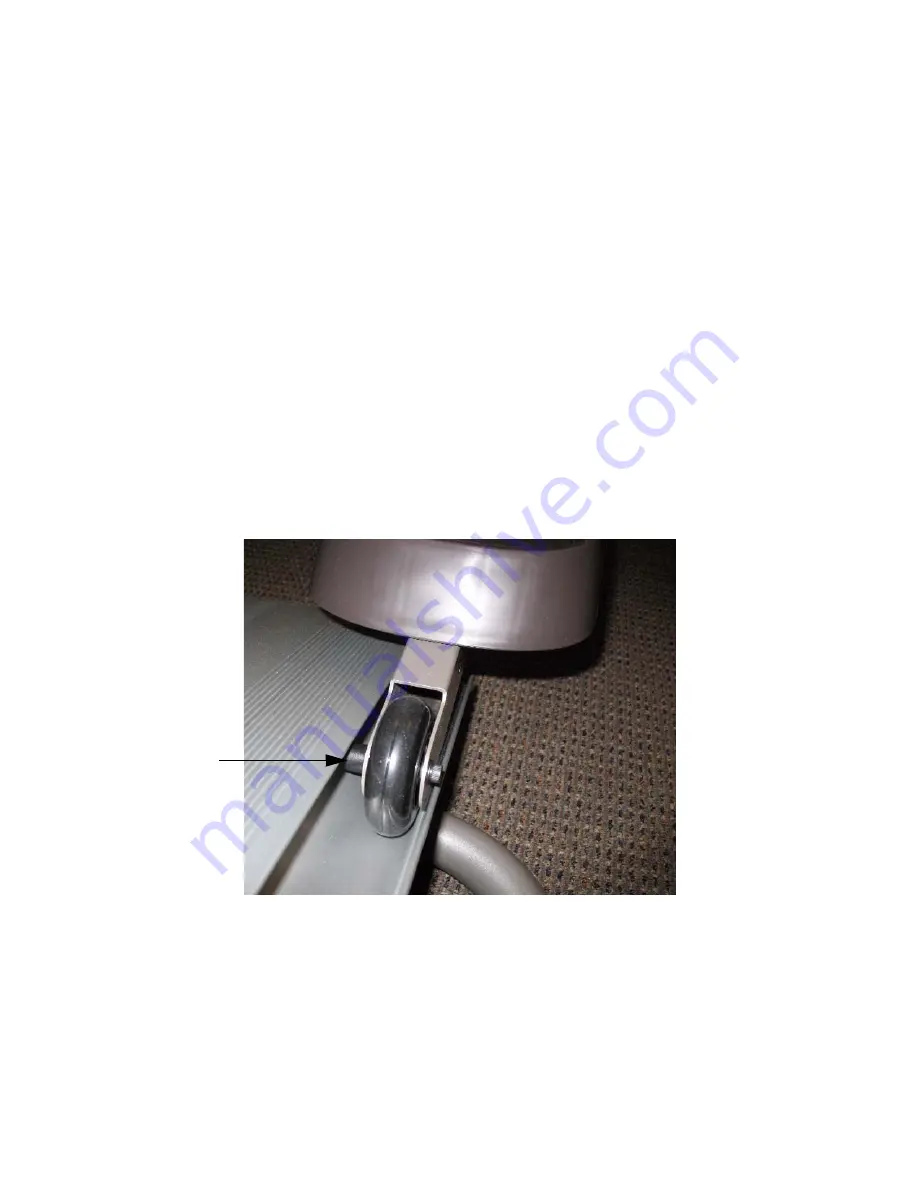
Diagram 7.10- Wheel Assembly
5.
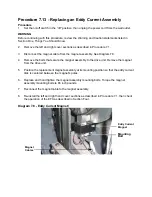
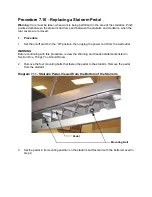
Remove the screw that fasten the wheel to the stairarm. One screw is inside the retainer.
Remove the wheel and discard.
6.
Set the replacement wheel in its mounting position and fasten it with the retainers and
screws removed in step 5. Torque the screws to 60 inch pounds.
Retainer
Summary of Contents for EFX EFX 5.23
Page 79: ...Block Diagram 8 2 5 23 5 25...


