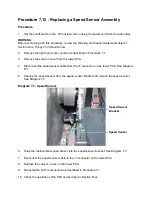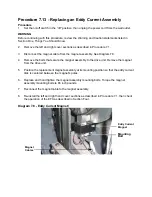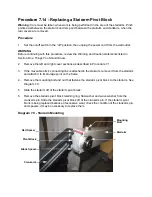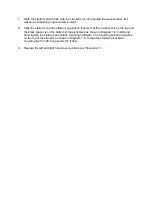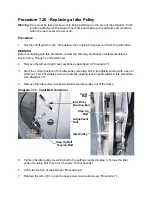
Procedure 7.21 - Replacing a Front Cover Section
1.
Set the on/off switch in the “off” position, then unplug the power cord from the wall outlet.
2.
It is only necessary to perform as much of this procedure as is required to access the cover
being replaced.
3.
Remove six screws from the rear of the front cover. The two screws in the rear bottom
portion of the front cover should not be removed at this time.
4.
Remove the front cover section.
5.
If you are not replacing the rear section of the front cover, skip to step 12.
6.
Support the ramp. If the ramp is not supported, it will fall during the next step of this
procedure.
7.
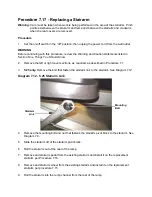
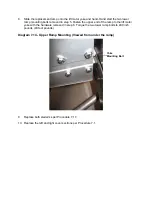
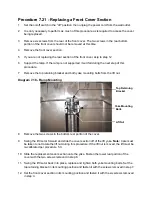
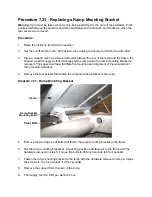
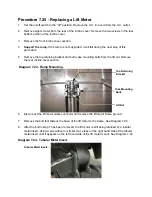
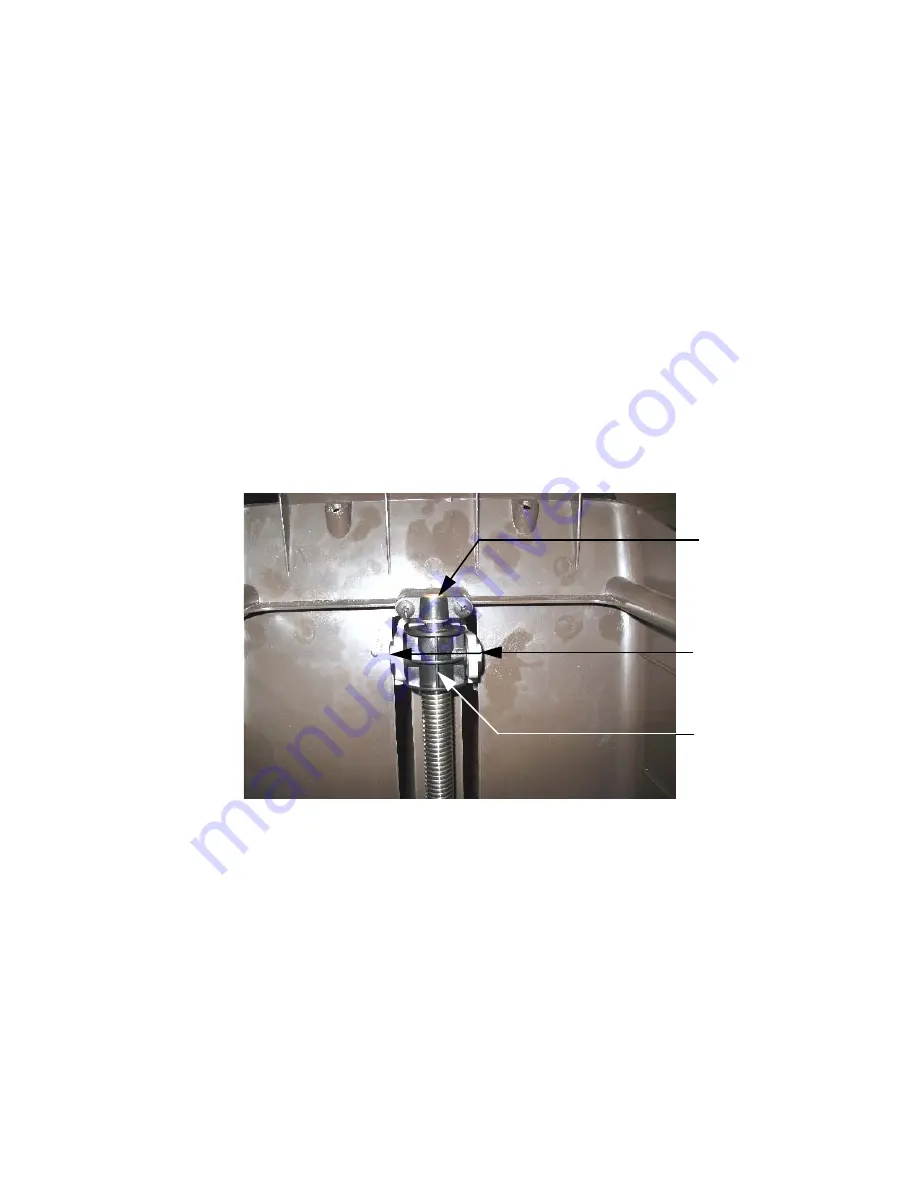
Remove the top retaining bracket and both yoke mounting bolts from the lift nut.
Diagram 7.18 - Ramp Mounting
8.
Remove the two screws in the bottom rear portion of the cover.
9.
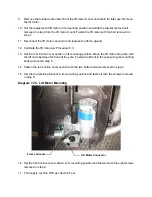
Swing the lift motor forward and slide the cover section off of the lift yoke.
Note:
Care must
be taken to not rotate the lift nut during this procedure. If the lift nut is moved, the lift must be
re-calibrated per procedure 5.3.
10. Slide the replacement cover section onto the yoke. Fasten the lower rear portion of the
cover with the two screws removed in step 8.
11. Swing the lift motor back into place, replace and tighten both yoke mounting bolts. Set the
top retaining bracket in its mounting position and fasten it with the screws removed in step 7.
12. Set the front cover section in its mounting position and fasten it with the six screws removed
in step 3.
Top Retaining
Bracket
Yoke Mounting
Bolts
Lift Nut
Summary of Contents for EFX EFX 5.23
Page 79: ...Block Diagram 8 2 5 23 5 25...

