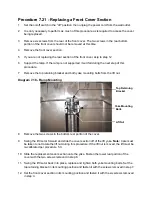
Procedure 7.22 - Replacing an Outrigger Tube
1.
Set the on/off switch in the “off” position, then unplug the power cord from the wall outlet.
2.
Carefully, lift the front of the EFX and place it on a temporary support, such as a block of
wood. This is necessary to remove the EFX’s weight from the outrigger tube. Before
proceeding with procedure, be sure that the EFX is in a solid stable position and will not tip.
3.
5.25 only.
Remove the moveable handlebar per Procedure 7.19.
4.
If you are removing the right outrigger, care must be taken because the upper data cable is
inside of the right outrigger.
5.
Remove the three screws from the rear of the display assembly that fasten it to the upright
support. If you are removing the left outrigger, skip to step 8.
6.
Disconnect the data cable and heart rate cable from the rear of the display assembly.
7.
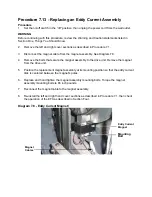
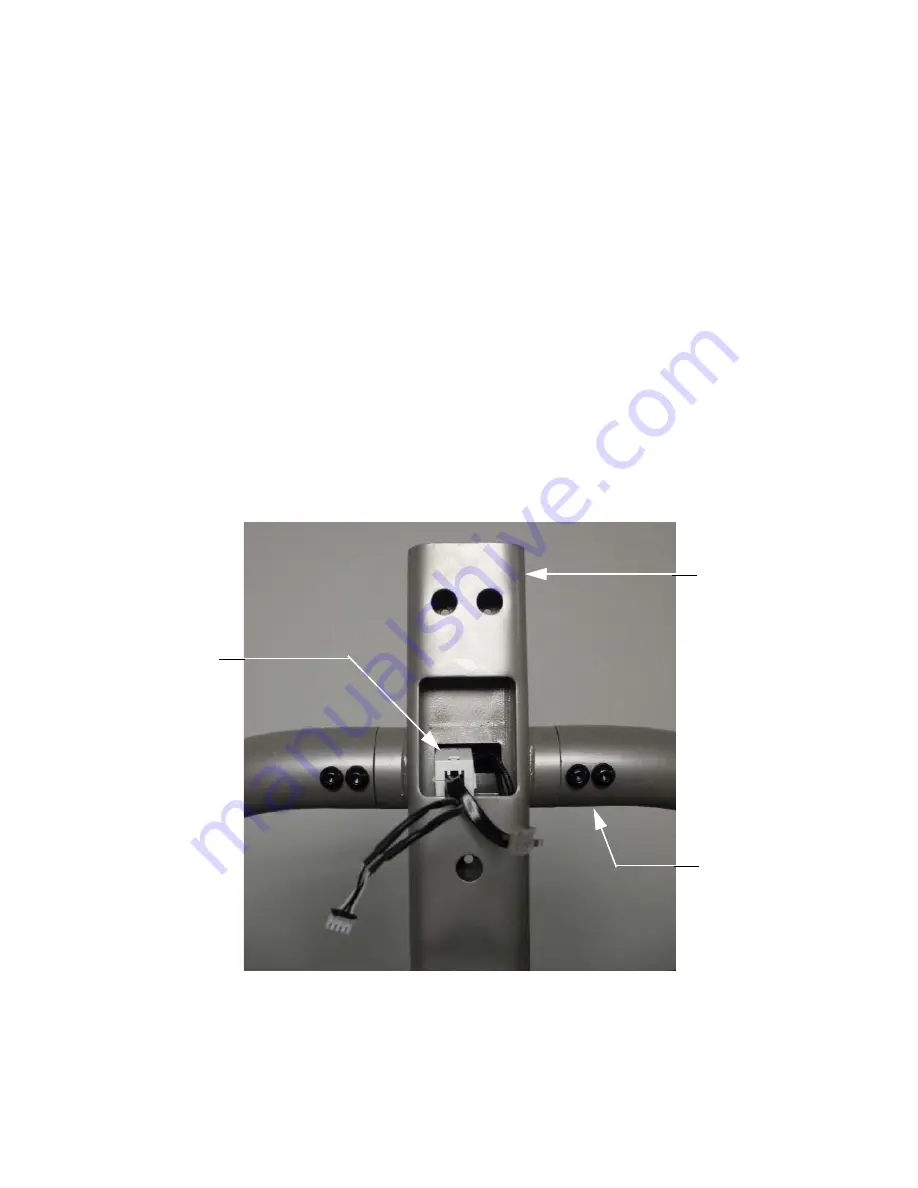
Unsnap and remove the ferrite from the data cable and heart rate cable. See Diagram 7.2.
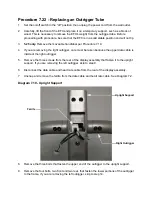
Diagram 7.19 - Upright Support
8.
Remove the three bolts that fasten the upper end of the outrigger to the upright support.
9.
Remove the four bolts, two front and two rear, that fasten the lower portions of the outrigger
to the frame. If you are removing the left outrigger, skip to step 14.
Ferrite
Upright Support
Right Outrigger
Summary of Contents for EFX EFX 5.23
Page 79: ...Block Diagram 8 2 5 23 5 25...

