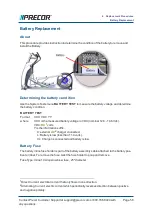
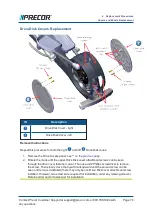
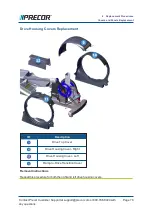
ID
Description
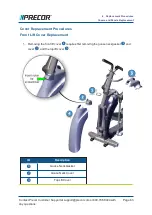
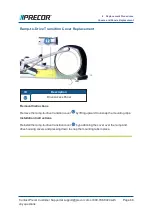
Lift Cover
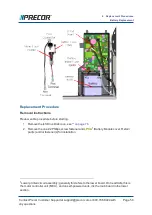
Removal Instructions
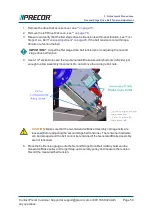
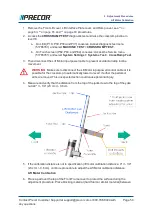
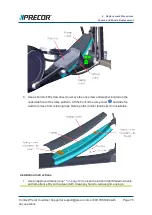
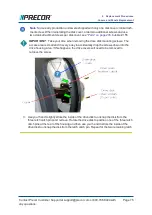
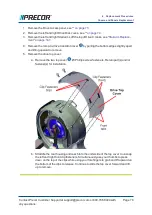
1. Carefully insert the tip of a nylon tipped screwdriver (or similar tool) at the front center of
the goose neck in between the goose neck cover and the front lift cover seam. While
inserting the nylon tip, apply upward pressure to unsnap the goose neck cover and gas-
ket from the mounting weldment. Remove the goose neck gasket and cover.
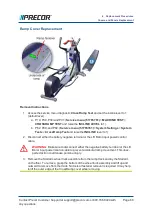
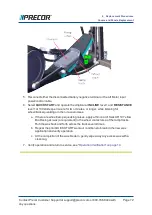
Alternative method
You can strike the front of the goose neck cover in an upward motion with the palm of
your hand to unsnap the cover from the mounting weldment. Then remove the goose
neck gasket and cover.
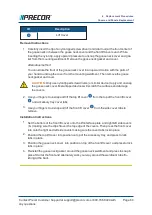
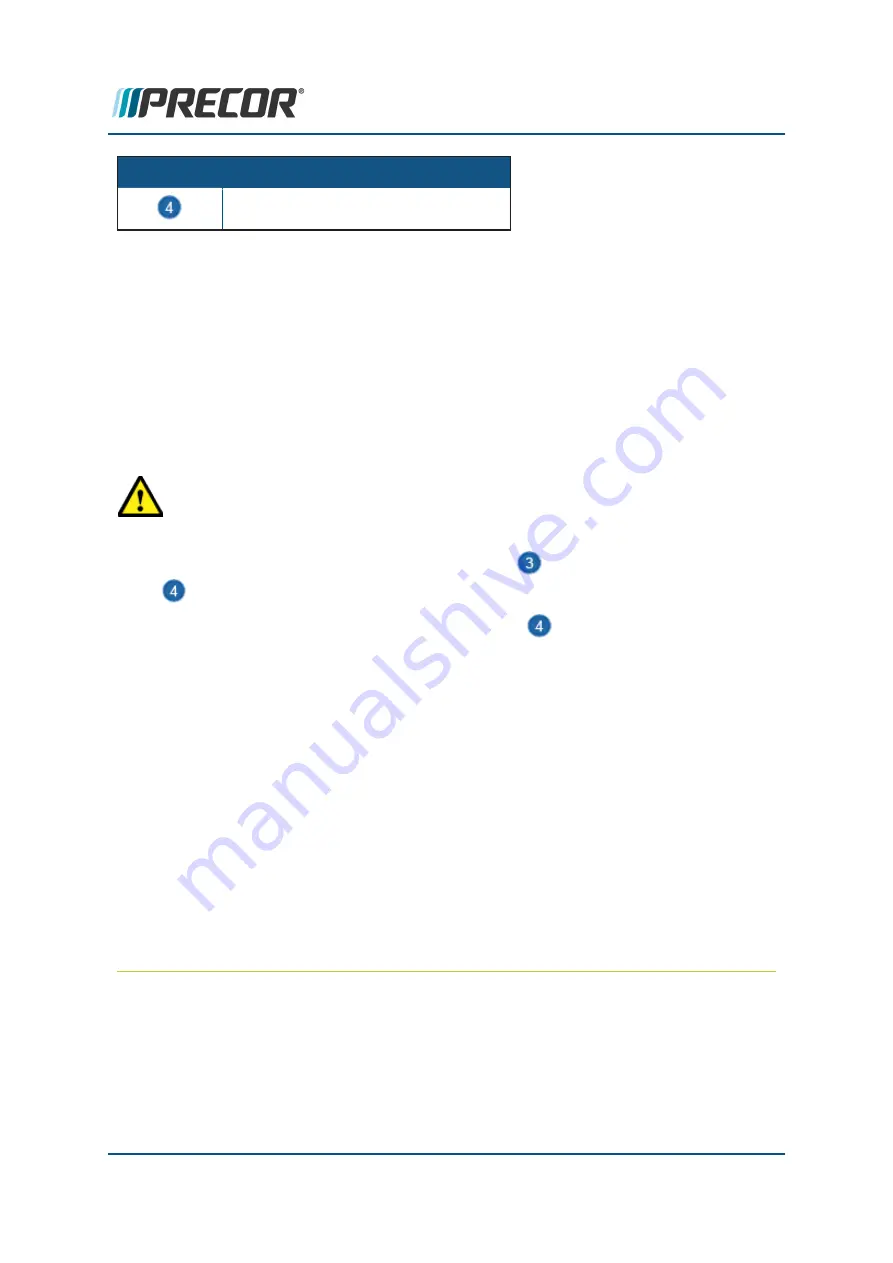
CAUTION
: Only use nylon tipped screwdrivers (or similar device) to pry and unsnap
the goose neck cover. Metal tipped devices will scratch the surfaces and damage
the covers.
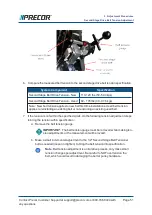
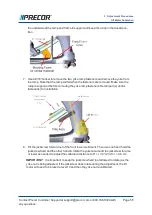
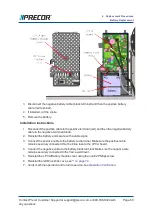
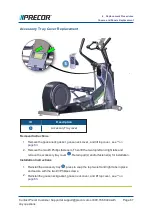
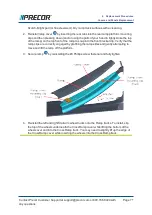
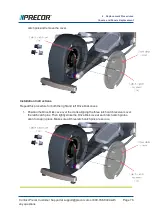
2. Use your fingers to unsnap and lift the top lift cover
from the top of the front lift cover
and accessory tray cover tabs.
3. Use your fingers to unsnap and lift the front lift cover
from the side cover tabs to
remove.
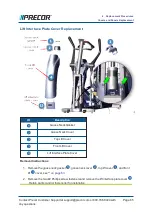
Installation Instructions
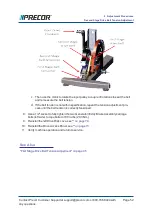
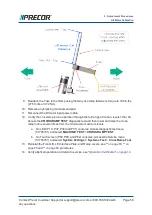
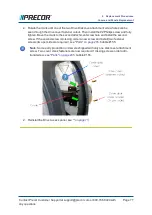
1. Set the bottom of the front lift cover onto the lift interface plate and right/left side covers
( & ) making sure the clips fit over the top edge of the covers. Then press the front cover
into onto the right and left side covers making sure the cover tabs lock in place.
2. Position the top lift cover into position on top of the accessory tray and press to lock
tabs in place.
3. Position the goose neck cover into position on top of the front lift cover and press to lock
tabs in place.
4. Reinstall the goose neck gasket around the goose neck weldment and press to snap in
place. Start at the front and alternately work your way around the weldment tube fin-
ishing at the back.
Contact Precor Customer Support at support@precor.com or 800.786.8404 with
any questions.
Page 64
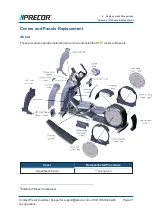
6 Replacement Procedures
Covers and Panels Replacement


