


©2019 Precor Inc. | Prone Leg Curl RSL 606 | Assembly Guide
7
Route the Cable
Image
Hardware
Instructions
1
Tools: Hex wrench, 8 mm
Hex wrench, 4 mm
To route the cable around the lower pulley on the weight stack tower, remove
the cable retainer. Route the cable around the pulley and then replace the cable
retainer.
2
Tools: Hex wrench, 8 mm
Open-end wrench, 19 mm
Torque wrench
To route the cable to the upper pulleys of weight stack tower, remove the cable
retainers, route the cables, and replace the retainers.
Tighten to 50 ft-lb (67
N-m) of torque.
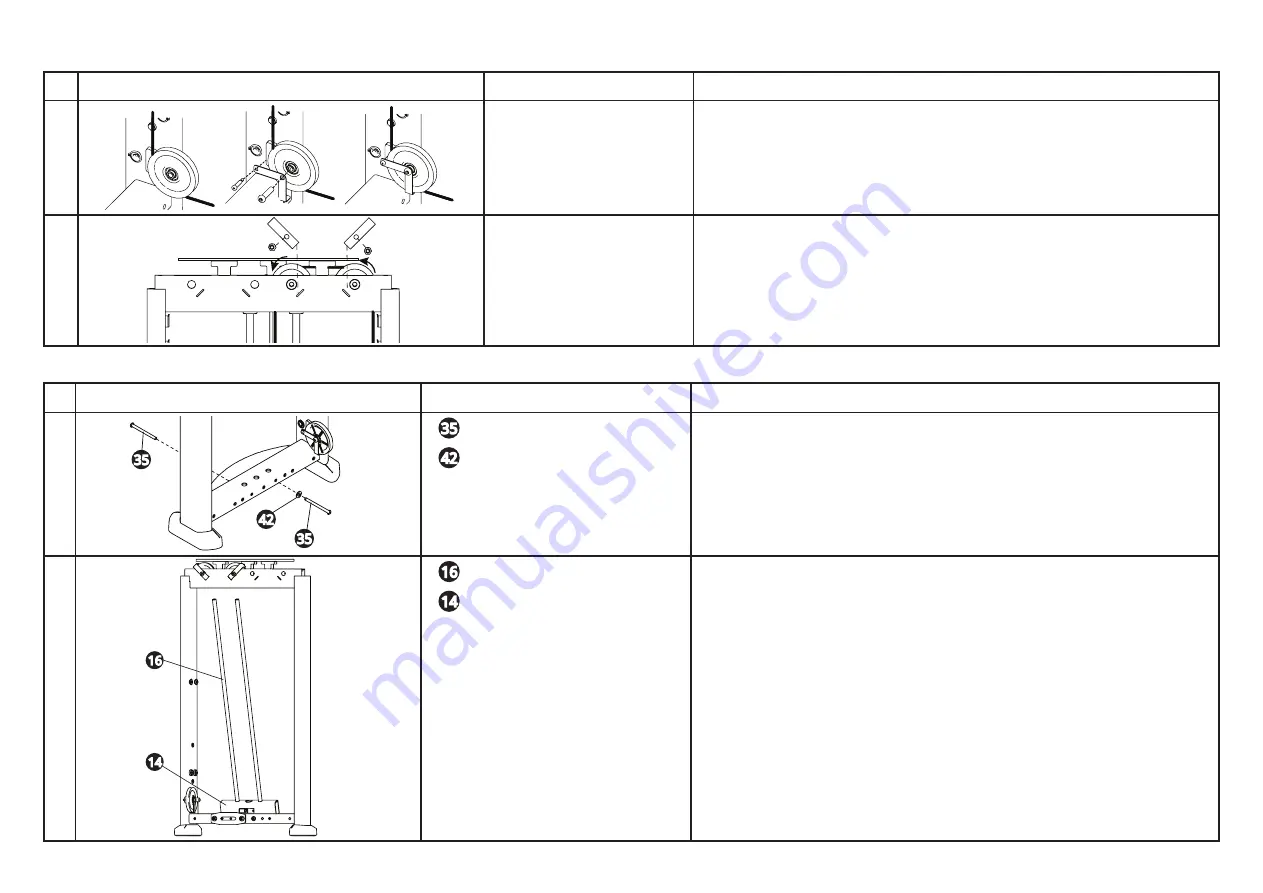
Finish the Weight Stack Tower
Image
Hardware
Instructions
1
2 M10 x 125 mm BHCS
1 washer, 11 mm
Tool: Hex wrench, 6 mm
Remove the guide rod fasteners installed in
step 1
of the
Frame Assembly.
2
2 guide rods
1 weight stack spacer, 3-inch
Align the weight stack spacer over the holes on the base of the tower. Insert two
weight guide rods and lean outwards about 6 inches (15 cm), enough clearance
for the weights. Flat side of weight stack spacer should face user side.
35
35
42
14
16
35
42
16
14


