8
Assembly Instructions, POWER RAIL
TM
‒ Two-Tier Tilt Kit
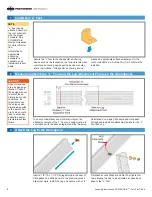
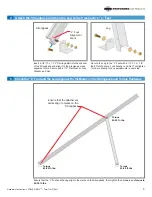
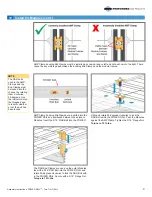
Splice Plates come in two configurations, 2-hole or
4-hole (above is a 4-hole). Insert 5/16” x 3/4” Turn
Bolts into POWER RAIL and rotate 90-degrees to lock
Turn Bolts in place. Align Splice Plate with center of
splice and secure to POWER RAIL with 5/16” Flange
Nuts.
Torque to 15 ft.-lbs.
8 Splicing the POWER RAIL with the Splice Plates (as needed)
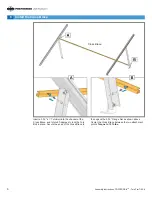
Insert a 5/16”x 3/4” Turn Bolt into the channel of the
POWER RAIL, aligning it with the Rail-to-Rail Bracket.
Rotate the Turn Bolt 90-degrees to lock it in place.
Secure with a 5/16” Flange Nut.
Torque to 15 ft.-lbs.
9 Install the POWER RAIL
CAUTION
This is a two
person activity. In
addition to the dif
-
ficulties associated
with working on a
sloped rooftop, PV
Modules are heavy.
One person should
hold and align the
modules while a
second person
secures modules
with the clamping
hardware. Failure
to do so could lead
to serious personal
injury and/or dam
-
aged components.
10
Install the Modules
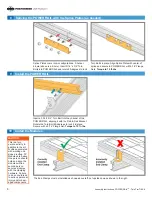
The End Clamps must be installed as shown above left, not upside down as shown to the right.


