PrehKeyTec GmbH
MCI_TouchKey_Manual_V15.doc - 2011-02-09
Page 4/10
2 Installation
2.1
Contents of package
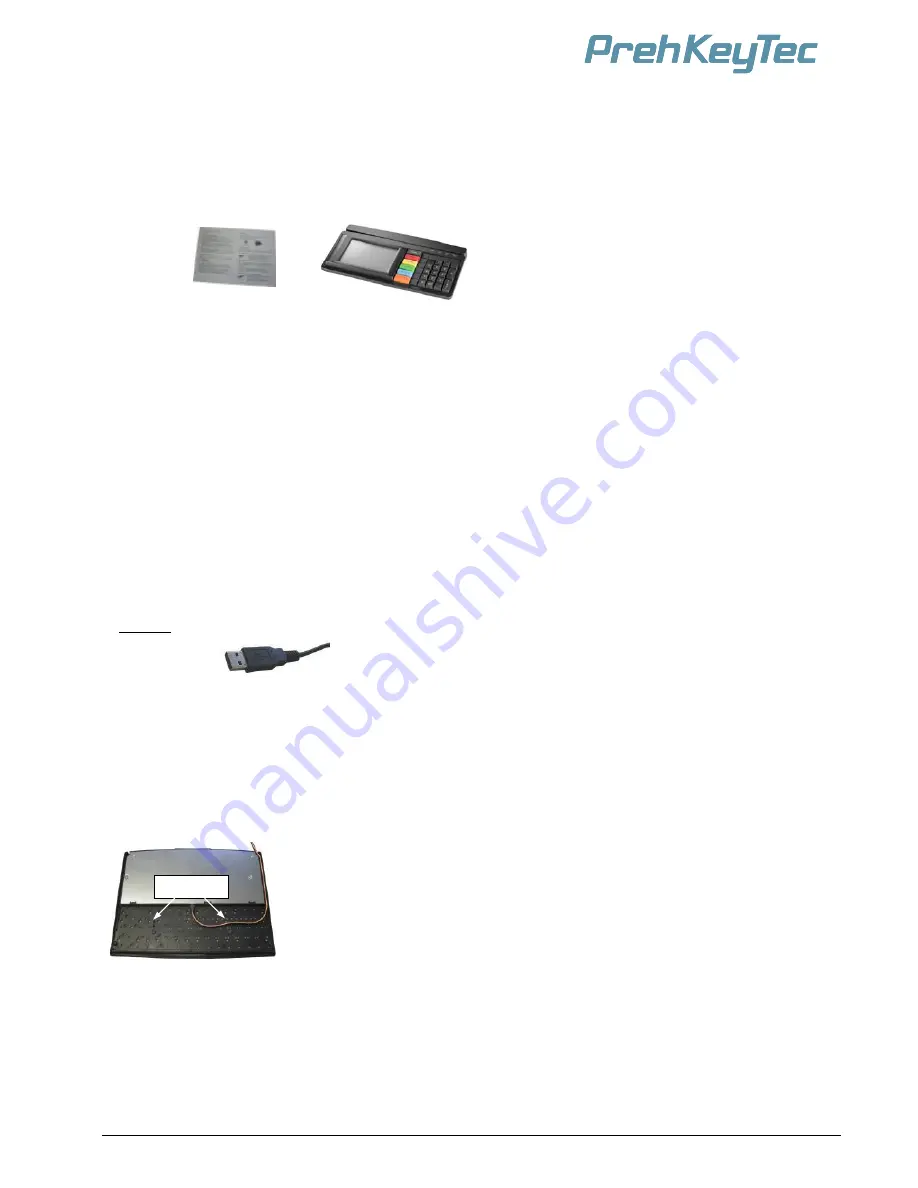
Before using your MCI TouchKey, please check whether all the parts shown below are present and show no obvious signs of damage:
-
Operating Instructions and Technical Data
- MCI
TouchKey
2.2
Installation of the keyboard
2.2.1 System requirements
The MCI TouchKey was developed for computers with USB interface. The following requirements must be on the system for the TouchKey
to function:
•
Windows XP or Vista
•
.NET Framework 2.0 or higher
•
USB Interface with 500 mA current supply and voltage of +5V ± 5%
•
Support for Linux OS
2.2.2 USB cable installation
Procedure
Please connect the USB Plug of the TouchKey to a free USB port on your computer. The computer automatically recognizes the MCI
TouchKey device. No special drivers are required.
2.2.3 Cable routing
On delivery, the connection cable is routed on the
right
side of the device (seen from above). Follow the
described procedure below to move the cable to the
left
or
center
:
Lay the keyboard with the keypad facing down on a soft surface. To move the cable outlet to the left,
move the connection cable as shown in
Figure 6
. Ensure that the keyboard cable is firmly pressed into the
nips provided
2.2.4 Functional check
After starting the computer, all four LEDs on the TouchKey light up briefly. Depending on the status of Num Lock, Caps Lock or Scroll Lock,
the associated LEDs will light up. Your MCI TouchKey is now ready for use.
Fig. 1
Contents of package, figure shows a specific keyboard layout
Fig. 2
USB
plug
Nips
Fig. 6
cable
nips


