background image

PRE-INSTALLATION

2. LOCATE STUDS & UTILITIES

Using a stud finder, locate the wall 

studs to be used for mounting. 

Locate the existing wiring or other 

utilities in the wall to prevent drilling 

into/severing a wire and/or other utility 

during installation.

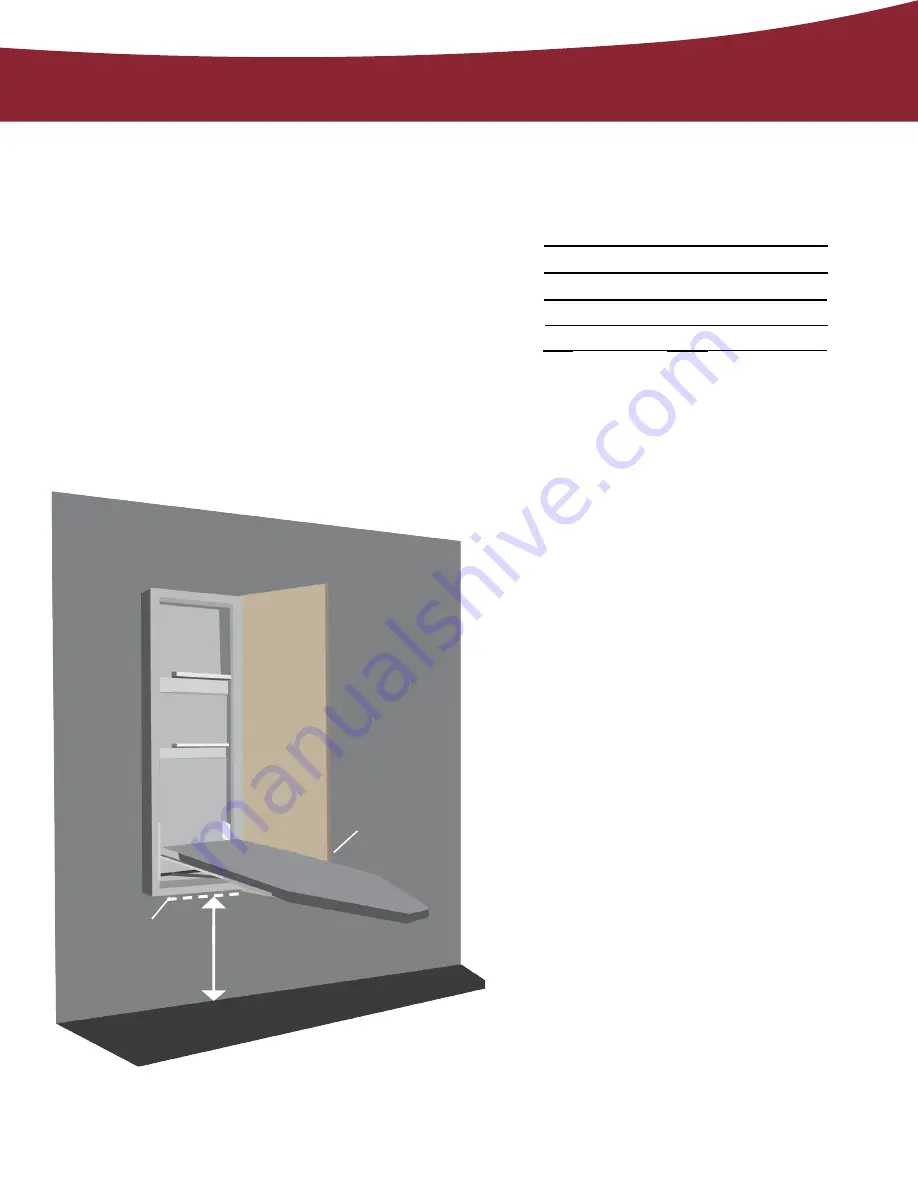
1. DETERMINE MOUNTING HEIGHT

Using the charts provided, determine 

the mounting height above floor (the 

distance between the floor and the 

bottom of the cabinet). First choose 

your desired ironing board height 

from the left column, then locate the 

corresponding mounting height in the 

right column.

Mounting 

Height

Above Floor

Desired Ironing 

Board Height

Desired Ironing

Board Height

Mounting

Height Above

Floor

29”
28”
27”
26”

36”
35”
34”
33”

Summary of Contents for ANE-42

Page 1: ...Installation Manual MODEL ANE 42...

Page 2: ...portion of cabinet Two 14 x 2 1 2 Phillips screws for top side brackets Surface Mounting Two 14 x 4 wood screws 1 CROSS BRACES 2 SIDE BRACKETS 1 Stud Finder 12 14 Level Tape Measure Small Flathead Sc...

Page 3: ...tallation 1 DETERMINE MOUNTING HEIGHT Using the charts provided determine the mounting height above floor the distance between the floor and the bottom of the cabinet First choose your desired ironing...

Page 4: ...RE ADEQUATE SPACE ANE42 2 Distance from wall to tip of ironing board 467 8 4 Standing area clearance not shown The suggested distance from the side of the ironing where the user typically stands to en...

Page 5: ...cabinet once installed in the wall Your unit will be attached to the studs by screws in the upper and lower sides of the cabinet Using a 1 8 drill bit pre drill holes into the sides of the cabinet 14...

Page 6: ...ate mounting 4 INSTALL UNIT IN WALL Begin installation by carefully lifting unit into the wall opening Make sure the cabinet is plumb and level If needed add shims to help unit fit snug in place 8 INS...

Page 7: ...INSERT SCREW 3 LOCATE MARK STUD Using a stud finder locate stud in wall and mark the wall according to the pre drilled holes in cabinet Setting cabinet aside pre drill holes in wall using a 1 4 drill...

Page 8: ...t are secured to cabinet with three screws Then remove the top screw from each bracket Replace with a 14 x 3 4 Phillips screw This will add stability long term 8 REMOVE BRACKET SCREW 9 INSTALLATION CO...

Reviews: