Alarm Cards
1-9
Alarm Cards
Alarm Card Descriptions
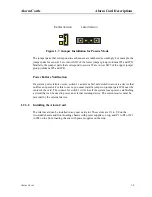
Figure 1-7. Jumper Installation for Passive Mode
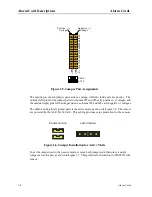
The jumper pairs that correspond to each sensor are numbered accordingly. For example, the
jumper pairs for sensor 12 are in row SI12 of the lower jumper group (columns JP1 and JP2).
Similarly, the jumper pairs that correspond to sensor 25 are in row SI25 of the upper jumper
group (columns JP3 and JP4).
Power Failure Notification
If a system power failure occurs, switch 1 can act as a fail-safe switch to activate a device that
notifies an operator. For this to occur, you must install a jumper on jumper pair JP63 near the
center of the card. The contact for switch 1 will close if the system loses power, establishing
a circuit that can be used to power an external warning device. The current source must be
provided by the external device.
1.2.3.2
Installing the Alarm Card
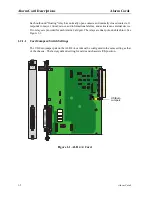
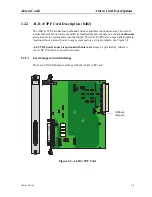
The Alarm card can be installed in any user card slot. These slots are U1 to U8 on the
two-sided chassis and front-loading chassis with power supplies on top, and P1 to P4 or W1
to W4 on the front-loading chassis with power supplies on the side.
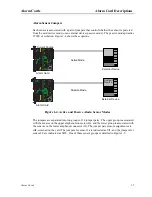
Earlier Version
Later Version
Summary of Contents for ALR 28+14
Page 1: ...Alarm Cards Reference Guide Publication 999 001967 Revision A1 Release 3 9 October 1999 ...
Page 4: ...Model No Running Head ...
Page 6: ...ii Alarm Cards Model No Running Head Contents ...
Page 8: ...iv Alarm Cards Model No Running Head Figures ...
Page 10: ...vi Alarm Cards Model No Running Head Tables ...
Page 34: ...1 24 Alarm Cards Model No Running Head Alarm Card Troubleshooting Alarm Cards ...

