5. A f ter b urner ignite s, rep e at the pro ce dure with any other b urner d esire d.
6. Adjust valve kno b (s) to desire d co o king te mp erature.
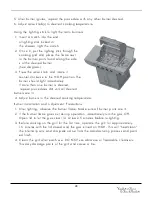
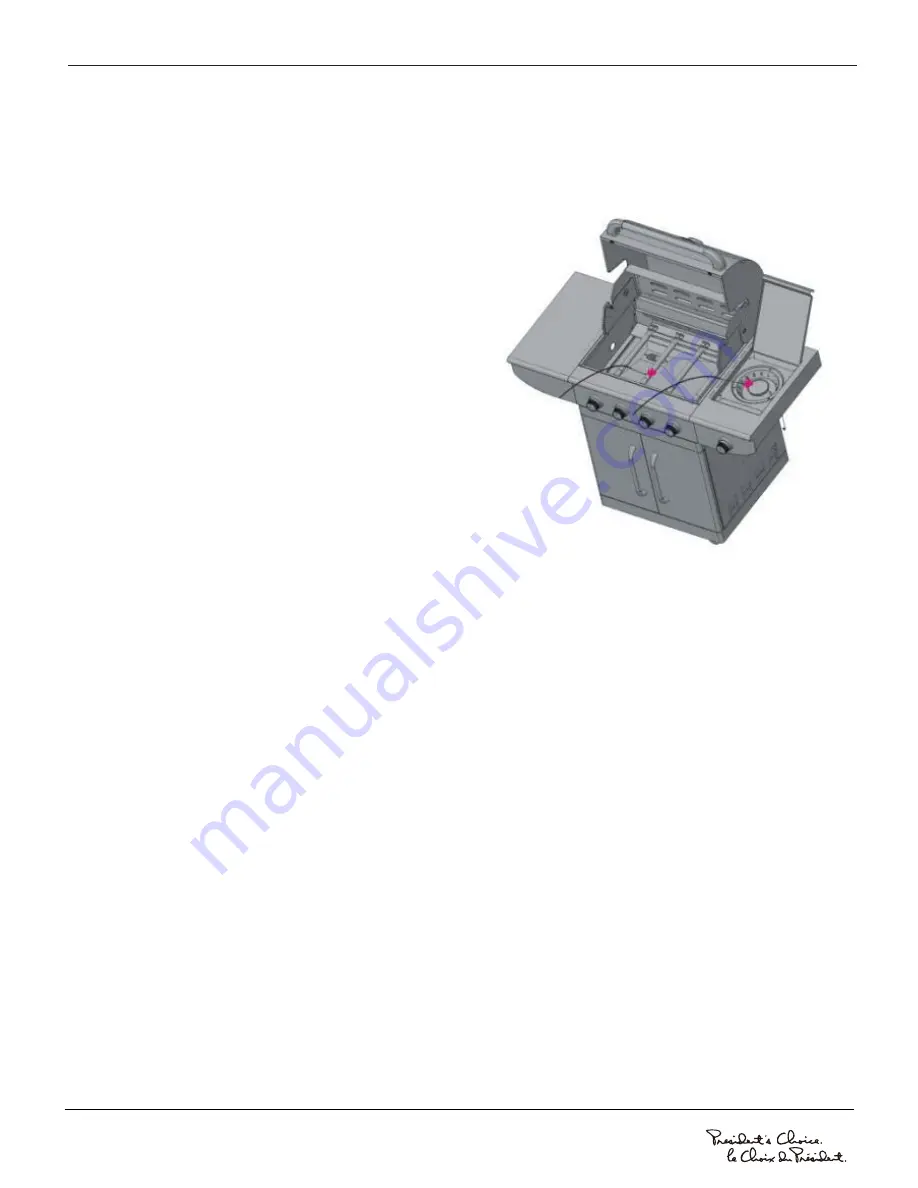
Using the lighting stick to light the main burners
1. Insert a match into the en d
o f lighting stick lo cke d in
the drawer. Light th e match.
2. O n ce lit, p ut th e lighting stick thro u gh the
co o king grid and p la ce th e flame nex t
to th e b urner p o rts fo und alo ng th e sid e
s o f th e d esire d burner.
(Se e diagram.)
3. Press th e valve kno b an d rotate it
co unter- clo ck wise to th e H IG H p ositio n. Th e
burner sho uld light imme diate ly.
If mo re than o ne b urner is d esire d,
rep e at p ro ce dures 2-3 until all d esire d
burn ers are lit.
4. Adjust b urners to th e d esire d co o king te mp erature.
Bur ner installa tio n and a djustme nt: Pre cautio ns
1. A f ter lighting, o b ser ve th e b urner flame. Make sure all b urner p or ts are lit.
2. I f th e b urner flame go e s o ut during o p eratio n, imme diate ly turn th e gas O FF.
O p en lid to let the gas cle ar for at le ast 5 minute s b efore re -lighting.
3. B efo re co o king o n the grill for th e first time, o p erate th e grill fo r ap p roximat ely
15 minutes with th e lid close d and th e gas turne d o n H IG H. This will “he at cle an”
the internal p arts, an d dissip ate o d o ur fro m the manufa cturing pro ce ss and p aint
e d finish.
4. Cle an the grill af ter e ach use. D O N OT use abrasive o r fl ammable cle ansers.
This ma y d amage p ar ts o f th e grill and cause a fire.
28
Summary of Contents for NG 903455
Page 40: ...N O TES A N D O B SERVAT IO N S 40...
Page 41: ......


