background image

Setup

– 10 –

EN

MENU

TOP MENU

MODE

SUBTITLE

T-SET

ANGLE

A-B

1

2

3

4

5

6

7

8

9

0

+10

ZOOM

VCR

PAUSE

VCR/TV

STOP

Button

(Alphabetical order)

Disc/Tape

OPEN/CLOSE

    /EJECT

ENTER

CLEAR/

C. RESET

DVD

AUDIO

DISPLAY

REPEAT

SPEED

SLOW

SKIP/CH.

SKIP/CH.

PLAY

REC/OTR

SETUP

SEARCH

MODE

RETURN

POWER

To display the current disc 
mode.

To display the current disc 
mode.

To display the current time, 

   tape counter, and channel.

To open or close the disc 
tray.

To open or close the disc 
tray.

To eject the video cassette 
from the cassette 
compartment.

To select chapter or title 
directly.

To select track directly. 

To select camera angles on 
a disc.

To select audio languages on 
a disc.

To select STEREO, 
L-ch or R-ch.

To repeat between your 
chosen point A and B.

To repeat between your 
chosen point A and B.

To set black level on/off.

To set virtual surround on/off.

To arrange the playing
order or play randomly.

To set virtual surround on/off.

To call up the Menu
on a disc.

To call up the VCR Menu.

To select channel.

The +10 button has no effect 

in VCR mode.

To clear the markers.

To clear the numbers 
entered incorrectly.

To cancel the point for A-B 
repeat. 

To clear the markers.

To remove status number in 
program input.

To clear the numbers entered 
incorrectly.

To cancel the point for A-B 
repeat.

To search forward/backward 
through a disc.

To begin slow forward/
reverse playback during the 
pause mode.

To search forward/backward 
through a disc.

To forward/backward a tape.

To pause disc playback.

To advance playback 
one frame at a time.

• 

To pause disc playback.

To advance playback 
one frame at a time.

• 

To pause tape playback or 

recording.

To activate the remote control 
in DVD mode.

To select the DVD output 
mode.

• 

To select the DVD output 

mode.

• 

To activate the remote 

control in DVD mode.

To move the cursor and 
determine its position.

To move the cursor and 
determine its position.

VCR mode

DVD mode

To select an item 
on the VCR Menu.

To advance to the 
next VCR Menu.

To go back one step 
during clock and 
timer setting.

To exit the VCR Menu.

To reset the tape counter.

To play a chapter or title 
repeatedly. 

To play a track or disc 
repeatedly.

To return to the previous 
operation in menu.

To return to the previous 
operation in menu.

To search chapter, title or time.

To set or search the markers.

To search track.

To search time.

To set or search the markers.

• 

To skip chapters or titles.

• 

To skip tracks.

To change channels.

To adjust the tracking 
manually during playback.

• 

To begin disc playback.

• 

To begin disc playback.

To begin tape playback.

To call up the DVD setup 
menu.

To call up the index or time 
search menu.

To call up the DVD setup 
menu.

To select the recording 
speed.

To view the tape in slow 
motion.

To start a recording or 
One Touch Recording.

To turn the unit on or off.

To turn the unit on or off.

To turn the unit on or off.

To select subtitles on a disc.

To put the VCR into standby 
mode for a Timer Recording.

To magnify part of a picture.
(x2 / x4)

To call up the Top Menu 
on a disc.

• 

To stop playback.

• 

To stop playback.

To stop playback or recording.

To select VCR position or 
TV position.

To select CD position or TV 
position.

To select DVD position or 
TV position.

To select the VCR output 
mode.

To activate the remote 
control in VCR mode.

POWER

DISPLAY

VCR

DVD

PAUSE

SLOW

VCR/TV

SKIP/CH.

PLAY

STOP

REC/OTR

MENU

SETUP

TOP MENU

MODE

ZOOM

SUBTITLE

T-SET

ANGLE

ENTER

RETURN

SEARCH

MODE

REPEAT

A-B

OPEN/CLOSE

    /EJECT

SPEED

AUDIO

CLEAR/

C. RESET

1

2

3

4

5

6

7

8

9

0

+10

2

1

3

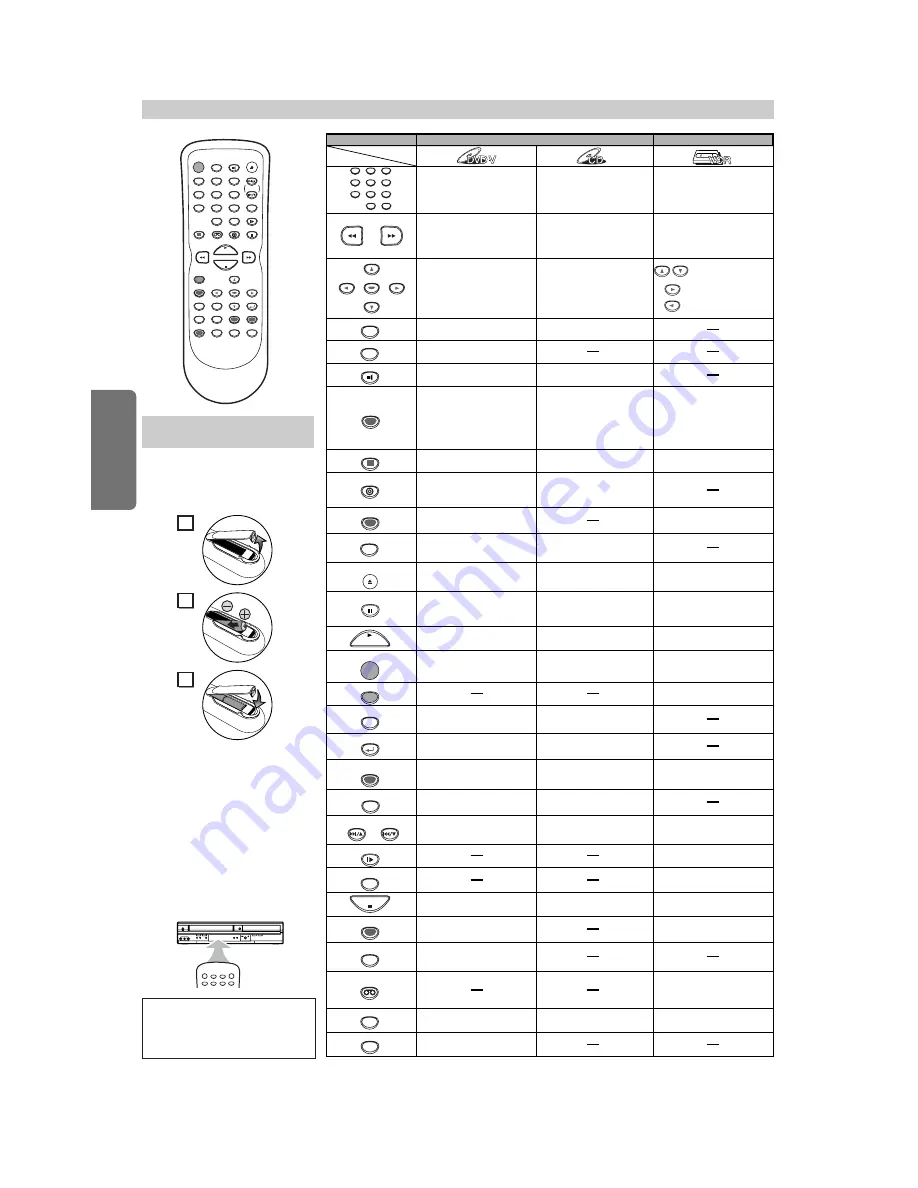
Installing the Batteries
for the Remote Control

Install two AA batteries (commer-
cially available) matching the polar-
ity indicated inside battery com-
partment of the remote control.

Keep in mind the following when using
the remote control:
• Make sure that there is no obsta-

cle between the remote control
and the remote sensor on the unit.

• The maximum operable ranges

from the unit are as follows.

-

Line of sight

: approx. 23 feet (7m)

-

Either side of center

:

approx. 16 feet (5m) within 30°

-

Above

: approx. 16 feet (5m)

within 15°

-

Below

: approx. 10 feet (3m)

within 30°

POWER

OPEN/CLOSE

VCR

DVD

CHANNEL

OUTPUT

VIDEO

L - AUDIO - R

STOP/EJECT

PLAY

STOP

PLAY

REC/OTR

E

 REW

P

 / 

A

A

L

K

O

F.FWD 

D

P

O

Remote Control

Hint

Hint

• Do not mix alkaline and manganese

batteries.

• Do not mix old and new batteries.

Summary of Contents for 16-3286

Page 1: ...lock Setup 8 Function Overview 9 Front Panel Display 9 VCR DVD Switching 9 Remote Control 10 Installing the Batteries for the Remote Control 10 VCR Functions Playback 11 Other Operations 11 Index Sear...

Page 2: ...ratus complies with Canadian ICES 003 Cet appareil num rique de la classe B est conforme la norme NMB 003 du Canada FCCWARNING This equipment may generate or use radio frequency energy Changes or modi...

Page 3: ...enna Grounding If an outside antenna or cable system is connected to the video product be sure the antenna or cable system is grounded so as to provide some protection against voltage surges and built...

Page 4: ...onia or abrasive CLEANING DISCS When a disc becomes dirty clean it with a cleaning cloth Wipe the disc from the center to out Do not wipe in a circular motion Do not use solvents such as benzine thinn...

Page 5: ...rks above If you use nonstandardized discs this unit may not play them back Even if they are played back the sound or video quality will be compromised 7 You may play back the unfinalized DVD RW R dis...

Page 6: ...t back just start the playback again then press and hold PLAY B B on the unit for 3 seconds Setup Select this connection when you want to view or record a scrambled channel With this connection channe...

Page 7: ...NPUT TV VCR 00 90 91 92 93 Hitachi INPUT AUX JVC VIDEO VIDEO1 VIDEO2 VIDEO3 Kenwood AUX LXI Series 00 Magnavox AUX CHANNEL Panasonic TV VIDEO RCA INPUT TV VCR 00 90 91 92 93 Samsung TV VIDEO Sanyo VID...

Page 8: ...the amplifier s gain adjustment may need to be temporarily reduced in order for Auto Setup to program all channels properly POWER 3 3 CH 01 AUTO SET UP No No Please wait for a few minutes After scann...

Page 9: ...he inserted disc is being played back Displays a type of the disc which is inserted on the tray DVD DVD disc CD Audio CD Lights up when the inserted disc comes to a pause Lights up when the A B repeat...

Page 10: ...nu To reset the tape counter To play a chapter or title repeatedly To play a track or disc repeatedly To return to the previous operation in menu To return to the previous operation in menu To search...

Page 11: ...SP mode 2 minutes for LP mode and 3 minutes for SLP mode Index Search and Time Search functions are not available during recording Press STOP C C to stop the search If a tape ends during a search your...

Page 12: ...D D 1 1 5 5 6 6 2 2 4 4 Recording OTR One Touch Recording 1 1 M E N U TIMER PROGRAMMING B AUTO REPEAT OFF CHANNEL SET UP CLOCK SET LANGUAGE SELECT AUDIO OUT TV STEREO ON SAP This function will playbac...

Page 13: ...the tape Press SUBTITLE T SET on the remote control or STOP EJECT on the unit then press VCR to activate the VCR function again Once the unit turns to the timer standby mode no VCR functions are avai...

Page 14: ...found before the lowest memorized channel Example CH02 L2 input jacks are on the front of this unit Copying a Video Tape 1 1 M E N U TIMER PROGRAMMING AUTO REPEAT OFF CHANNEL SET UP CLOCK SET LANGUAG...

Page 15: ...or reverse speed is different depending on the disc Approximate speed is 1 1 16 2 1 8 3 1 2 Set STILL MODE to FIELD in the DISPLAY menu if pictures in the slow playback mode are blurred Refer to pages...

Page 16: ...ent playback status 1 1 2 2 3 3 Hint Hint When you are playing a disc in PROGRAM or RANDOM mode PROGRAM or RANDOM will be displayed instead of 2 2 CH Chapter Current chapter number Total chapters TT T...

Page 17: ...appears automatically For example 0 0_ __ appears in the Time Search display if the total time of the title or track is less than 10 minutes Press CLEAR C RESET to erase the incorrect input at step 2...

Page 18: ...playback are not available with all discs or during repeat A B playback Hint Hint Press CLEAR C RESET at step 2 to erase the most recently entered track To erase all programmed tracks at once select A...

Page 19: ...ffect 2 Emphasized effect OFF No effects original sound 3 3 Press twice once for CD To set subtitle ON OFF 1 1 1 ENG 6 2 2 OFF Hint Hint If your language is not shown after press ing AUDIO or SUBTITLE...

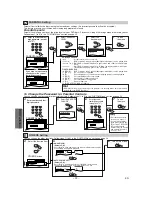
Page 20: ...BY DIGITAL on pages 20 21 SETUP MENU Confirm that QUICK is selected You can select the PLAYER MENU TV ASPECT PROGRESSIVE or DOLBY DIGITAL from the QUICK SETUP menu quickly ENTER ENTER ENTER Select the...

Page 21: ...ODE AUTO PROGRESSIVE OFF STILL MODE AUTO FIELD FRAME Select the desired setting or 5 5 6 6 To exit the menu SETUP SETUP DRC Dynamic Range Control Default ON Set to ON to compress the range between sof...

Page 22: ...4 digit password PARENTAL menu 5 5 OTHERS Setting You can change the other functions Follow steps 1 to 3 in the CUSTOM Menu section on page 20 4 4 Select the desired item E OTHERS menu 6 6 To exit the...

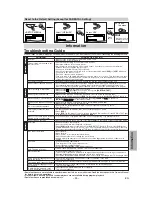
Page 23: ...all other connections See page 7 Insert the disc Clean the disc Place the disc correctly with the label side up Cancel the parental lock or change the control levels Handle a disc with special care s...

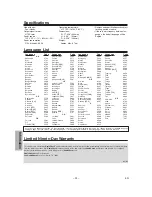
Page 24: ...Gaelic 5350 Serbian 6564 Serbo Croatian 6554 Sesotho 6566 Setswana 6660 Shona 6560 Sindhi 6550 Singhalese 6555 Siswat 6565 Slovak 6557 Slovenian 6558 Somali 6561 Spanish SPA 5165 Sundanese 6567 Swahil...

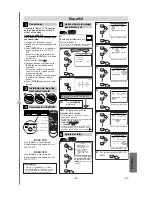
Page 25: ...OGRAMAR AUTOREPETIR OFF AJUSTE CANAL B AJUSTE DE RELOJ SELEC IDIOMA SALIDA DEL AUDIO TV ESTEREO ON SAP AJUSTE DE RELOJ MES DIA A O 1 0 HORA MINUTO AM PM AJUSTE DE RELOJ MES DIA A O 1 0 0 2 HORA MINUTO...

Page 26: ...r del men de la grabadora de v deo Para reponer el contador de cinta Para buscar en avance retroceso en un disco Para empezar la reproducci n en avance retroceso lento durante el modo de pausa Para bu...

Page 27: ...NGLISH ON FRANCAIS ESPA OL 1 1 Turn on the TV and set it to channel 3 If channel 3 is already occupied for broadcasting see RF Output Channel section 3 3 CH 01 AUTO SET UP No No Please wait for a few...

Page 28: ...ard reverse playback during the pause mode To search forward backward through a disc To forward backward a tape To pause disc playback To advance playback one frame at a time To pause disc playback To...

Reviews: