background image


PRO Series


Installation   
Instructions 


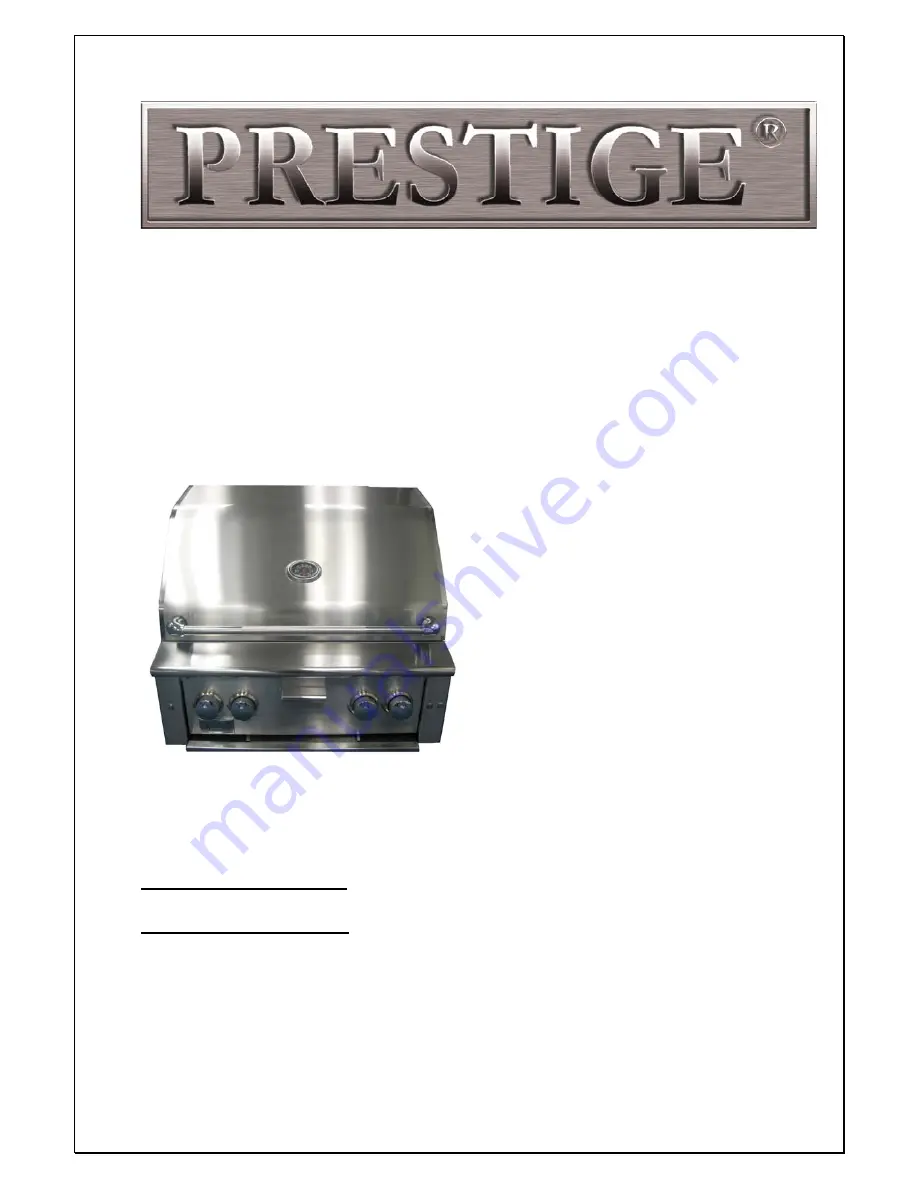
36” 105,000 BTU Professional Grill 

GBQRP36L – 36” Grill 

GBQC36 – 36” Cart 


42” 112,000 BTU Professional Grill 

GBQRP42L – 42” Grill 

GBQC42 – 42” Cart 


PLEASE  READ  THESE  OPERATING  INSTRUCTIONS  BEFORE  INSTALLATION 
AND USE TO PREVENT ACCCIDENT OR DAMAGE TO THE GRILL. 


ATTENTION  INSTALLER:

    PLEASE  LEAVE  THESE  INSTRUCTIONS  WITH  THE 

CONSUMER. 

ATTENTION  CONSUMER:

  PLEASE  RETAIN  THESE  INSTRUCTIONS  FOR  FUTURE 

REFERENCE. 


If you have service or installation questions, please call us at 

1-800-358-8886 or visit our website at www.prestige-america.com. 

Summary of Contents for GBQC36

Page 1: ...E READ THESE OPERATING INSTRUCTIONS BEFORE INSTALLATION AND USE TO PREVENT ACCCIDENT OR DAMAGE TO THE GRILL ATTENTION INSTALLER PLEASE LEAVE THESE INSTRUCTIONS WITH THE CONSUMER ATTENTION CONSUMER PLE...

Page 2: ...MANIFOLD 10 5 w c GBQRP36L 5 0 wc GBQRP42L 5 0 w c MINIMUM SUPPLY TO REGULATOR 11 0 w c 5 0 w c ELECTRICAL REQUIREMENT 12 VDC OPTIONAL ROTISSERIE IS PROVIDED WITH A SEPARATE POWER SUPPLY CORD AND IS...

Page 3: ...D HOLD UNTIL THE GRILL BURNER IGNITES IF IHE BURNER DOES NOT IGNITE WIIHIN 5 SECONDS TURN THE BURNER TO THE OFF POSITION AND WAIT 5 MINUTES REPEAT THE ABOVE STEPS TO SAFELY SHUT DOWN THE GRILL TURN AL...

Page 4: ...d components with a one year warranty on all other components SAFETY LABELS APPEARING ON THE APPLIANCE 3 IMPORTANT INSTRUCTIONS FOR SAFE INSTALLATION AND OPERATION 5 IF YOU SMELL GAS 6 FILLING AND REF...

Page 5: ...ornia law requires businesses to warn customers of potential exposure to such substances To minimize exposure to these substances always operate the unit according to the use and care manual ensuring...

Page 6: ...of accessories regulators or components not recommended by the appliance manufacturer may cause injuries and will void warranty Never light the grill with the hood closed and be certain that the burn...

Page 7: ...Filling and Refilling LP Gas Cylinders WARNING All purging and refilling of LP gas cylinders must be performed by qualified personnel in the LP gas industry Never store a spare LP gas cylinder under...

Page 8: ...at the source 3 Apply the soapy solutions to all gas connections Bubbles will appear in the soap if the connections are not properly sealed 4 Tighten the connections if necessary 5 Repeat step 3 and...

Page 9: ...work area by removing the fuse tripping the circuit breaker or unplugging the unit Gasoline lighter fluid or other flammable liquids and vapors should never be stored in the area of this grill or any...

Page 10: ...e shutter hole securely over the valve orifice and then sliding the burner bracket into the positioning slot Care should be exercised to maintain the burner hole orifice mating assembly Igniters Befor...

Page 11: ...py water solution test detailed in the manual To connect insert the regulator inlet to the tank valve and turn the black coupler clockwise until the coupler tightens securely Do not over tighten the c...

Page 12: ...tested with a soapy water solution never with a flame READ THESE GRILLAND ROTISSERIE LIGHTING INSTRUCTIONS BEFORE LIGHTING KEEP THE GRILL HOOD OPEN DURING THE LIGHTING PROCESS MAKE SURE ALL THE BURNER...

Page 13: ...It may have a tint of yellow and adjustment to the air shutters can be made to obtain a blue flame and proper gas flow Although the grill can be operated with the hood closed fired by the U shaped bu...

Page 14: ...ed by the U shaped burners for short periods of time 5 10 minutes do not operate the rotisserie or Sear Zone burner with the hood closed This may damage the grill WARNING The electric rotisserie motor...

Page 15: ...in the OFF position and the fuel line is disconnected from the unit when cleaning the burners To reduce the possibility of flashback please use the following procedures at least once per week during...

Page 16: ...he unit will not function A qualified person must purge the tank of all excess air Please when operating the control knobs push in and then turn the knobs slowly counterclockwise to the desired positi...

Page 17: ...r gap per manual Check the battery 7 Shutter air mixture Adjust air shutters per manual 8 Igniter broken Call Service and have igniter replaced 9 Igniter dirty Clean igniter of dirt or grease with clo...

Page 18: ...Y GOOD_________ GOOD __________ POOR ___________ ANY ADDITIONAL COMMENTS OR PRODUCT SUGGESTIONS ___________________________ ____________________________________________________________________________...

Page 19: ...Instructions Appliance cut out dimensions WIDTH DEPTH HEIGHT GBQRP36L 36 34 1 4 23 1 16 10 3 16 GBQRP42L 42 40 1 2 23 1 16 10 3 16 Important please verify by measuring actual appliance from box measur...

Reviews: