11
PRESTIGIO NOBILE 1520
ENG
TABLE NOTE: If you swap the left and right buttons, “tapping” on the touchpad as an
alternative method of pressing the left button will no longer be valid.
Configuring the Touchpad
You may want to configure the touchpad to suit your needs. For example, if you are a left-handed user, you can swap
the two buttons so that you can use the right button as the left button and vise versa. You can also change the size of
the on-screen pointer, the speed of the pointer, and so on.
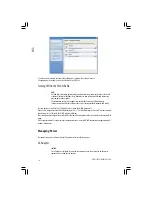
To configure the touchpad, you can use the standard Microsoft or IBM PS/2 driver if you are using Windows. However,
you can install the touchpad driver supplied with your computer to take advantage of more powerful features.
Using the DVD Drive
Your computer comes with a DVD drive, usually configured as drive D. Depending on the model, your drive is one of the
following:
Combo drive can work both as a DVD-ROM drive (for reading CD, CD–R, CD–RW, DVD, DVD-R, DVD+R, DVD–RW, and
DVD+RW discs) and as a CD–RW drive (for writing to CD–R/–RW discs).
DVD Dual drive aside from the Combo drive function, can write to DVD+R/+RW/–R/–RW discs.
CAUTION:
When inserting a disc, do not use force.
Make sure that the disc is correctly inserted into the tray, and then close the tray.
Do not leave the DVD tray open. Also, avoid touching the lens in the tray with your hand. If the
lens becomes dirty, the DVD drive may malfunction.
Do not wipe the lens using materials with rough surface (such as paper towel). Instead, use a
cotton swab to gently wipe the lens.
FDA regulations require the following statement for all laser-based devices: “Caution, Use of
controls or adjustments or performance of procedures other than those specified herein may
result in hazardous radiation exposure.”
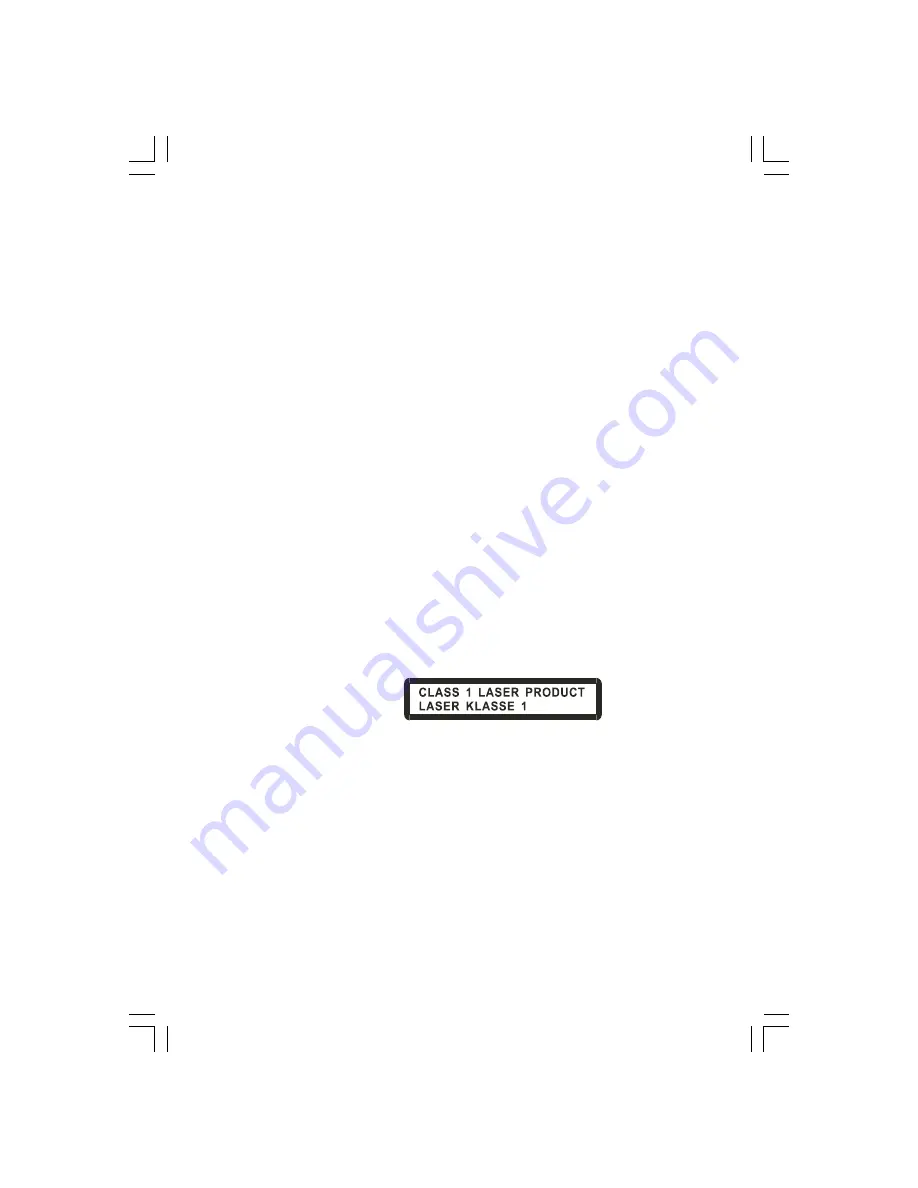
NOTE: The DVD drive is classified as a Class 1 laser product. This label is located on the DVD drive.
NOTE: For DVD and Combo drives only. This product incorporates copyright protection
technology that is protected by method claims of certain U.S. patents and other intellectual
property rights owned by Macrovision Corporation and other rights owners. Use of this
copyright protection technology must be authorized by Macrovision Corporation, and is
intended for home and other limited viewing uses only unless otherwise authorized by
Macrovision Corporation. Reverse engineering or disassembly is prohibited.
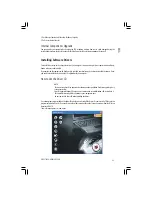
Inserting and Removing a Disc
Follow this procedure to insert or remove a disc:
1. Turn on the computer.
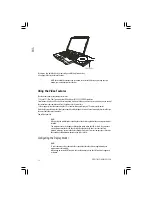
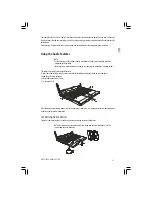
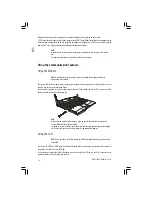
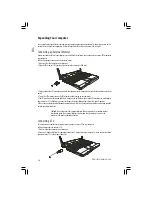
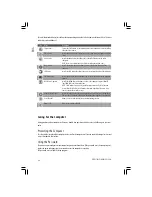
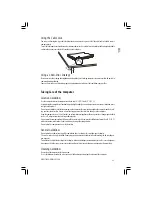
2. Press the eject button and the DVD tray will slide out partially. Gently pull on it until it is fully extended.
3. To insert a disc, place down the disc in the tray with its label facing up. Slightly press the center of the disc until it clicks
into place.
Summary of Contents for Nobile 1520
Page 37: ...1 PRESTIGIO NOBILE 1520 RU Prestigio Nobile 1520 2005...
Page 38: ...2 PRESTIGIO NOBILE 1520 RU 9 1 2 1 3 9 2 4...
Page 39: ...3 PRESTIGIO NOBILE 1520 RU 1 2 1 2 3 POST power9on self9test Windows Shut Down 5...
Page 43: ...7 PRESTIGIO NOBILE 1520 RU Microsoft Windows Windows Fn F12 Windows Fn F12...
Page 46: ...10 PRESTIGIO NOBILE 1520 RU 9 9 9 9 9 9 9...
Page 49: ...13 PRESTIGIO NOBILE 1520 RU 9 Sound Blaster Pro 1 2 Windows...
Page 56: ...20 PRESTIGIO NOBILE 1520 RU 9 1 2 D9 VGA9 3 4 5 9 Fn F5 Windows Display Properties 6 1 2 S9...
Page 61: ...25 PRESTIGIO NOBILE 1520 RU Kensington Kensington 10 C 50 F 35 C 95 F 13 10 C...
Page 62: ...26 PRESTIGIO NOBILE 1520 RU 60 C 140 F 6 9 9 BIOS 9 9 9 9...
Page 63: ...27 PRESTIGIO NOBILE 1520 RU DVD DVD DVD 1 2 3 Fn F7 9 Fn F5 Display Proper9 ties...
Page 66: ...30 PRESTIGIO NOBILE 1520 RU COM PC9 PC PC9 IRQ Interrupt ReQuest PC Windows 9 Fn F12 PC9...
Page 68: ...32 PRESTIGIO NOBILE 1520 RU Ctrl Alt Del...
Page 71: ...35 PRESTIGIO NOBILE 1520 RU B B 15 FCC 9 1999 5 EC...


