CARE AND MAINTENANCE 8-17
PA1628 H3-41, H3-45 Operator’s Manual
NOTE
Recommended tire inflation pressures are
given in the "Coach Final Record", placed in the
technical publications package supplied with
the vehicle. The cold tire inflation pressures
are on the Department of Transport
certification plate located on the L.H. console
besides the driver’s seat. When special tires
are installed by Prevost on a new vehicle, a
special tire inflation chart is added next to the
certification plate.
WARNING
Do not exceed maximum inflation pressure.
Incorrect tire pressure increases tire wear
and could lead to loss of driving control
because of reduced road handling. Check
tire pressure regularly.
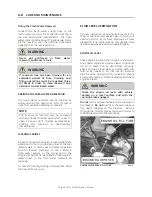
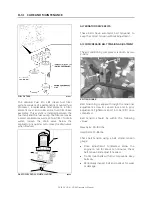
WHEEL BEARINGS
Check wheel bearing cover for overheating
(especially after using the service brakes) during
fuel stops by touching the wheel bearing cover.
WARNING
If replacement tires are different from
those described on the certification plate,
pressure must be adjusted as requested in
the Tire and Rim Association Manual.
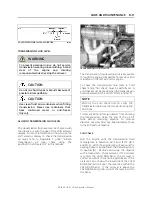
SERVICE BRAKE TEST
Check for correct pressure build-up. Stop engine
and check pressure gauge. Pressure loss should
not exceed 3 psi/min (21 kPa/min) with engine
stopped and without brake pedal applied. Air
loss should not exceed 7 psi/min (48 kPa/min)
with engine stopped and brake pedal fully
applied.
A convenient way to proceed to the service
brake test is with the use of the DID menu “Air
Leakage Monitor”. For more information, refer to
“Driver Information Display (DID) Menus” in
Section 5
Other Features
.
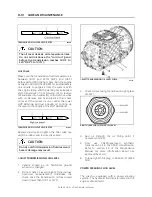
PARKING BRAKE TEST
Release parking/emergency brake. Pump service
brake pedal until air pressure drops to 65 psi
(448 kPa). Make sure the warning buzzer
operates and that the emergency brakes apply
(the control valve knob lifts up). Allow air
pressure to reach 95 psi (655 kPa) before
releasing parking brake.
Driving the vehicle while the parking brake is
applied should not be possible.
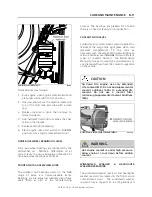
EXTERIOR LIGHTING VERIFICATION
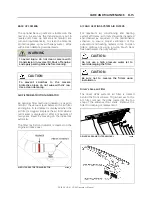
Exterior Lighting Test Mode
This useful function allows quick verification of
the vehicle exterior lights.
Activating the test mode
When the vehicle is stationary (parking brake
applied), pull up the multi-function lever 3 times
within 3 seconds to activate the test mode. This
test can be done when the engine is not running
providing that the battery charge is sufficient
(above 24.0 volts).
The telltale panel alarm emits a sound each
second to remind that the test mode is in
progress.
NOTE
Lighting test mode can also be initiated and
stopped using the DID menu “Exterior Lamp
Inspection”. For more information, refer to
“Driver Information Display (DID) Menus” in
Section 5 Other Features.
Stopping the test mode
To stop the test mode, pull up the multi-
function lever once or turn the ignition OFF or
remove the parking brake.
Summary of Contents for H 2018 Series
Page 1: ...COACH MANUFACTURER OPERATOR S MANUAL H SERIES COACHES PA1628 January 2018 ...
Page 8: ......
Page 10: ......
Page 14: ......
Page 30: ......
Page 114: ......
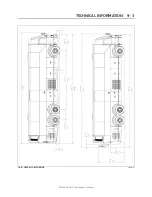
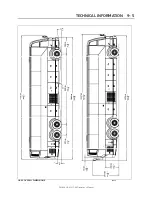
Page 217: ...TECHNICAL INFORMATION 9 5 PA1628 H3 41 H3 45 Operator s Manual H3 45 OVERALL DIMENSIONS 18525 ...
Page 232: ......
Page 236: ......
Page 256: ......


