CARE AND MAINTENANCE 8-25
PA1628 H3-41, H3-45 Operator’s Manual
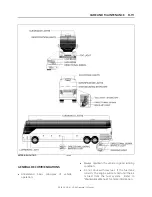
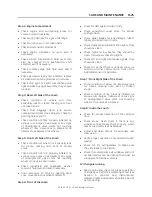
Step 3: Engine Compartment
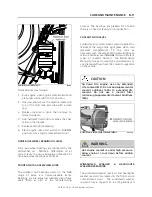
Check engine and surrounding areas for
coolant, oil and fuel leaks.
Check wiring harness for signs of damage.
Check for loose, worn or broken belts.
Check belts tension adjustment.
Check engine crankcase oil level, add if
necessary.
Check Allison transmission fluid level (can
also be checked from push-button shift
selector), add if necessary.
Check coolant surge tank fluid level, add if
necessary.
Check air cleaner restriction indicator, replace
air cleaner when red signal locks in full view.
Check stop light, tail light, directional signal
light and back-up light assembly, they should
be clean.
Step 4: Rear Left Side of the Coach
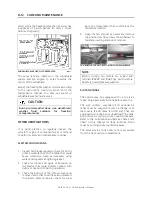
Check condition of wheels and rims.
Especially look for cracks, missing nuts, bent
or broken studs.
Check that baggage doors and service
compartment doors close properly. Check for
good tightness and fit.
Check condition of tires: properly inflated, no
serious cuts, bulges, tread wear or any signs
of misalignment; valve stems not touching
wheels or rims; valve caps in place and no
objects stuck between the wheels.
Step 5: Front Left Side of the Coach
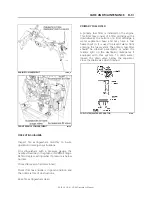
Check condition of wheel rim. Especially look
for cracks, missing nuts, bent or broken
studs.
Check condition of tire: properly inflated, no
serious cuts, bulges, tread wear or any signs
of misalignment; valve stem not touching
wheel or rim; valve cap in place.
Check windshield and headlights washer
reservoir fluid level and add if necessary.
Drain accessory air tank by opening drain
cock. Close drain cock when completed.
Step 6: Front of the Coach
Check for damage and clean if dirty.
Check windshield wiper arms for proper
spring tension.
Check wiper blades for any damage, “dead”
rubber and attachment to arm.
Check clearance and identification lights, they
should be clean.
Check high and low beams, they should be
clean. If equipped, check fog lights.
Check left and right directional signals, they
should be clean.
Check to see that there is no mud, snow, ice
build-up or other obstruction in front of the
ACB radar sensor if applicable.
Step 7: Front Right Side of the Coach
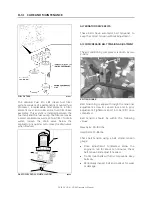
Check condition of wheel rim. Especially look
for cracks, missing nuts, bent or broken
studs.
Check condition of tire: properly inflated, no
serious cuts, bulges, tread wear or any signs
of misalignment; valve stem not touching
wheel or rim; valve cap in place.
Step 8: Inside the Coach
Check for proper operation of the entrance
door.
Check steps; clean them if there is any
substance that makes them slippery, which
makes coach entry/exit hazardous.
Adjust and clean mirrors for adequate rear
view vision.
Verify proper operation of windshield wiper/
washer.
Check for fire extinguishers to make sure
they are ready for operation.
Check that emergency exit windows and roof
escape hatches can be opened then close all
windows and hatches securely
With engine running
Start engine and check for proper operation
of all gauges. Perform a telltale light test (see
Section 4
Controls And Instruments
).
Indicator lights and buzzers should all be OFF
before driving.
Summary of Contents for H 2018 Series
Page 1: ...COACH MANUFACTURER OPERATOR S MANUAL H SERIES COACHES PA1628 January 2018 ...
Page 8: ......
Page 10: ......
Page 14: ......
Page 30: ......
Page 114: ......
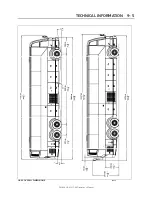
Page 217: ...TECHNICAL INFORMATION 9 5 PA1628 H3 41 H3 45 Operator s Manual H3 45 OVERALL DIMENSIONS 18525 ...
Page 232: ......
Page 236: ......
Page 256: ......

