Appendix C – Allison Diagnostic Troubleshooting Codes
189
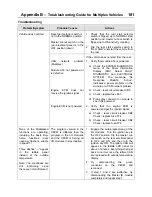
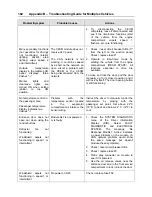
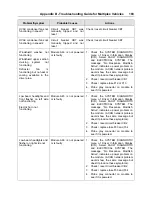
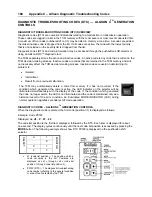
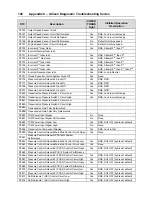
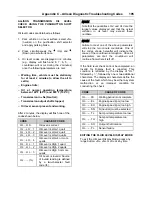
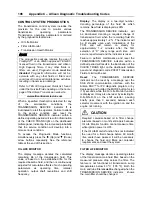
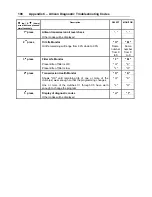
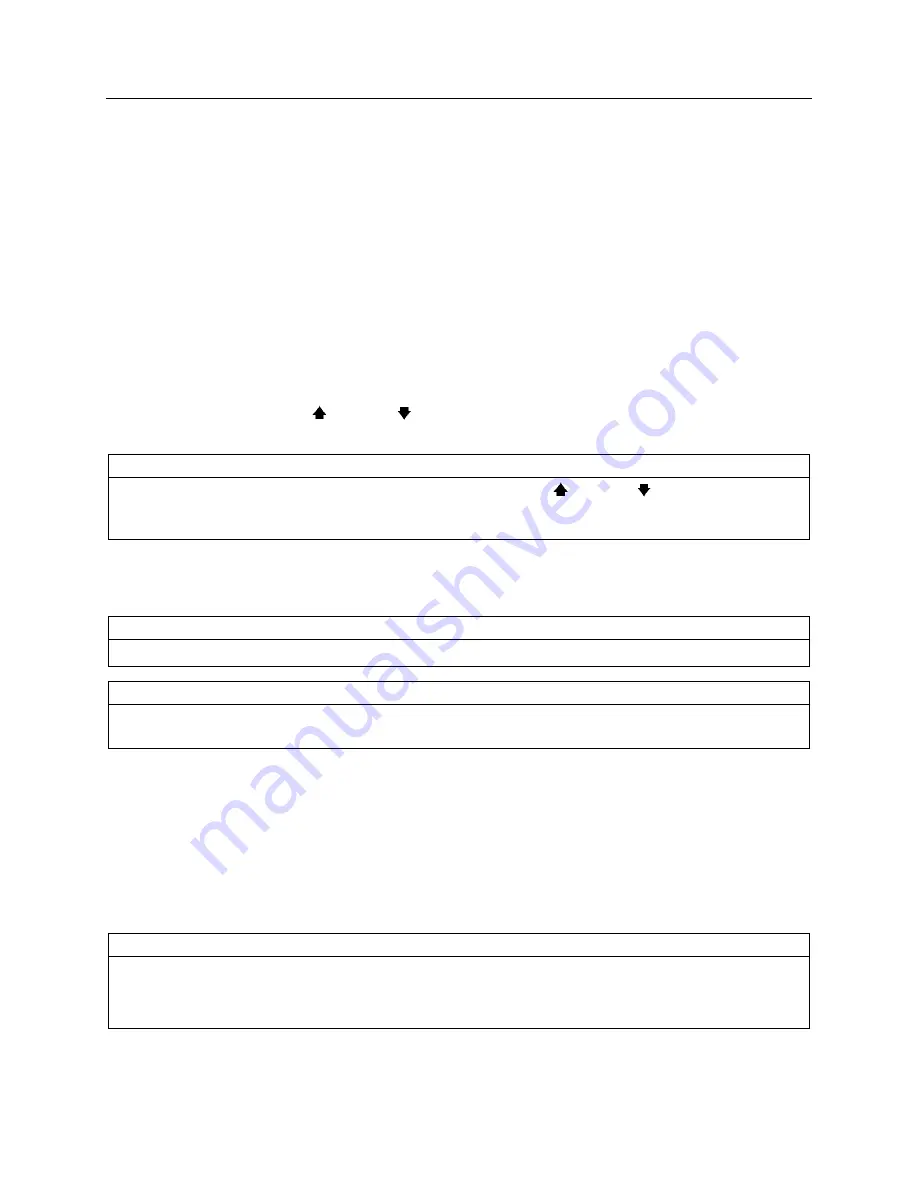
DIAGNOSTIC CODE DISPLAY AND CLEARING PROCEDURE – ALLISON 4
TH
GENERATION
CONTROLS
Diagnostic codes can be read and cleared by two methods:
o
Using an Allison DOC™ diagnostic tool. For specific instructions on how to use an Allison DOC™
diagnostic tool, refer to the User Guide.
o
Using the pushbutton shift selector.
To begin the diagnostic process:
1. Bring the vehicle to a stop at a safe location.
2. Apply the parking brake.
To display stored codes:
1. Simultaneously
press
the (Up) and (Down) arrow buttons five times to access the Diagnostic
Display Mode.
NOTE
To access the Oil Level Display Mode,
simultaneously press the
(Up) and (Down)
arrow buttons
once. Consult paragraph: «
ALLISON TRANSMISSION OIL LEVEL CHECK USING THE
PUSHBUTTON SHIFT SELECTOR » at the end of this section.
2. Observe the digital display for code (d1).
3. Press the MODE button to see the next code (d2) – repeat for subsequent codes (d3, d4 & d5).
NOTE
Be sure to record all codes displayed before they are cleared. This is essential for troubleshooting.
NOTE
The Diagnostic Display Mode can be entered for viewing codes at any speed. Codes can only be
cleared when the output speed = 0 and no output speed sensor failure is active
Active indicators (MODE INDICATOR LED) and inactive codes can be cleared manually, while in the
diagnostic display mode, after the condition causing the code is identified.
To clear active indicators and inactive codes:
1. While in Diagnostic Display Mode, press and hold the MODE button for 10 seconds to clear both
active indicators and inactive codes.
2. Begin operating as normal. Have the transmission checked at the earliest opportunity by an Allison
Transmission distributor or dealer.
NOTE
All active indicators are cleared at TCM power down.
Some codes will clear their active indicator when the condition causing the code is no longer detected
by the TCM.
Summary of Contents for X3-45 2011
Page 1: ...COACH MANUFACTURER OPERATOR S MANUAL X3 45 COACH PA1581...
Page 4: ......
Page 6: ......
Page 10: ......
Page 24: ......
Page 128: ......
Page 134: ......
Page 171: ...Technical Information 165 X3 45 OVERALL DIMENSIONS SIDE ELEVATION 18673...
Page 172: ...Technical Information 166 X3 45 OVERALL DIMENSIONS TOP FRONT AND REAR VIEWS 18674...
Page 182: ......
Page 186: ......
Page 206: ......


