SECTION 23: ACCESSORIES
4
DOB 2490-2789 | X3-45 Commuter PA1605 Maintenance Manual (Final Version – Rev.2 April 2016)
CAUTION
Do not attempt to manually move the wiper
arms to make wiper blade sweep adjustments
as damage to the wiper linkage or motor may
occur. If it is necessary to adjust the sweep of
blades, remove the arms and make
adjustment by positioning the arms using
serration on the wiper arm pivot shafts.
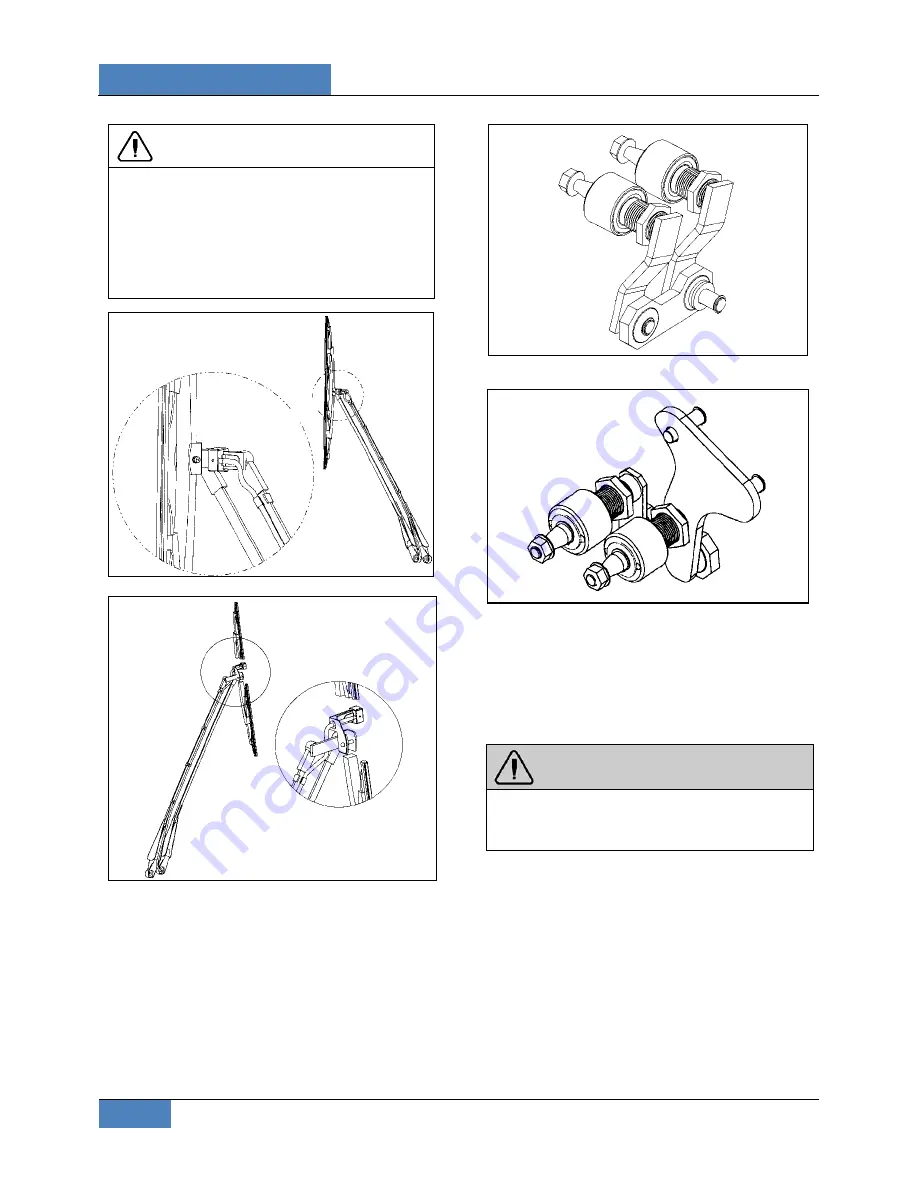
FIGURE 7: WINDSHIELD WIPER (MOTOR SIDE)
23329
FIGURE 8: WINDSHIELD WIPER (DRIVER SIDE)
23328
3. When the final position is found, tighten the
wiper arm nuts to 22 Ft-lbs (30 Nm). Wait 30
minutes and tighten again to 22 Ft-lbs.
4. Lower the protective cover.
5. Connect the windshield washer tubing at the
base of the wiper arm.
6. Check the adjustment on a wet windshield.
FIGURE 9: DRIVING MECHANISM (DRIVER SIDE)
23284
FIGURE 10: DRIVING MECHANISM (MOTOR SIDE)
23285
3.3
WINDSHIELD WIPER MOTOR
3.3.1
Windshield Wiper Motor Replacement
The windshield wiper motor is located at lower
front of the vehicle, behind the defroster panel.
Refer to figure 6 for motor location.
WARNING
Park vehicle safely, apply parking brake, stop
engine and set battery master switch to the
‘’OFF’’ position prior to working on the vehicle.
1. Remove the Phillips-head screws retaining
the defroster panels, and remove panels.
2. Disconnect wiring connector from the
windshield wiper motor.
3. Loosen clamping screw retaining the lever at
the end of the motor driving shaft.
4. Remove the three bolts holding the motor to
the steel plate.
5. Remove the windshield wiper motor
(Prevost #800328), reverse removal
procedure to reinstall.


