I
NSTALLATION
: P
OWER
U
P
P
ROCEDURE
0 2. 9 8 1 2. 0 0 01 A
17
2
Power Up Procedure
Powering Up the Luminaire
When AC power is applied, the luminaire will begin a calibration sequence which moves its pan, tilt,
and all beam control mechanisms. After calibration, the luminaire head will either stop at its "home"
position (which positions the pan axis at mid-rotation and the head parallel to the yoke with the lens
pointing away from the luminaire upper enclosure) or move to its current DMX-defined position if
DMX512 data is present. The beam control mechanisms will also move to their "home" or DMX-
defined positions. The lamp is set to OFF in the default mode.
The luminaire also contains an on-board battery so that it can be addressed and configured without
being connected to main power. (To bypass calibration, refer to
"Bypassing Calibration" on page 18
.)
CAUTION:
Before applying power, be sure the luminaire is hung or positioned so that the head and
yoke can move freely without restriction. Refer clearances in
Figure 2-5
on
page 13
.
CAUTION:
If luminaire is operated without yoke leg covers in place, pan problems will occur.
To power up:
Step 1. At each luminaire, connect power. Allow luminaire to complete its calibration sequence.
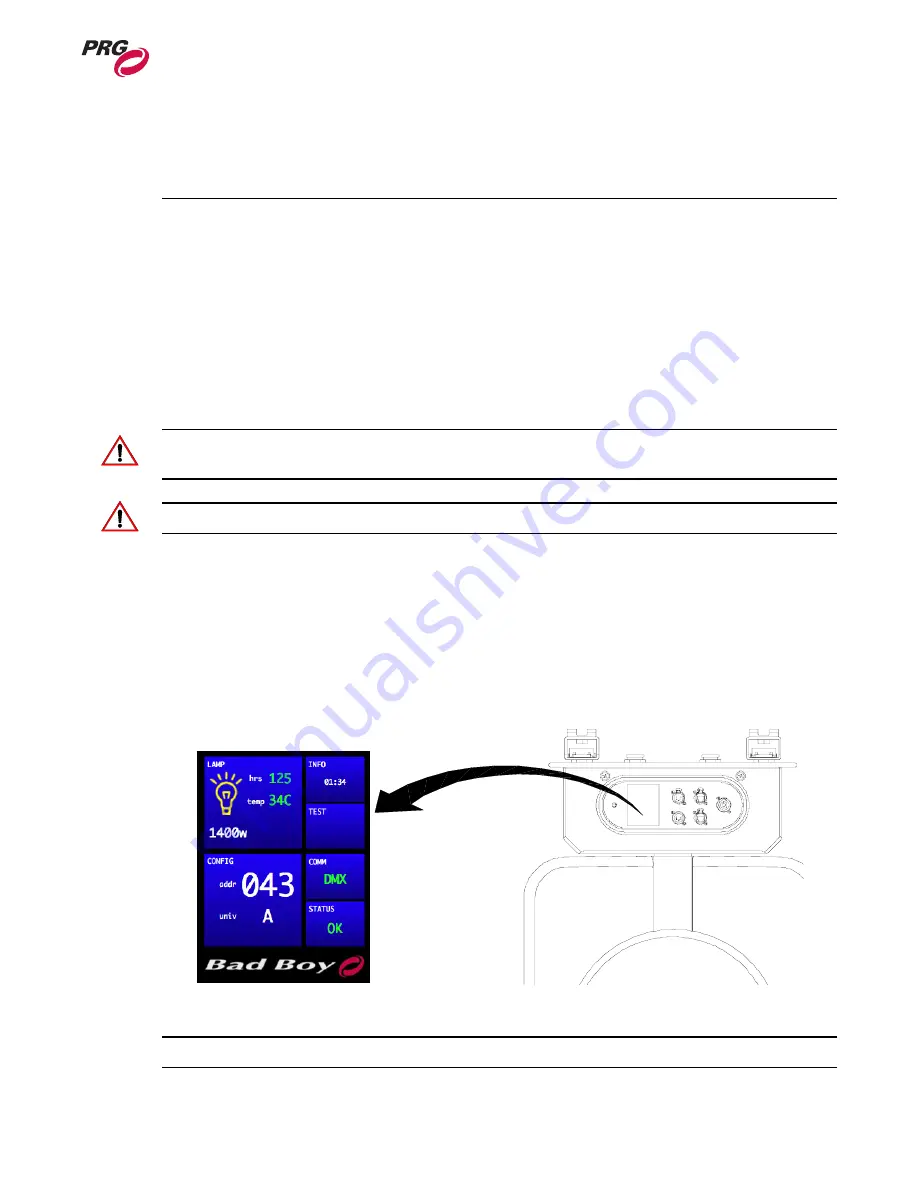
Step 2. For normal power up, the Menu Touchscreen "Home" screen will display
Status OK
. The
Home screen will also display the luminaire’s DMX address and lamp information.
Step 3. Check Comm LED for proper operation. Refer to
"Comm LED Operation" on page 18
.
Step 4. To strike lamp, send appropriate command from console or follow steps provided in
"Starting the Lamp" on page 20
.
Figure 2-9: Menu Touchscreen at Power Up
Note:
Refer to
"Menu System" on page 22
for more information about the Menu Touchscreen.
200 -240 VAC
15A Max
50 /60 Hz
COMM
IN
DMX
THRU
ETHERNET
AC IN
Home Screen


