background image

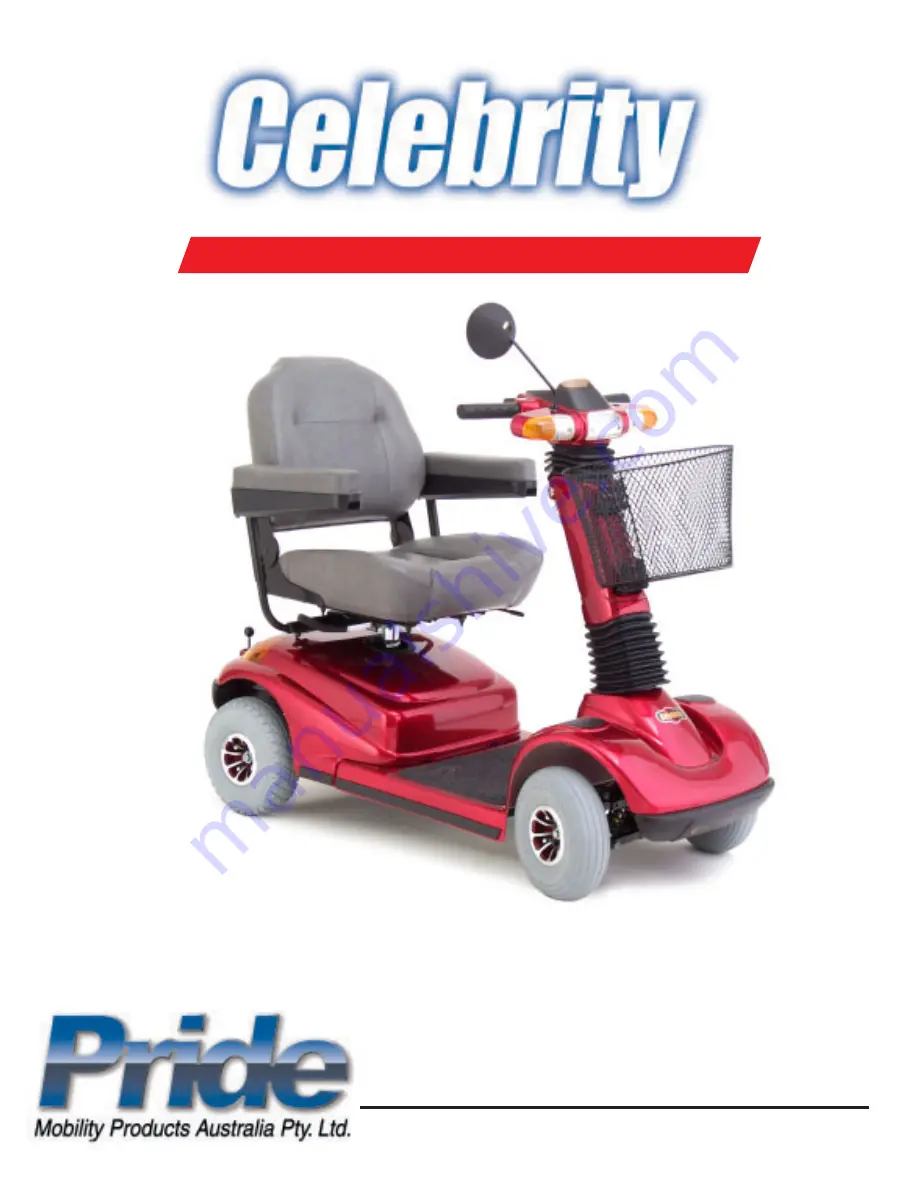
The Ultimate In Style & Performance

®

Owner’s Manual

www.pridemobility.com

21 Healey Road

Dandenong,  3175

Victoria, Australia

Summary of Contents for Celebirty The Ultimate In Style & Performance

Page 1: ...The Ultimate In Style Performance Owner s Manual www pridemobility com 21 Healey Road Dandenong 3175 Victoria Australia ...

Page 2: ...rofessional Pride is not responsible for injuries and or damage resulting from any person s failure to follow the warnings cautions and instructions in this owner s manual Pride is not responsible for injuries and or damage resulting from any person s failure to exer cise good judgement and or common sense The symbols below are used throughout this owner s manual to identify warnings and cautions ...

Page 3: ... SAFETY 6 III SPECIFICATIONS 9 IV DESCRIPTION 11 V BATTERIES AND CHARGING 16 VI OPERATION 20 VII COMFORT ADJUSTMENTS 22 VIII DISASSEMBLY AND ASSEMBLY 25 IX OPTIONAL ACCESSORIES 28 X BASIC TROUBLESHOOTING 29 XI CARE AND MAINTENANCE 31 XII WARRANTY 33 ...

Page 4: ...iterature issued by Pride or contained on the Pride Scooter itself This owner s manual is compiled from the latest specifications and product information available at the time of publication We reserve the right to make changes as they become necessary Any changes to our products may cause slight variations between the illustrations and explanations in this manual and the product you have purchase...

Page 5: ..._ Quick Reference Information Scooter Model ________________________________________________________________________ Serial Number __________________________________________________________________________ Purchase Date ________________________________________________________________________ NOTE If you ever lose or misplace your product registration card or owner s manual write to us and we will ...

Page 6: ...fect your ability to operate your Celebrity safely n Keep your hands on the tiller and your feet on the floorboard when you are operating your Celebrity n Make certain that the tyres are properly inflated 30 psi n Never use your Celebrity as a seat in a moving vehicle n Make certain that the Celebrity s batteries are properly secured when you transport your Scooter in another vehicle n Disconnect ...

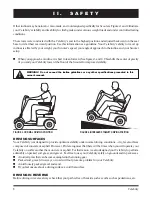
Page 7: ...r allow the rubber door edge to contact the Scooter and the door will reopen n Use care that pocketbooks packages or Celebrity accessories do not become caught in elevator doors RAMPS AND OTHER INCLINES More and more buildings have ramps with specified degrees of inclination These ramps are designed for easy and safe Scooter access Some ramps may have turning switchbacks that require good cornerin...

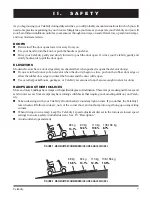
Page 8: ...s free of hazards such as curbs such as pedestrians etc Other inclines may be natural or man made and not designed specifically for Scooters Figures 1 and 2 illustrate your Celebrity s stability and its ability to climb grades under various weight loads and under controlled testing conditions These tests were conducted with the Celebrity s seat in the highest position and adjusted backward on the ...

Page 9: ...S 61 cm 162 5 cm 122 cm 46 cm 41 cm 61 cm 71 cm 127 cm 127 5 cm 4 Wheel Turning Radius 4 Wheel Length 3 Wheel Length 3 Wheel Turning Radius 9 cm 90 100 102 105 47 cm Adjustable 20 cm 30 5 cm 100 cm 109 cm 43 cm 52 cm FIGURE 5 CELEBRITY DIMENSIONS ...

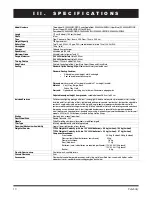
Page 10: ... installed on left or right side of tiller lighted touch pad control console front basket four position adjustable seat back angle adjustable armrest width height angle dual microprocessor based motor controller system modular controller charger assembly infinitely adjustable tiller with auto leveling console and shock dampening action standard front rear integrated bumpers easily accessible charg...

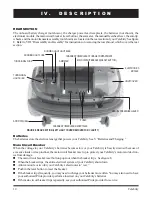
Page 11: ...e console does become exposed to moisture do not attempt to operate your Celebrity until the console has thoroughly dried FIGURE 7 CONTROL CONSOLE ASSEMBLY BATTERYCONDITIONMETER HORN BUTTON SPEEDADJUSTMENTDIAL THROTTLECONTROLLEVER REVERSE HORN BUTTON HAZARD LIGHT BUTTON LEFT TURN SIGNAL BUTTON RUNNING LIGHTS BUTTON RIGHT TURN SIGNAL BUTTON THROTTLECONTROLLEVER FORWARD STATUSLED YourCelebrityisamot...

Page 12: ...syour Celebrity s brakes Battery Condition Meter This meter gives an approximate reading of your scooter s battery voltage when the key is fully inserted into the key switch n Green indicates the Celebrity s batteries are fully charged n Yellow indicates that the Celebrity s battery voltage level is getting low and will require a charge soon n Red indicates that your Celebrity s battery voltage le...

Page 13: ... to shut off automatically Status LED The StatusLEDwillalertyoutoelectricalproblemsthatmayoccurwiththeCelebrity TheLEDremainsconstantlylit whileyourscooterison IftheCelebritydevelopsanelectricalproblem thestatusLEDwillflashacode SeeXI Basic Troubleshooting IfthestatusLEDflashesacodeotherthanacodelisted in BasicTroubleshooting contactyour authorised Pride Provider ...

Page 14: ...ut when the breaker trips See figure8 n When the breaker trips the entire electrical system of your Celebrity shuts down n Allow a minute or two for your Celebrity s electronics to rest n Push in the reset button to reset the breaker n If the breaker trips frequently you may need to charge your batteries more often You may also need to have your authorized Pride provider perform a load test on you...

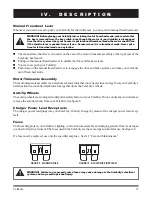
Page 15: ...n Pull up on the manual freewheel lever to disable the drive and brake systems n You may now push your Celebrity n Push down on the manual freewheel lever to reengage the drive and brake systems and take your Celebrity out of freewheel mode Motor Transaxle Assembly The motor transaxle assembly is an electromechanical unit that converts electrical energy from your Celebrity s batteries into the con...

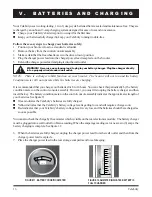
Page 16: ...ttery condition meter on the control console assembly However you must first unplug the battery charger and then insert the key The battery condition meter on the control console assembly indicates the approximate strength of your batteries See figure 11 n Green indicates the Celebrity s batteries are fully charged n Yellow indicates that the Celebrity s battery voltage level is getting low and wi...

Page 17: ... of both batteries with the onboard battery charger How often must I charge the batteries Two major factors must be considered when deciding how often to charge your Celebrity s batteries n All day Scooter use on a daily basis n Infrequent or sporadic Scooter use With these considerations in mind you can determine just how often and for how long you should charge your Celebrity s batteries We desi...

Page 18: ...s the battery warranty and may cause damage to the batteries and to your Celebrity Use these specifications to reorder deep cycle batteries Type Deep cycle sealedlead acidorgelcell Size U 1 32AH only 40AH Voltage 12 voltseach Amperage 32AH or 40AH amphours To replace a battery in your Celebrity 1 Remove the seat and the rear shroud See VIII Disassembly andAssembly 2 Disconnect the battery tie down...

Page 19: ...ir peak performance level and are able to last for an extended period of time How can I ensure maximum battery life Fully charged deep cycle batteries provide reliable performance and extended battery life Keep your Celebrity s batteries fully charged whenever possible Batteries that are regularly and deeply discharged infrequently charged or stored without a full charge may be permanently damaged...

Page 20: ...Celebrity above n Is the seat at the proper height SeeVII ComfortAdjustments n Is the seat locked securely in place SeeVII ComfortAdjustments n Is the tiller handle at a comfortable setting and locked securely in place SeeVII ComfortAdjustments n Is the key fully inserted into the key switch and in the on position See IV Description n Is the speed adjustment set to a slow setting See IV Descriptio...

Page 21: ...lebrity comes to a stop GETTING OFF OF YOUR CELEBRITY 1 Bring your Celebrity to a complete stop 2 Make certain that the key is turned counterclockwise to the off position 3 Push down on the seat lock lever and rotate the seat until you are facing toward the side of your Celebrity 4 Make certain that the seat is locked securely in position 5 Carefully and safely get out of the seat and stand to the...

Page 22: ...dAssembly 2 Use the attached ring to pull and remove the ball detent pin from the lower seat post See figure 14 3 Raise or lower the seat pedestal to the desired seat height 4 Hold the seat pedestal at that height and match up the holes in the seat pedestal and in the lower seat post 5 Fully insert the ball detent pin 6 Replace the seat FRONT TO BACK SEAT ADJUSTMENT The Celebrity is equipped with ...

Page 23: ...T S HEIGHTADJUSTMENTTUBE ACORNNUT SETSCREW FIGURE 16 ARMREST HEIGHT ADJUSTMENT ARMRESTADJUSTMENT KNOB thearmrests 5 32 in hex key 1 8 in hex key 7 16 in wrench To adjust armrest height 1 Loosen the setscrew on the side of the height adjustment tube with the 1 8 in hex key See figure 16 2 Loosen and remove the acorn nut and screw holding the height adjustment tube in place 3 Raise or lower the heig...

Page 24: ...e seat while in motion Do not operate your Scooter with the power seat elevated It is recommended that the vehicle be driven only with the seat in the lowest position SEATBACK ADJUSTMENT The seatback may be positioned at four dif ferent angles 90 100 102 and 105 See figure16A To adjust the seatback angle 1 Loosen and remove the adjustment screw from the seatback hinge on both sides of the seat 2 R...

Page 25: ... Rotate the seat one eighth of a turn and lift the seat up and off the Celebrity See figure 18 4 Gently lift the rear shroud off of the Celebrity See figure 19 5 Disconnect the battery tie down straps if so equipped 6 Unplug both black and white 2 pin battery harnesses See figure 20 7 Unplug the front to rear harness that connects the control console assembly to the rear electronics module See fig...

Page 26: ...IGURE 24 BALL DETENT PINS WITH RINGS FIGURE 25 SEPARATING THE FRAME SECTIONS FIGURE 22 BATTERY REMOVAL FIGURE 21 DISCONNECTING THE FRONT TO REAR HARNESS FIGURE 20 DISCONNECTING THE BATTERY HARNESSES UNLOCKEDPOSITION FIGURE 23 LOCKING CAM LEVERS FIGURE 26 MOTOR HARNESS ...

Page 27: ...nt half reaches its insertion limit 5 Secure the front and rear sections with the ball detent pins 6 Push the frame lock levers back to their locked downward position 7 Plug the front to rear harness into the mating plug found on the rear electronics module 8 Put the batteries in place and plug the black and white 2 pin battery harnesses into the rear electronics module 9 Reconnect the battery tie...

Page 28: ... S OPTIONAL ACCESSORIES For information concerning these optional accessories see your authorized Pride provider WALKER HOLDER SINGLE CANE CRUTCH HOLDER FOREARM CRUTCH HOLDER DOUBLE CANE CRUTCH HOLDER OXYGEN TANK HOLDER REAR BASKET CUP HOLDER SAFETY FLAG ...

Page 29: ...y connected to the rear electronics module See VIII Disassembly andAssembly n Be sure the auto shutoff feature hasn t been activated SeeV Batteries and Charging n Check the fuses See XI Care and Maintenance for fuse replacement What if the motor runs but my Celebrity does not move n With the key turned to the on position check the status LED If the LED flashes three times a pause then flashes two ...

Page 30: ... and Charging or III Specifications for information about your Celebrity s battery type What if the battery condition meter dips way down and the motor surges or hesitates when I press my Celebrity s throttle control lever See IV Description n Fully charge your Celebrity s batteries SeeV Batteries and Charging n Have your authorized Pride provider load test each battery n See the previous troubles...

Page 31: ...connections remain tight and uncorroded n The batteries must sit flat in the battery wells n The battery terminals should face the rear of the Celebrity WIRING HARNESSES n Regularly check all wiring connections n Regularly check all wiring insulation including the charger power lead for wear or damage n Have your authorized Pride provider repair or replace any damaged connector connection or insul...

Page 32: ...three Phillips head screws n Gently remove the bulb by pulling it straight up See figure 8 n Insert a new 24V 5 watt bulb n Replace the light cover FUSES In the event a fuse should cease to work n Remove the fuse by pulling it up and out of its slot n Examine the fuse to be sure it is blown See figures 9 and 10 n Insert a new fuse of the proper rating n Turning indicators and rear lights replace w...

Page 33: ...tems renders the warranty void on that item NOT COVERED UNDER WARRANTY This warranty does not extend to those items which may need replacement due to normal wear and tear tyres belts bulbs upholstery plastic shrouds motor brushes fuses and batteries or damage to the product caused by misuse or accident for which Pride or its agent cannot be held responsible This warranty does not include labor or ...

Reviews: