P r i m a L u c e L a b S p A
A R C O u s e r m a n u a l
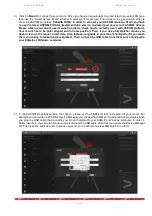
7) Now that the connection to your devices is confirmed, please click on the large
PLAY
button (bottom-right) to
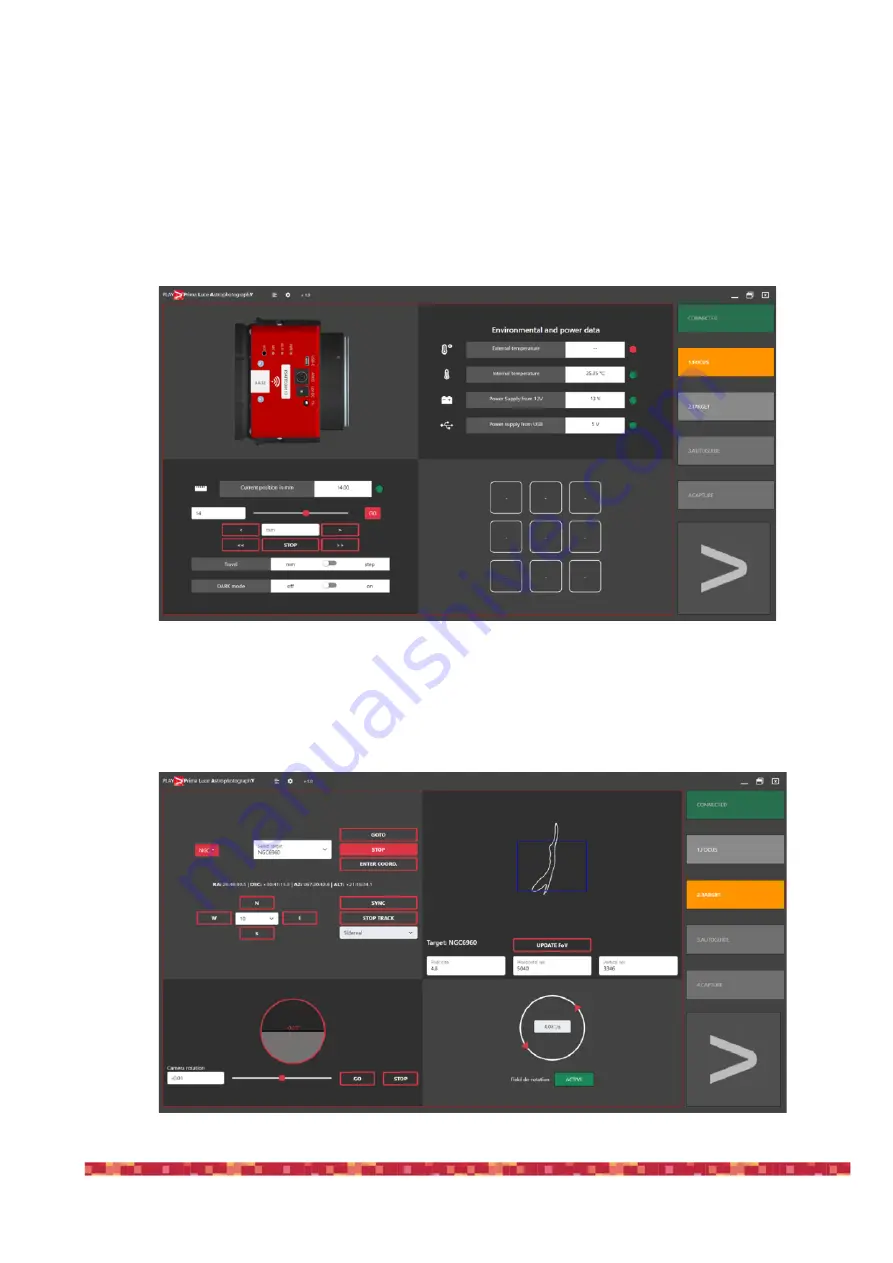
proceed to the CAPTURE section of PLAY software where you can control your devices in order to make astro-
photography. At the top-right part of the screen you can see the green CONNECTED notification that shows
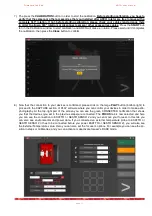
you that the devices (you set in the previous steps) are connected. The
FOCUS
tab is now selected and here
you can see the connection to ESATTO or SESTO SENSO 2 and you can move your focuser. In this tab you
can also see environmental and power data. If you connected an external temperature probe to ESATTO or
SESTO SENSO 2 (it has to be connected before you power ESATTO or SESTO SENSO 2), you will also see
the External Temperature value. Here you can also set the focuser’s options. For example you can see the po-
sition in steps or millimetres, and you can activate or deactivate focuser’s DARK mode.
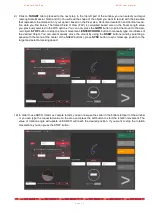
8) Click on
TARGET
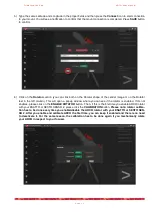
tab to proceed to the next step. In the top left part of the window, you can select your target
(among Stars, Messier, NGC and IC). You will see the shape of the object you want to record with the blue area
that represents the dimension of your sensor based on the Pixel size, Horizontal resolution and Vertical resolu-
tion data you find below. The framed Field of View (FoV) is calculated based also on the Focal Length value
you previously selected in the OTA options. You can now press the
GOTO
button to point the mount to the desi-
red object and PLAY will automatically start the field de-rotation.
p a g e 1 6

