P r i m a L u c e L a b i S r l
S p i d e r 2 3 0 u s e r m a n u a l
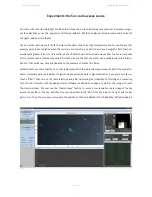
Click with the right mouse button and select "Sync Antenna". Spider230 will point to the required sky area. Then
select the "Raster Image"tab and set a fast record at low resolution, for example 5 columns, 5 rows, resolution
0,5° and an integration time of 1 second. Choose the option "Sun Correction" and click the "Start" button. As soon
as the radio telescope will end the record, look at the position of the illuminated pixels: probably the position of the
Sun will be slightly shifted respect to the center, then click the illuminated pixels in the "Radio Map" with the right
mouse button and select "Sync Antenna". You will notice that in the top left, in RadioUniverse window, the radio
value "Received" will change from very low (close to 0) to about 8000. You perfectly pointed the antenna on the
Sun and you're recording in real time its radio emission.
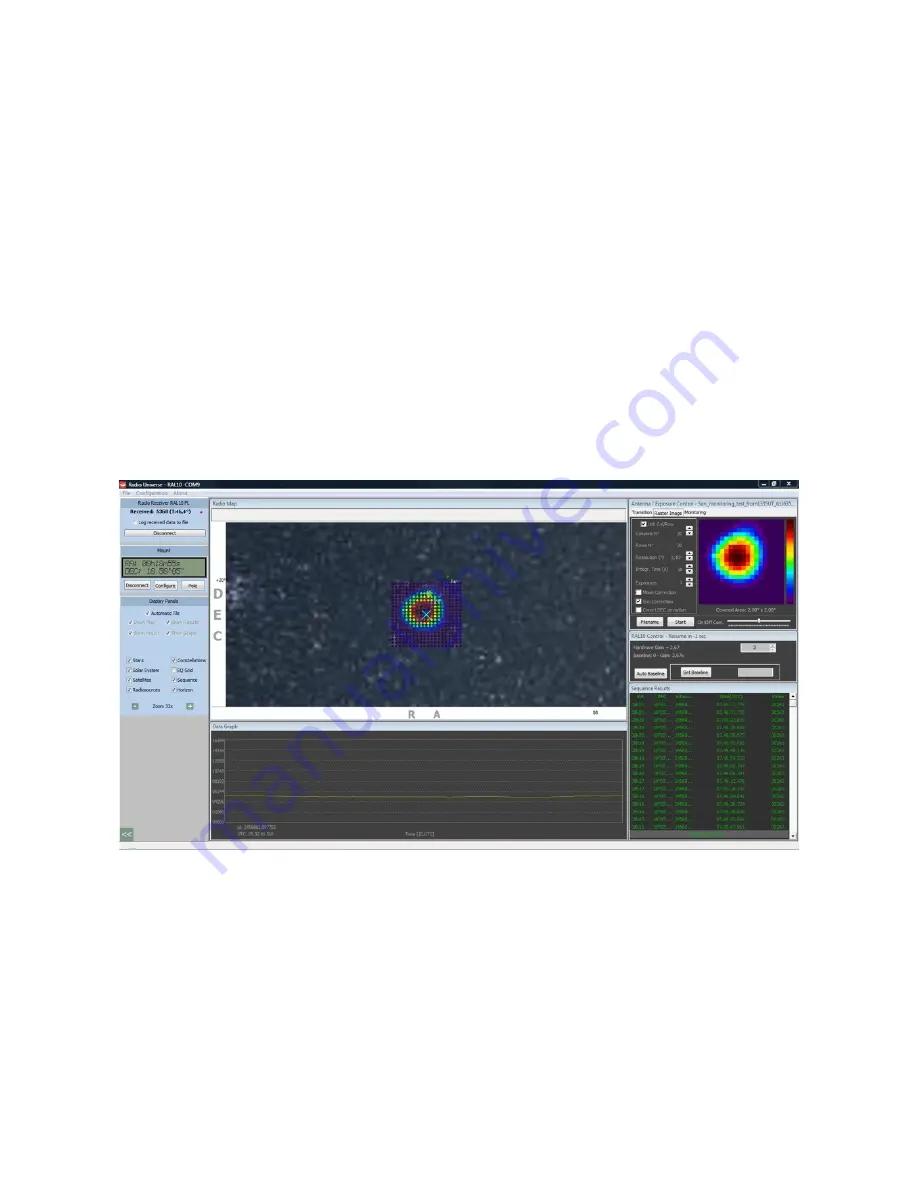
Now let’s take a radio image of the Sun with a higher resolution in order to precisely verify it’s emission. For exam-
ple, we can set 20 columns, 20 rows, resolution 0.1° and an integration time of 1 second. Click the "Filename" but-
ton to select the name and the folder of the file to save. So, after checking that the "Sun Correction” option is al-
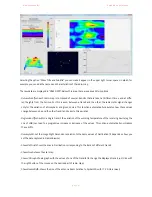
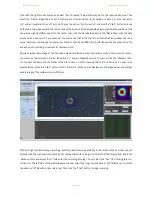
ways selected, press the "Start" button to start the record. At the end, as displayed in the image below, you will get
a radio image of the radio emission of the Sun.
After this high resolution image recording, point the radio telescope perfectly in the center of the Sun: now you can
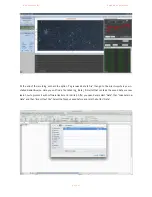
proceed with the continuous monitoring of its radio emission for a long time. Select the "Monitoring" tab and in the
"Duration of measurement (h:m)" field enter the recording time (eg 1 hour). Select the "Sun" (for tracking rate cor-
rection). On the left side of the RadioUniverse window select the "Log received data to file" (allows you to record
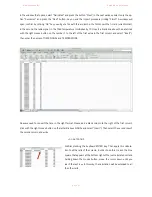
the data in a TXT file with a time reference). Then click the "Start" button to begin recording.
!
!
p a g e
!
6 4

