ADJUSTING FOR HARDWOOD THICKNESS
The Q900A pneumatic tool is fitted with a cam
operated height adjustment base.
Adjusting the base for flooring thickness:
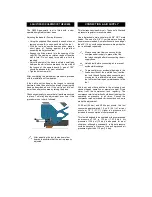
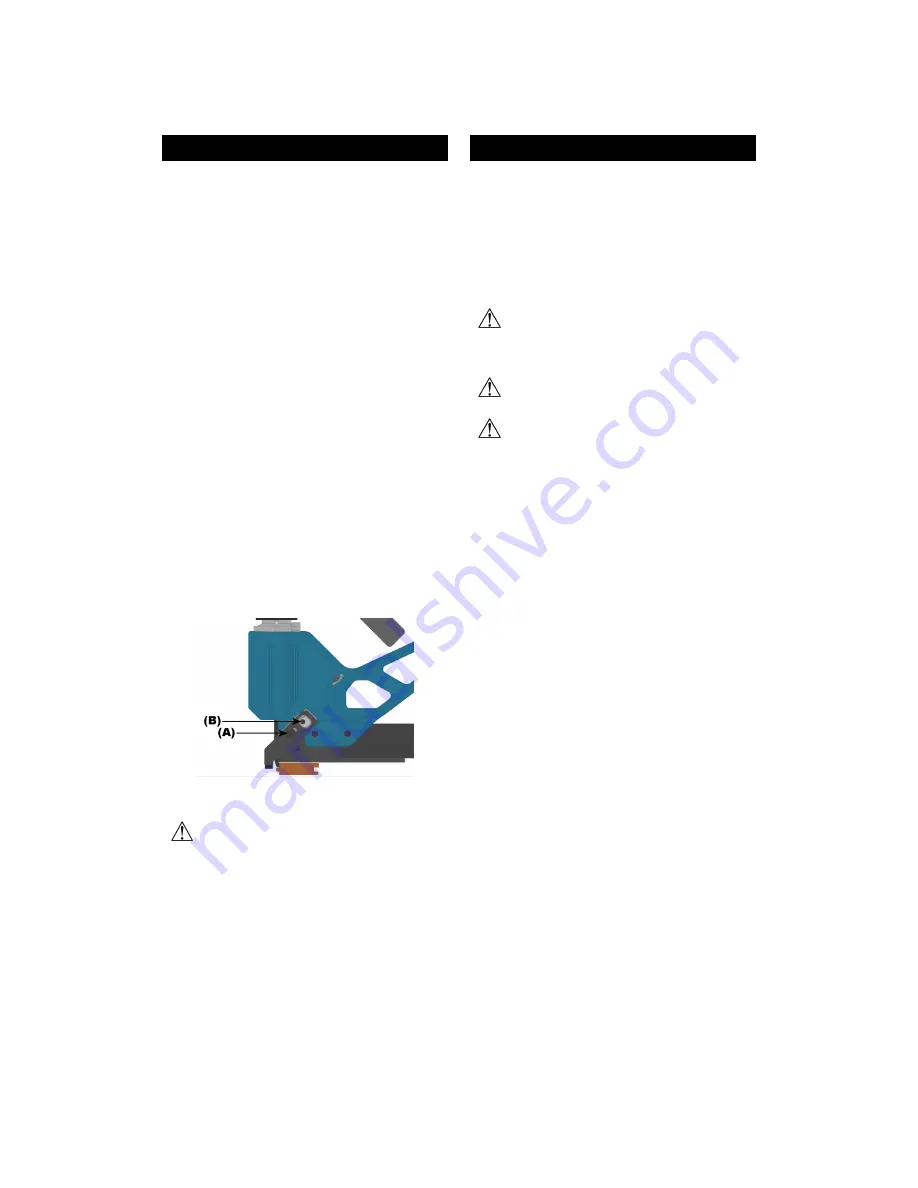
• Using the supplied Allen wrench, loosen but do not
remove screws (A); one on each side of the tool.
• With the tool in an upside down position, place a
short piece of flooring against the gate/foot
assembly (nail ejection area).
• Engage the Allen wrench into the opening of the
cam (B). The cam has a rotation range of less the
half a turn. Do not apply force when a limit is
reached.
• Adjust the height of the base to obtain a small gap
between the nail efection area and the top side of
the tongue of the sample board. A gap of 1/32"
should be adequate for most situations.
• Tighten both screws (A).
After completing the adjustment procedure, proceed
with the installation of few boards.
If the nail is set too deep or the tongue is severely
fractured, raise the nail ejection area by lowering the
base as described above. If the nail is not fully set,
lower the nail ejection area by raising the base.
Check occasionally to insure that all parts are secured
in place. Tool may lose adjustment over time if this
procedure is not strictly followed.
After adjusting the tool, fasten down few
boards to ascertain that the tool is properly
adjusted.
CONNECTION & AIR SUPPLY
This tool requires clean & dry air. The use of a filter and
a pressure regulator is recommended.
Use a detachable male coupler with 3/8" NPT male
treads. The use of a 3/8" (1 cm) diameter air supply
hose is recommended. A smaller hose or a hose longer
than 50' (15 m) could cause a pressure drop when the
tool is activated repeatedly.
Always use a free-flow connection for the
compressed air supply to prevent that the
tool stays charged after disconnecting the air
supply hose.
Unload tool before connecting air to prevent
accidental discharge.
To prevent injury or accidental damage to the
finished surface of the installed floor, rest the
tool onto the subflooring when connecting air,
moving tool to a different work area, loading
the tool or performing any maintenance to the
tool.
Dirt, dust, and other particles in the air supply can
cause sluggish operation or premature wear. Drain
water from the compressor tank regularly. The
compressor start-stop limits should be set to deliver the
operating air pressure at all times. Consult the
compressor manual or dealer for instructions on how to
make this adjustment.
At 80 psi (5.5 bar) and 40 hits per minute, this tool
consumes approximately 1.5 cu.ft (44
R
) of air per
minute at 70
E
F (21
E
C). Higher air pressure will
increase the consumption of compressed air.
This tool is designed to be operated with a compressed
air pressure of 100 to 110 psi (7.0-7.6 bar). Air
pressure of 100 psi (7.0 bar) is adequate for most
situations, although occasionally, a higher pressure
could be necessary. Never not use a compressed air
pressure higher than 110 psi (7.6 bar).


