KidWalk
II
Owner’s Manual
12
INITIAL ADJUSTMENTS
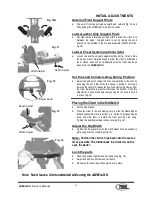
Anterior/Front Support Pads
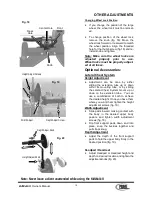
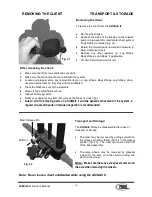
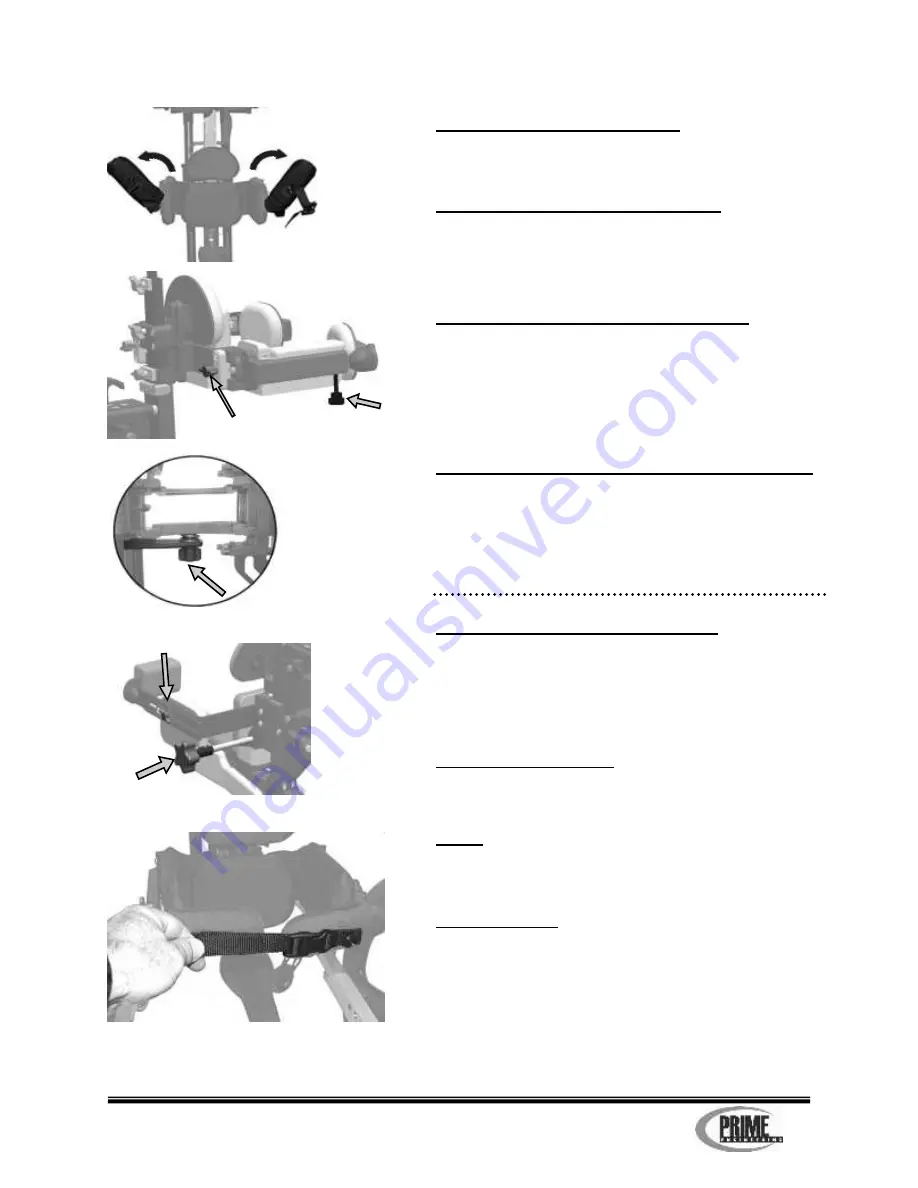
Flip up all front support pads upward and outward (fig. 10 and
10A) putting the
KidWalk
II
into Entry Position.
Lateral and/or Side Support Pads
Set side-to-side lateral support pad width to allow the client to fit
between the pads. Hip pad width is set by turning the knob
located on the outside of the hip pad assembly (client’s left side,
fig. 13).
Lateral Chest System (optional item)
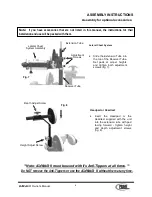
Loosen the width and depth adjustment knobs (fig. 11) and slide
the pads out and forward enough to allow the client to fit between
them. (these pads will be re-adjusted after the client has been
placed into the
KidWalk
II
).
Set the Load Compensating Spring Position
Adjust the amount of vertical motion you would like in the seat by
loosening the knob that holds the spring in position. Moving it
towards the client will reduce the bounce and moving it away from
the client toward the rear post will increase the bounce. Once this
adjustment is done make sure that you tighten the knob to hold it
in place. (fig. 12)
Placing the Client in the KidWalk II
Set the wheel locks.
Place the client in the unit making sure to slide the client’s hips as
far back as possible
.
Once the client is in, flip the front support pads
down and slide them in toward the client until they are snug.
Tighten the depth adjustment knobs securely (fig. 13).
Adjust the Hip Width
Tighten the hip assembly with the width adjust knob as needed to
get a snug fit at the clients hips (fig 13).
Note:
Position the client’s hips back onto the seat as
far as possible. The further back the client sits on the
seat, the better.
Lock the pads
Snap the buckles together and pull strap snug (fig. 14).
Adjust and position all other support items .
Make sure that all straps and supports are in place.
Fig. 14
Fig. 10A
Fig. 13
Width Adjust
Depth Adjust
Adjust Knob
Fig. 12
Note: Never leave a client unattended while using the
KidWalk
II
.
Depth Adjust
Width Adjust
Fig. 11


