


KidWalk
II
Owner’s Manual
8
ASSEMBLY INSTRUCTIONS
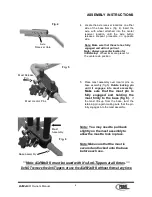
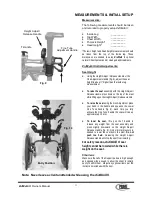
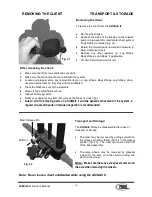
Mast Release
Pin
Fig. 5
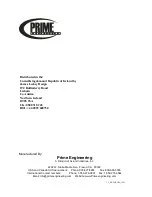
Mast Locator Pins
Fig. 6
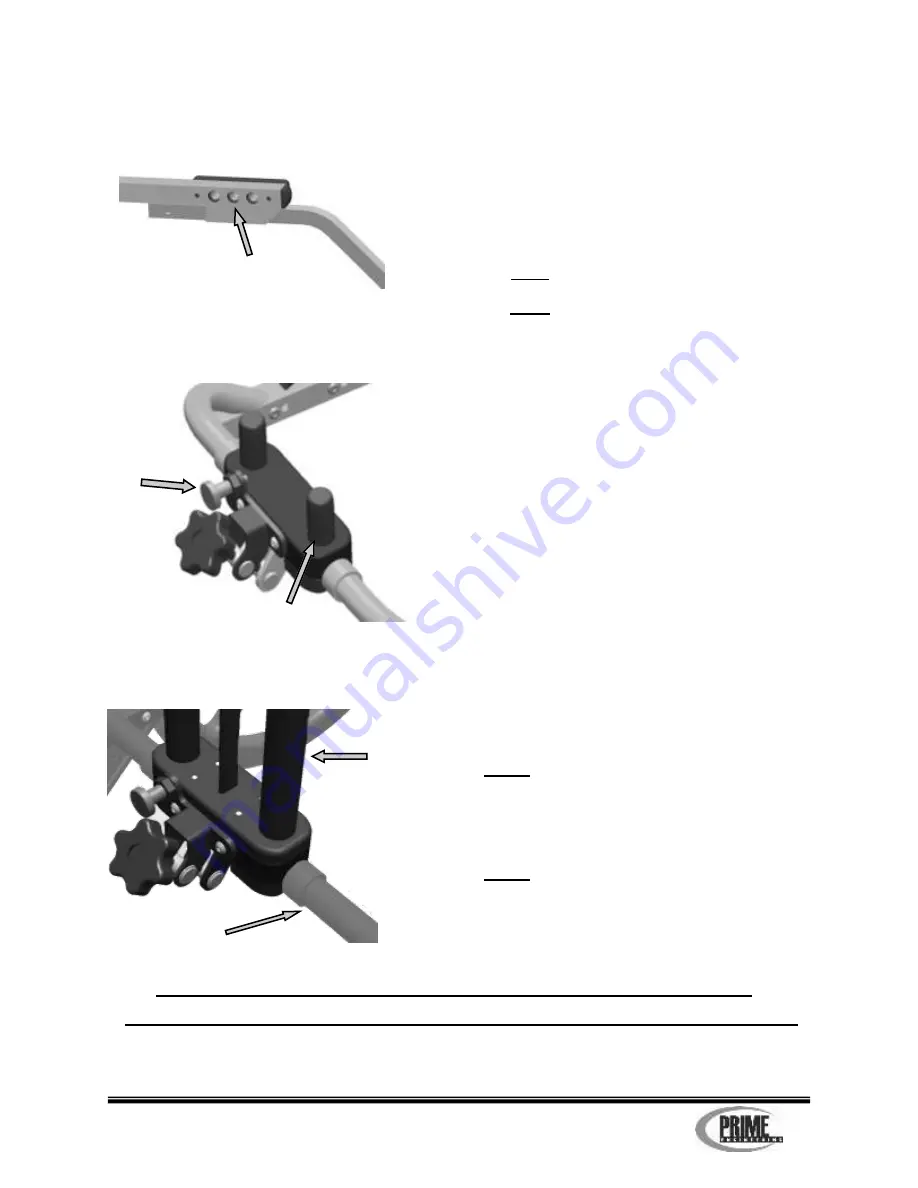
Mast
Assembly
Base Assembly
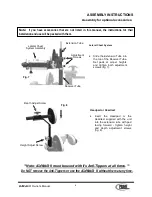
4. Locate the axle receiver locations on either
side of the base frame (fig. 4). Insert the
axle, with wheel attached, into the center
receiver location until the axle button
releases. Repeat procedure on opposite
side.
Note:
Make sure that the axle has fully
engaged and will not pull out.
Note:
Always use center location for
initial setup.
Wheel locks are preset for
the center axle position
5. Place mast assembly over locator pins on
base assembly (fig 5).
Rotate locking pin
until it engages into mast assembly
.
Make sure that the mast pin is
fully engaged and holding the
mast firmly to the base (fig 6).
If
the mast lifts up from the base, twist the
retaining pin again making sure that the pin
fully engages into the mast assembly.
Note:
You may need to pull back
slightly on the mast assembly to
allow the mast to lock in place.
Note: Make sure that the mast is
secured and locked onto the base
before each use.
Fig. 4
Axle
Receiver Hole
**Note:
KidWalk
II must be used with it’s Anti-Tippers at all times. **
Do NOT remove the Anti-Tippers or use the
KidWalk
II
without them at any time.


