background image


Connecting the cooler 
Connecting to a battery (vehicle or boat) 
The cooler can be operated with 12 V or 24 V 
 

Notice: Danger of damage! 
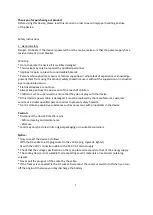
* Overvoltage can damage the electronics of the device. 
* For safety reasons the cooler is equipped with an electronic system to prevent a polarity rever- 
sal. This protects the cooler against short-circuiting when connecting to a battery. 
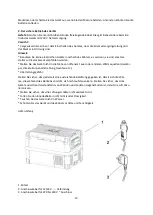
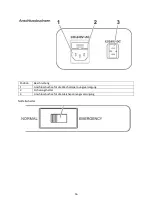
* Plug the 12/24 V connection cable into the device DC voltage socket and also into a 12 V or 
24 V cigarette lighter socket. 

 
Connecting to a 220-240 V AC mains 
Danger: Danger of electrocutionl 
* Never handle plugs and switches with wet hands or if you are standing on a wet surface. 
* lf you are operating your cooler on board a boat from a mains connection of 220-240 V~, you 
must install a residual current circuit breaker between the 220-240 V AC mains and the cooler. 
* Seek advice from a trained technician. 
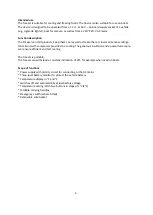
* The cooler has an integrated multi-voltage power supply with priority circuit automatically swit- 
ches the cooler to mains operation if the device is connected to a 220-240 V AC rnains, even if the 
12/24V connection cable is still attached. 
* Plug the 220-240 V connection cable into the device AV voltage socket and connect it to the 
22O~240 V AC voltage mains 

Notice: Danger of damage! 
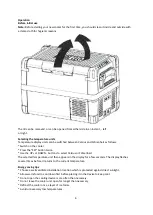
When switched off by the battery monitor, the batteıy is probably not enough charged. Avoid star- 
ting the motor repeatedly or operating current consumers without longer charging phases. Ensure 
that the battery will be recharged! 

 
In "HIGH" mode, the battery monitor responds faster than at the levels "LOW" and “MED"(see the 
following table). 
 

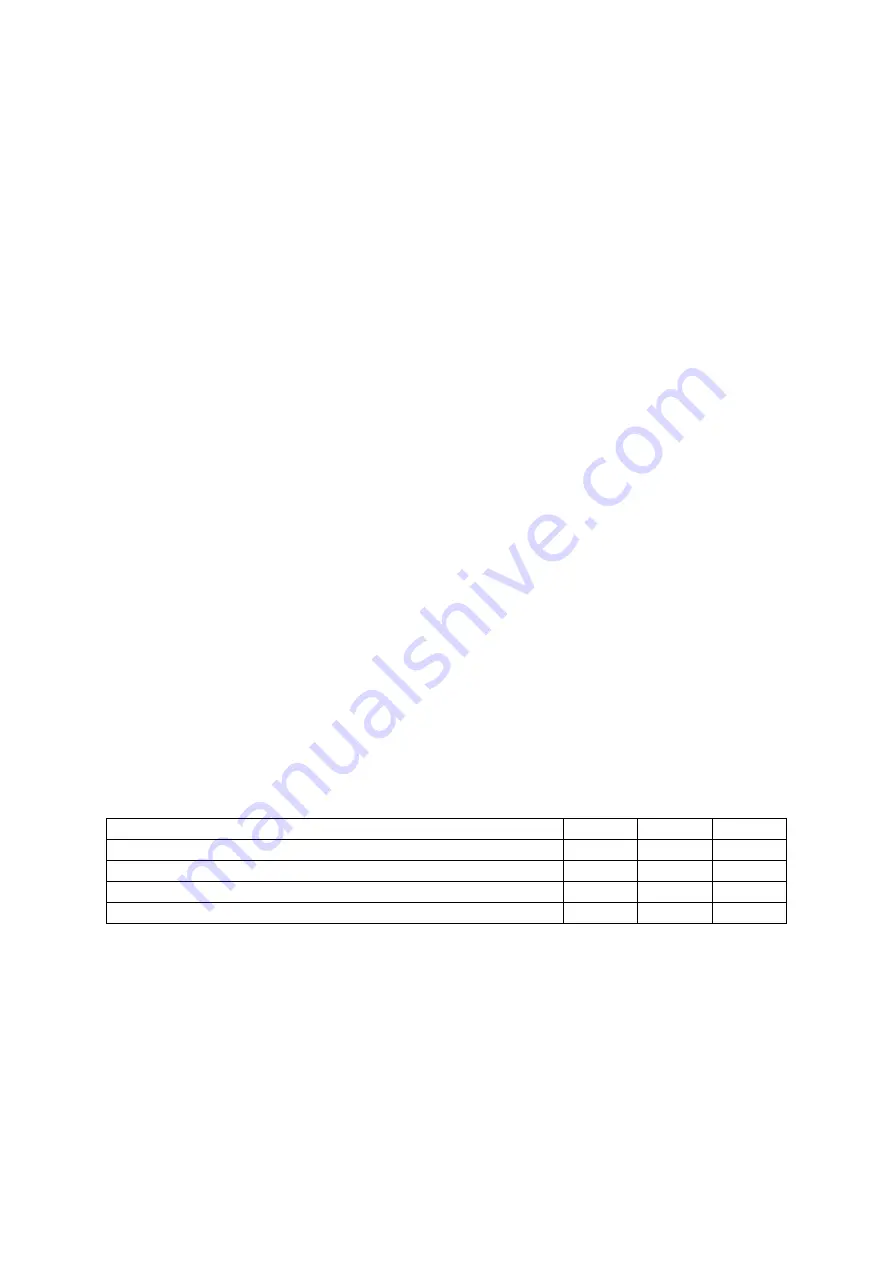
Battery monitor mode 

LOW 

MED 

HIGH 

Switche-off voltage at 12 V 

10,1 V 

11,4 V 

11,8 V 

Restart voltage at 12 V 

11,1 V 

12,2 V 

12,6 V 

Switch-off voltage at 24 V 

21,5 V 

24,1 V 

24,6 V 

Restart voltage at 24 V 

23,0 V 

25,3 V 

26,2 V 

 
The battery monitor mode can be selected as follows: 
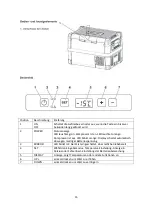
* Press the “SET" button three times 
* Use the “UP+ " or “DOWN - " buttons to select the battery monitor mode. 
* Digital display will be as follows: 
                                                             Lo(LOW), Md(MED), Hi(HlGH) 
* The selected mode then appears in the display for a few seconds. The display flashes several 
times before it returns to the current temperature. 


Summary of Contents for ECF-40L

Page 1: ...Kompressor K hlbox Compressor Coolbox Bedienungsanleitung lnstruction Manual...

Page 2: ...y do not play with the device If this device s power cable is damaged it must be replaced by the manufacturer customer service or a similar qualified person in order to prevent safety hazards Do not s...

Page 3: ...ther heat sources heaters direct sunlight gas ovens etc Danger of overheating Ensure at all times that there is sufficient ventilation so that the heat that is generated during operating does not buil...

Page 4: ...ircuit with compressor provides the cooling The generous insulation and a powerful compre ssor ensure efficient and fast cooling The freezer is portable The freezer can withstand a constant inclinatio...

Page 5: ...pressor is off LED flashes orange display switched off automatically due to lowbattery voltage 3 ERROR LED flashes red Device is switched on but not ready for operation 4 SET Selects the input mode Te...

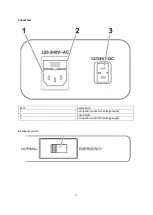
Page 6: ...Connectors Item Explanation 1 Connection socket AC voltage supply 2 Fuse holder 3 Connection socket DC voltage supply Emergency switch 5...

Page 7: ...wice Use the UP or DOWN buttons to select Celsius or Fahrenheit The selected temperature unit then appears in the display for a few seconds The display flashes several times before it returns to the c...

Page 8: ...ler to mains operation if the device is connected to a 220 240 V AC rnains even if the 12 24V connection cable is still attached Plug the 220 240 V connection cable into the device AV voltage socket a...

Page 9: ...tment Note When operating with the battery the display switches off automatically if the battery voltage is low The LED flashes orange Latching the cooler lid Close the lid Press the latch down until...

Page 10: ...u replace the device fuse Pull off the connection cable Pry out the fuse insert with a screwdriver Replace the defective fuse with a new one that has the same rating Press the fuse insert back into th...

Page 11: ...y is swit ched off Battery voltage is too low Test the battery and charge it as needed When operating from the12 24 V socket cigarette ligh ter The ignition is on and thedevice is not working and theL...

Page 12: ...nt temperature is above 32 C 90 F the minium temperature cannot be attained The cooling circuit contains R 134a lmages used in this manual are for illustrational purposes only and may differ from the...

Page 13: ...rn gelangen kann Kinder m ssen beaufsichtigt werden um sicherzustellen dass sie nicht mit dem Ger t spielen Wenn das Netzkabel des Ger tes besch digt wird muss es vom Hersteller dem Kundendienst oder...

Page 14: ...s Ger t nicht in die N he von offenem Feuer oder anderen W rmequellen Heizk r per direkte Sonneneinstrahlung Gas fen etc berhitzungsgefahr Stellen Sie sicher dass jederzeit eine ausreichende Bel ftung...

Page 15: ...wartungsarmer K hlkreislauf mit Kompressor liefert die K hlung Die gro z gig dimensionierte Isolierung und der leistungsstar ke Kompressor sorgen f r eine effiziente und schnelle K hlung Die Gefrierbo...

Page 16: ...LED blinkt orange Display schaltet automatisch ab wegen niedriger Batteriespannung 3 ERRROR LED blinkt rot Ger t ist eingeschaltet aber nicht betriebsbereit 4 SET W hlt den Eingabemodus Temperatur Ei...

Page 17: ...Position Beschreibung 1 Anschlussbuchse f r die Wechselspannungsversorgung 2 Sicherungshalter 3 Anschlussbuchse f r die Gleichspannungsversorgung Notfallschalter 16...

Page 18: ...mal Verwenden Sie die UP oder DOWN Tasten um Celsius oder Fahrenheit auszuw hlen Die gew hlte Temperatureinheit erscheint in der Anzeige f r ein paar Sekunden Die Anzeige blinkt mehrmals bevor sie zur...

Page 19: ...ssen wird auch wenn das 12 24 V Anschlusskabel noch angeschlossen ist Stecken Sie das 220 240 V Verbindungskabel in die AC Spannungsbuchse des Ger tes und verbinden es mit dem 220 240 V Wechselspannun...

Page 20: ...ieren kann Stellen Sie die Gefrierbox auf einen festen Untergrund Hinweis Gefahr durch zu niedrige Temperaturen Stellen Sie sicher dass nur die Objekte in den K hler gegeben werden die dazu bestimmt s...

Page 21: ...r Geruchsbildung vor Abtauen der Gefrierbox Durch Feuchtigkeit k nnen sich im Inneren der Gefrierbox oder auf dem Verdampfer Eiskristalle bilden Dies reduziert die K hlleistung Tauen Sie das Ger t rec...

Page 22: ...en gelegentlich mit einem feuchten Tuch ab Fehlerbehebung Fehler M gliche Ursache L sungsvorschlag Ger t funktioniert nicht keine LED leuchtet Es ist keine Spannung an der 12 24 V Buchse Zigarettenan...

Page 23: ...rrekt eingesteckt worden Die Sicherung des 12 24 V Steckers ist durchgebrannt Ersetzen Sie die Sicherung 10A im 12 24 V Stecker siehe Auswechseln der Steckersicherung 12 24 V Die Sicherung des Fahrzeu...

Reviews: