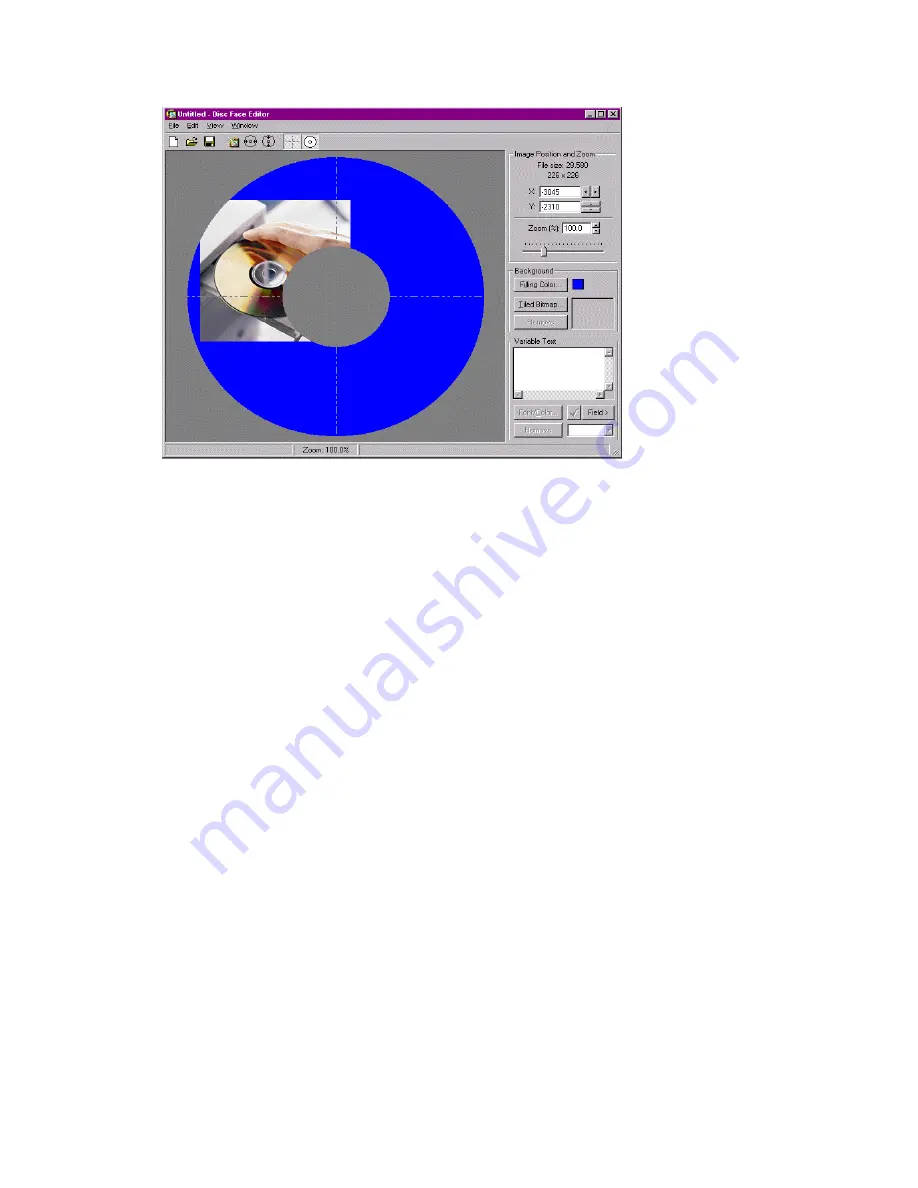
Once you have inserted your graphic, the image can be moved simply by dragging and dropping it to
the appropriate location. You can also move the graphic by selecting the X,Y position for the graphic.
This can be done by going to the Image Position and Zoom window. From there, you may use the
Up/Down/Left/Right arrows to move the graphic, or you may enter an X and Y value manually.
This window also provides the option to zoom your graphic. You may use the slider control, or
manually enter a value to zoom the graphic. Using the zoom tool, you may blow up a smaller image to
cover the whole disc.
The Disc Face Editor also features two automated controls for zooming the image. The first will resize
the graphic so that the picture will cover the disc from left to right. This is best used for images that
are taller than they are wide. This option can be used by clicking on the image on the toolbar
displaying a disc with arrows pointing left and right. The second will resize the graphic so that the
picture will cover the disc from top to bottom. This is best used for images that are wider than they are
tall. This option can be used by clicking on the image on the toolbar displaying a disc with arrows
pointing up and down.


