28
C
HAPTER
3
Working with the Software
unlikely you’d want to leave the place-
holder in your design. Replacing the logo
with one of your own, however, is a piece
of cake.
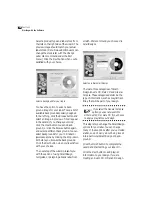
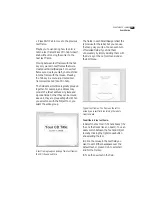
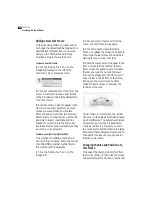
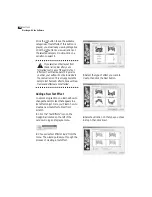
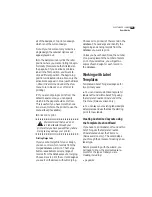
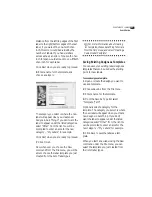
The following SmartDesign layout contains
a placeholder logo:
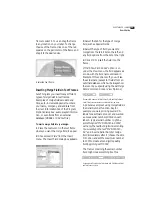
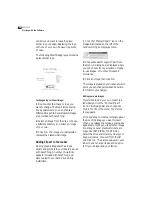
To change a logo or clipart image:
1
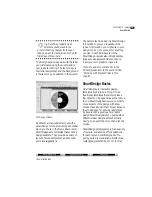
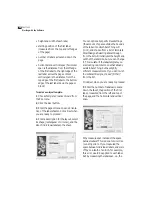
Double-click the image or logo you
want to change. The New Picture dialog
box appears where you can choose a
different image file. Several useful images
are provided with SureThing.
2
Select an image from the list, or choose
a different directory and select an image
of your own.
3
Click OK. The image you just selected
replaces the placeholder image.
Adding Clipart to Your Label
Adding graphic images such as logos,
clipart and symbols to your labels is a snap
with SureThing. A number of useful im-
ages are included with SureThing, and
were copied to your hard drive during
installation.
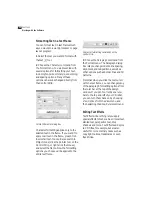
1
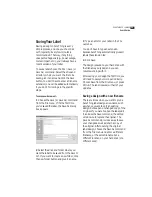
Click the “Photos/Clipart” icon on the
Design Bar located on the left of the
window. Doing so displays a menu.
2
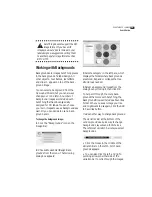
Choose
Browse for Logos/Clipart
from
the menu. A dialog box is displayed where
you can choose from a selection of ready-
to-use images, or to other drives and
directories.
3
Click an image, then click OK.
The image is placed on your label, at which
point you can change its size and position
to fit within your design.
Adding your own images
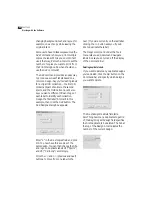
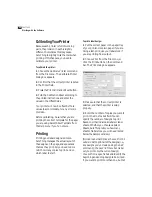
If you’d like to add your own clipart to a
label design, click the “Photos/Clipart”
icon on the Design Bar, and choose
Use
Picture Tool
from the menu. The Picture
tool appears.
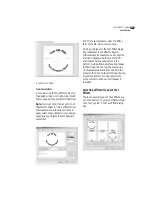
Click and drag to create a rectangle about
the size of the image you want to insert.
When you release the mouse, a dialog box
appears prompting you to select an image
file. Many popular graphics formats are
supported (BMP, JPEG, TIF, EPS, etc.).
Select the drive and directory where your
image is located, choose it from the list
and click OK. The picture appears in your
label. You can change its size and position
to fit your design (and your fancy).
Summary of Contents for SureThing
Page 1: ......


