background image


                                                                                                                                             Instruction Manual VARORMAT 


The operator of the system has the obligation to inform himself regarding the dangers which 
may occur during usage, so that he/she can avoid them or minimize their occurrence as best 
as he/she is able to

 
4.Instrutions for installation  
4.1


Installation 

The machine is ready to work. Just place it to the requested position and connect it to 
the power. 
 

The good operation of the machine is depended of the feedwater formation
 
Feedwater requirements: 

Hardness 

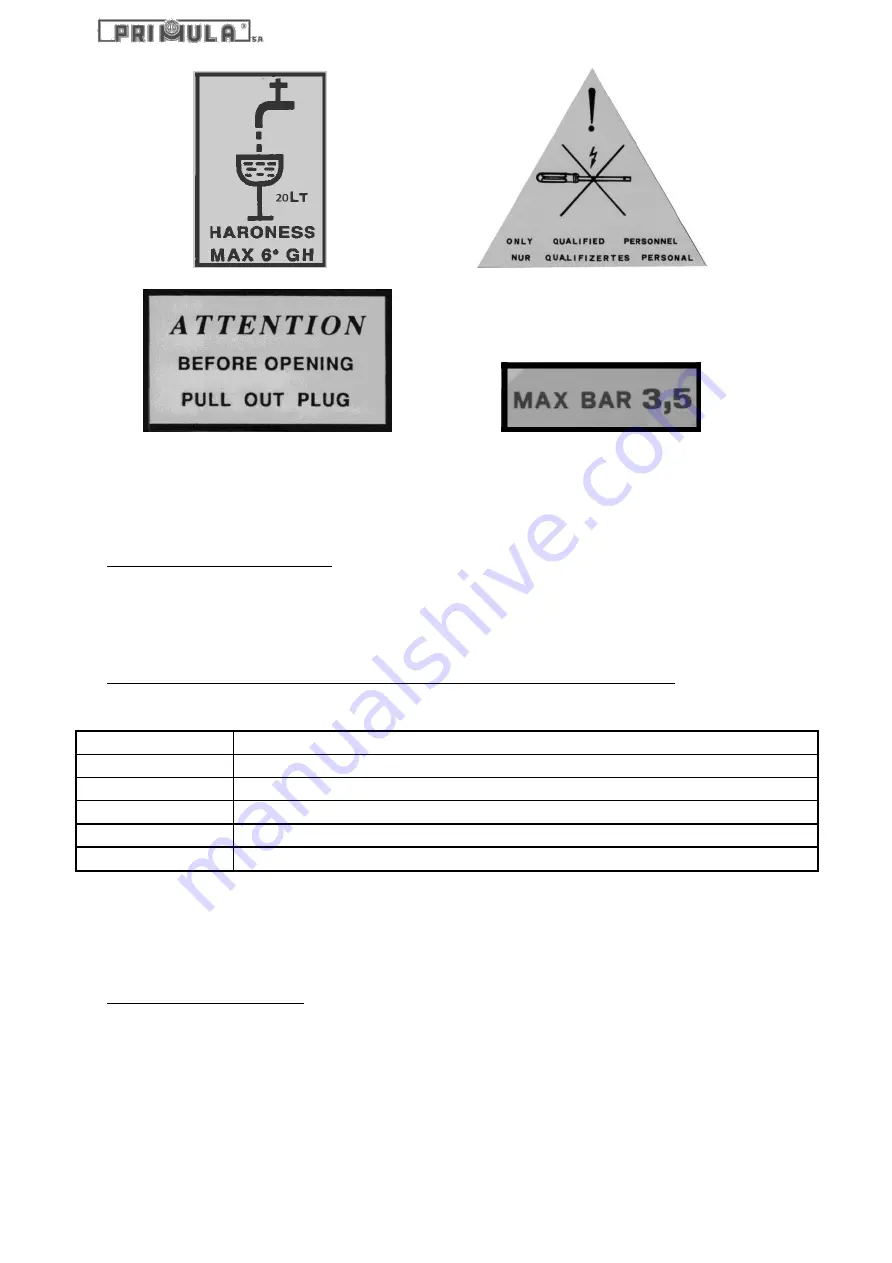
less than 100mg/las CaCO   or less than 6 German degrees 

PH 

7-8 

CO 

No free CO  allowed. 

TDS 

less than 200mg/l. 

Fe 

None 

Suspended solids 

Water should be clear and free from suspended solids, colloids, alcal, ect 

 
In  case  that  the  hardness  of  the  water  is  more  than  the  above  requirements,  it  is 
recommended to use ANTISCAL. The lime contained in the water may be placed in the boiler 
and on the heating elements will cause faults. The use of ANTISCAL prevents deposits of lime. 


4.2 Electrical Connection 

For  the  electrical  connection  and  all  for  the  power  supply,  please  follow  carefully  the 
instructions of the wiring diagram (enclosed) as well the WARNING symbols, attached to the 
machine.Connect  the  machine  to  the  power  supply  through  the  plug  Nο  47  (see  images  of 
the  spare  parts  on  page  13)
  .  If  power  supply  is  230Volt/1phase,  the  connection  must  be 
done ,in a 3-poles socket plug (1 phase, 1 neutral, 1 ground). The power must be insured by a 
2-poles (25 Amber) fuse.  
 
CAUTION! For your own safety, pay attention to all the warning labels (yellow coloured) that 
are placed on the machine. The manufacturer bears no liability for any damages or accidents 
due to faulty supplying network or to not specified personnel. 

Summary of Contents for Vapormat

Page 1: ...IRONING PRESSING MACHINERIES FUSING PRESSES Instruction Manual Vapormat CE...

Page 2: ...r 9 6 Maintenance Testing 9 6 1 Maintenance 9 6 2 Test the good operation of the machine 9 7 Troubleshooting 10 7 1 The pump does not run 10 7 2 The water is not heated while the steam lamp lights on...

Page 3: ...this operating manual You may not copy reproduce or translate this operating manual or parts of it to another language without prior written consent of Primula SA Any information in this manual may be...

Page 4: ...The serial number plate has been placed in a visible place on the steam generator and is made from fadeless material Amongst others the Serial Number plate displays the following Amongst others the Se...

Page 5: ...5 L thickness 7 1mm The water drops glide down to the bottom of the boiler Outside and inside welding of boiler to avoid oxidation Double steam outlet for 2 Irons which keeps the steam dry Water inle...

Page 6: ...ccordance with the current instruction manual and only with the accessories that are provided or that are intended for this specific Steam Generator The manufacturer is not liable for any damages resu...

Page 7: ...han the above requirements it is recommended to use ANTISCAL The lime contained in the water may be placed in the boiler and on the heating elements will cause faults The use of ANTISCAL prevents depo...

Page 8: ...e for steam preparation is 9 11 min The manometer should reach 3 5 bars The machine is ready to work Press the iron s buttons on the control keyboard Press only one button if the requested produced st...

Page 9: ...13 6 1 Maintenance Keep the machine as clean as possible Clean the inside of the machine by compressed air at least 2 times per year Depending on the quality of the water Clean periodically the electr...

Page 10: ...stem 7 3 The boiler is overheated The overheating lamp No 54 is on Wait for a while until the steam generator brings the temperature down Unscrew the black knob towards left No24 Inside there is a sma...

Page 11: ...periods steam draining is appeared in the feeder vessel No 41 Check the one way valve No 16 Clean or replace it paying attention on putting it back correctly 7 7Safety valve Check the pressostat No 1...

Page 12: ...cut off operation Replace the PC board 4 Water Error The red light is on 35sec Problem at the water Check the pump No 2 after the starting feeding or its circulation is faulty or stuck in the machine...

Page 13: ...Instruction Manual VARORMAT 13 Images of spare parts...

Page 14: ...Pressostat s coil new model since 2019 16 303 03 016 One way valve 1 2 17 303 03 017 Corner 1 2 Male Female 18 303 06 059 Corner 1 4 Male female 19 303 03 019 Condensate s pipe 20 306 11 051 Control l...

Page 15: ...p 10 16 46 193 03 046 Electrode No 1 47 193 03 047 Electrode No 2 48 193 03 048 Electrode No 3 49 303 03 049 Grounded terminal block 6 poles 50 193 06 042 Pipe of safety valve 51 303 03 051 Water inle...

Page 16: ...Instruction Manual VARORMAT 16 Wiring diagram...

Page 17: ...2 E V Solenoid water valve V2 Solenoid steam valve No 1 V3 Solenoid steam valve No 2 PM Water pump 0 5HP Water pump 0 7HP E1 Water level electrode max E2 Water level electrode min E3 Heating protecti...

Page 18: ...ealer you have purchased the machine from or us directly at 14th km Thessaloniki Kilkis 57200 Liti Thessaloniki Greece Tel 30 23940 71 215 Fax 30 23940 71 438 E mail info primula gr All specifications...

Reviews: