INSTALLATION
1. After you have removed the toaster from the carton,
inspect the unit for signs of damage. If there is
damage to the unit:
!
Notify carrier within 24 hours after delivery.
!
Save carton and packing materials for inspection
purposes.
!
Contact the Prince Castle Customer Sales
Department at 1-800-722-7853 to arrange for
a replacement to be sent.
2. Verify that all parts have been received.
3. If you find a part missing call 1-800-722-7853 and
ask for the Customer Sales Department. If you
have a question with operation ask for the Service
Department.
4. Toaster must be cold before Teflon release sheets
can be installed.
IMPORTANT:
Toaster must be locked in the open
position by engaging the safety latch so toaster cannot
be closed before installing the Teflon release sheet.
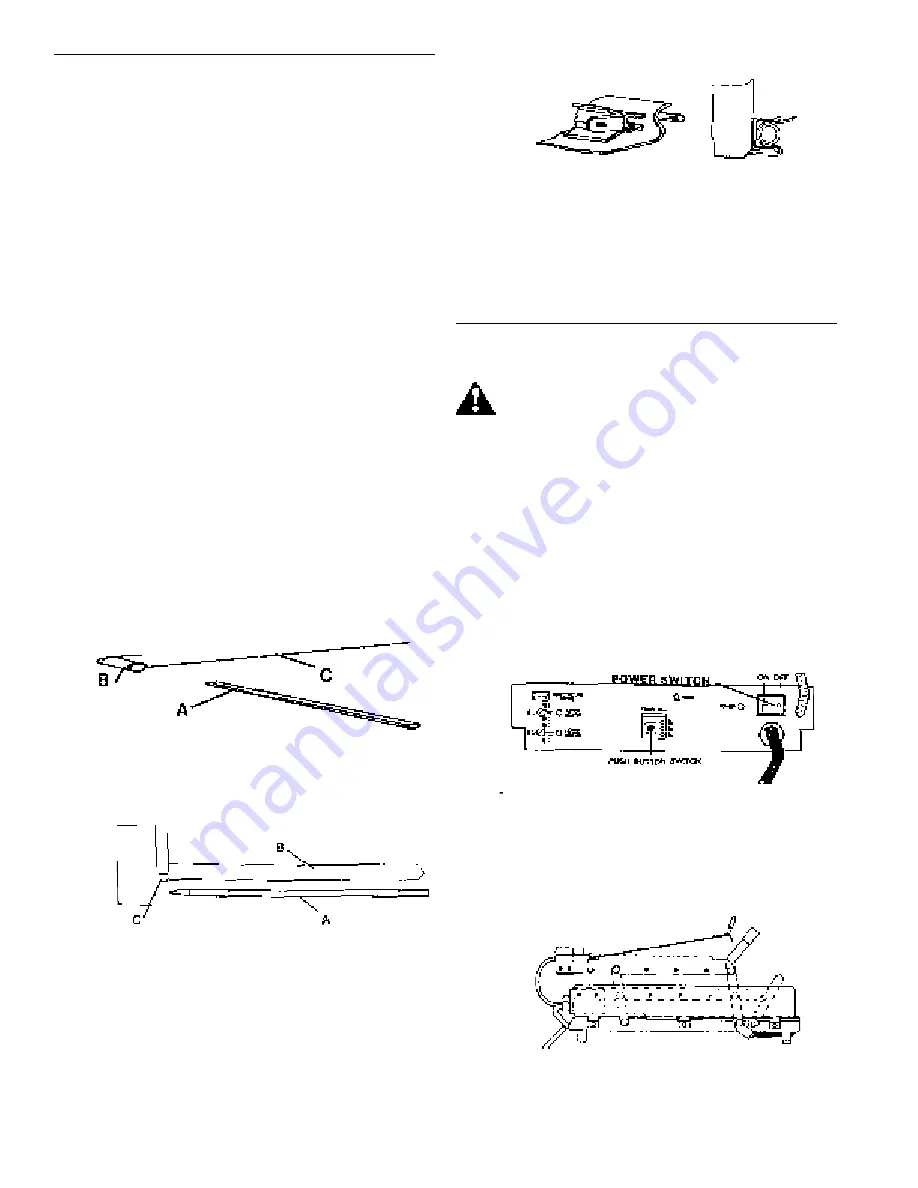
5. Install the stretcher bar (A) into the loop (B) of each
release sheet (C). See figure 1.
6. Slide release sheet (A) to rear of bottom platen (B)
and attach to hooks (C). See figure 2.
IMPORTANT:
Slots in the stretcher bar are to face the
front of the toaster.
7. Pull the release sheet tight against the bottom of
the platen and spring retainer on the front of the
platen.
8. Push round bar and release sheet into the spring
retainer. See figure 3.
IMPORTANT:
The release sheet should be tight to the
bottom of the platen. If not, remove round bar and
repeat step 5.
9. Repeat steps 3-6 to install the release sheet on
upper platen.
OPERATION
CAUTION:
Before plugging in, make sure
toaster power switch is in the OFF position.
1. Insert the power cord into an ANSI 125/250 volt, 3
pole 4 wire grounding outlet. The receptacle should
be a type NEMA #L14-20R. For European units the
receptacle should be a MENNEKES #316 P6 1302.
IMPORTANT:
This should be a dedicated outlet. No
other equipment should be operating on this line (i.e.
fryers, refrigerators, cash registers, etc.).
2. Place the power switch in the ON position.
See figure 4.
3. Platens must be in the “UP” position while the
toaster warms up so that the timer is not activated.
Warm-up takes 30 minutes. See figure 5.
figure 1
figure 2
figure 3
figure 4
figure 5
2
Summary of Contents for Excalibur 411-SL Series
Page 12: ...WIRING DIAGRAM 12...


