Load Paper
–
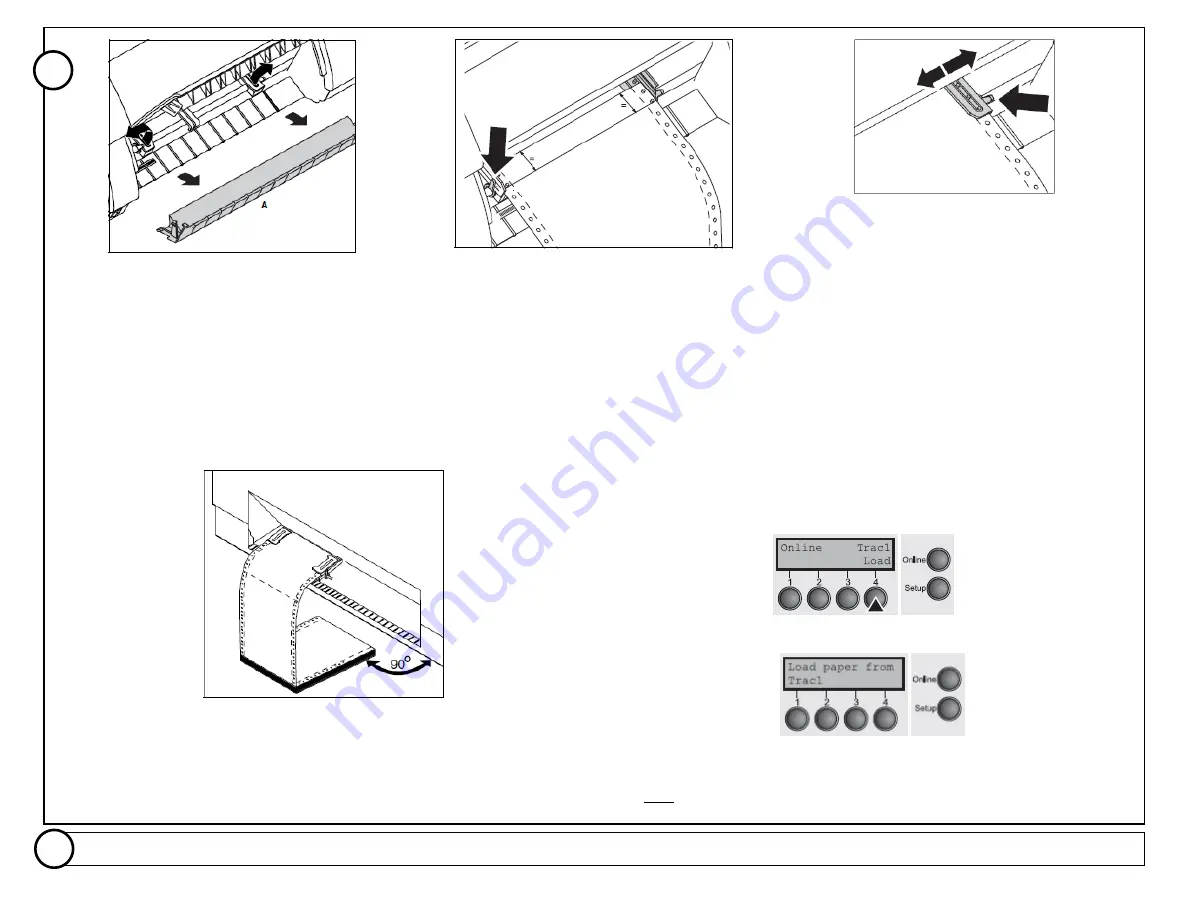
Raise the front cover.
Remove the bottom cover
A
.
Open the right and left tractor flaps.
Open the colored latch lever and align the tractor so
that the first printing position on the paper matches
the
X
mark on the printer housing.
Lock the colored lever again.
Place fanfold paper into the left-hand tractor.
Open the colored latch lever of the right-hand tractor
and align it to the paper width.
Insert the fanfold paper into the right-hand tractor.
Make sure that it is inserted by the same length as on
the left-hand tractor in or der to avoid any paper jam.
Close the tractor flap and lock the tractor by turning the
tractor lever to the rear.
CAUTION:
Do not tension the paper excessively to
avoid tearing the perforation holes; do not allow
excessive slack since in this case the paper will bulge
and there may be problems in the feeding process.
Make sure to align the paper stack in parallel with the printer and that the paper flow is
unobstructed.
Lower the front cover. Switch the printer on. The active paper source (
Tractor 1
)
appears in the display.
The display alternates between…
And…
The paper is automatically loaded when the printer is in online mode and
receives data from the computer.
Note:
For FormsPro 5002 printers, see additional included instruction Part
Number 7621 for paper loading.
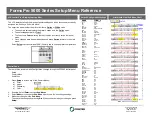
Review the configuration settings
described on the next page. When complete, press the “Online” button to allow the printer to receive data and begin printing.
Part Number 7618 Rev. A
4
3
A
B
C
D
E


