Getting Started
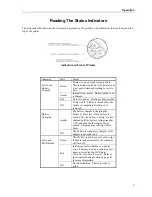
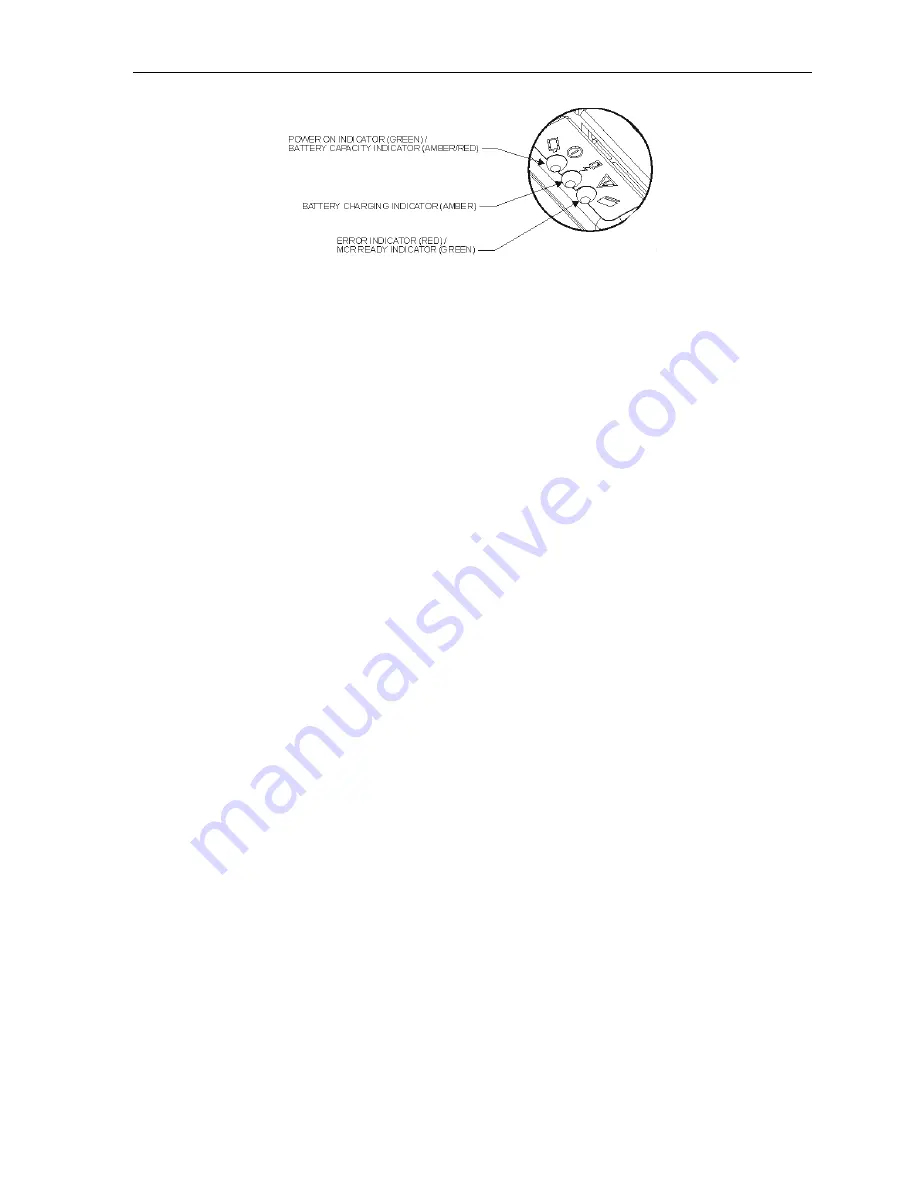
Status Indicators
•
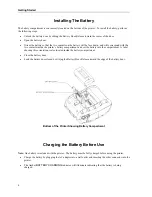
The battery will be fast charged and after about 180 minutes the indicator will turn off.
•
Be sure to fully recharge the battery before long or battery intensive printing sessions. Certain operations
such as printing receipts with a lot of bar codes and graphics may drain the battery more quickly than
others.
Note:
For additional information on battery specifications, charging, and safety, please refer to the information
in the Printer Maintenance section on page 20.
Media Loading
The Mt2 series printers can print text, bar codes and some limited graphics on thermal receipt paper. See
“Media Specifications” for the paper width and thickness requirements, and approved vendors.
Follow these steps to load paper into the printer:
•
Release the paper door by pressing down on the
LOAD
button on the top of the printer near the paper
door, as shown in the following illustration.
•
The paper door will pop open a short way.
•
Grasp either side of the paper door and open it far enough to allow insertion of a roll of paper.
•
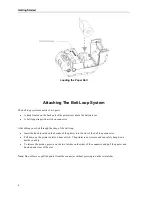
Place the paper roll into the printer as indicated below and on the label in the paper supply well. The
paper must unwind from the roll as shown so that the thermally sensitive side of the paper will make
contact with the print head. If using one inch (25.4mm) wide paper, the paper guide spacer must be
installed in the center of the paper supply well and the paper must be loaded on the side nearest the label.
•
Unroll about 3 inches of paper from the roll and position it between the print head guides.
•
Close the paper door with the end of the paper outside of the printer.
•
Tear the excess paper off using the edge of the paper door as a tear bar. (See “Tearing Off A Print Job”
on page 8.)
5

