11
3.2
Paper path introduction
3.2.1
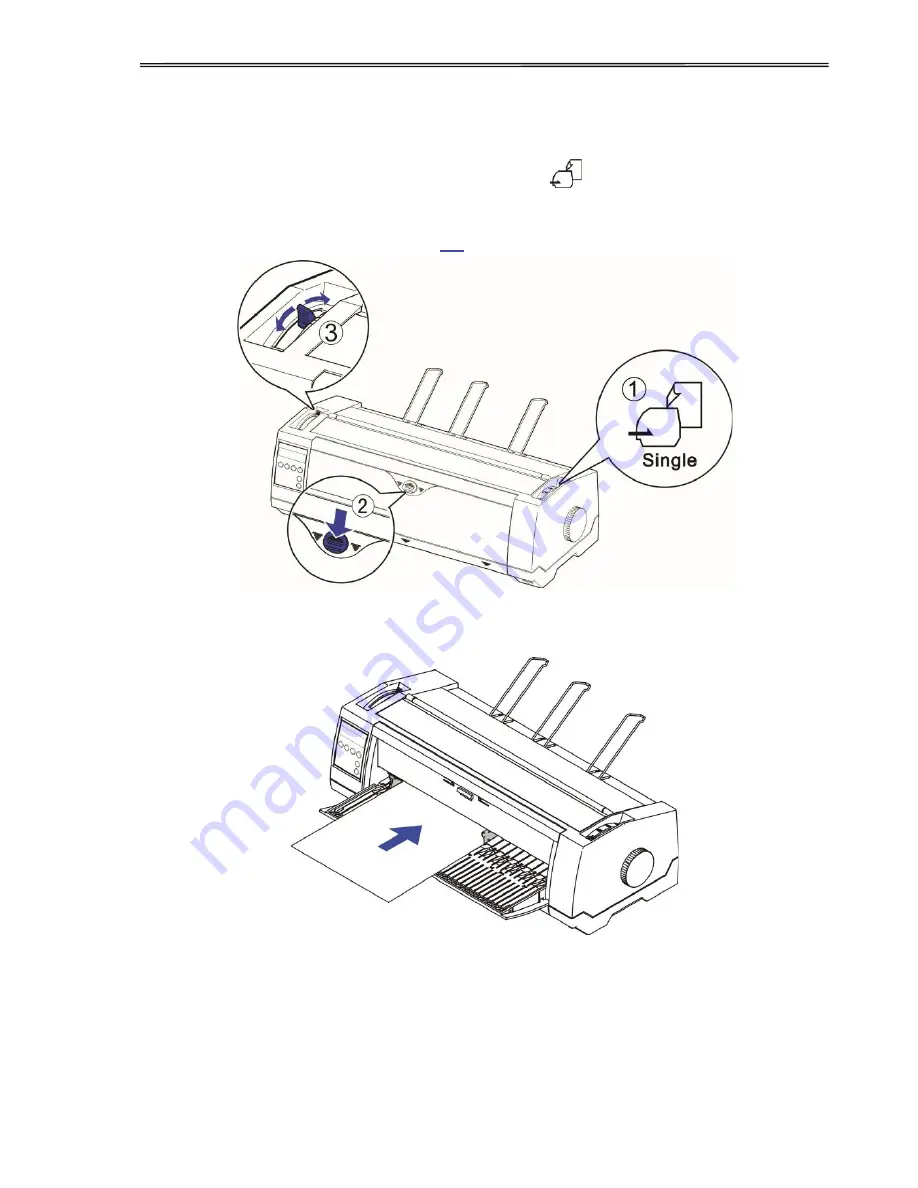
Cut sheet paper handling (front friction only)
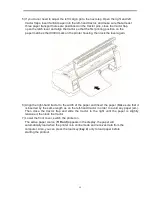
1) Place the paper path lever to the cut sheet position.
2) Unlock the front cover with the latch to unfold the cut sheet support.
3) Adjust the gap lever if necessary; see
3.1
.
4) It is recommended to align the left paper guide exactly to the mark > I <. This marks the left
edge of the stationery. Slide the right guide to the position of the right edge of the stationery.
5) Insert the stationery straightly all the way into the guided slot until it stops.
6) Press the load key to feed the paper to the correct print position, automatically. The
printer clears the Paper End condition and goes into the ready or online state.
Summary of Contents for PrintMaster 700 Series
Page 1: ...PrintMaster 700 Series Printer...
Page 2: ......
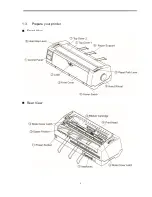
Page 11: ...2 1 3 Prepare your printer n Front View n Rear View...
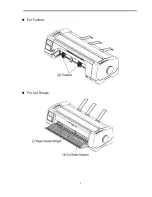
Page 12: ...3 n For Fanfold n For Cut Sheets...
Page 23: ...14 3 2 2 2 Rear tractors for fanfold...
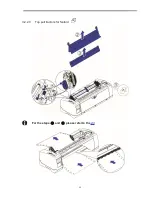
Page 24: ...15 3 2 2 3 Top pull tractors for fanfold For the steps and please refer to the 2 3...
Page 27: ...18 This page left intentionally blank...
Page 28: ...19 This page left intentionally blank...
Page 29: ...20 This page left intentionally blank...
Page 30: ...21 This page left intentionally blank...
Page 31: ...22 This page left intentionally blank...
Page 36: ...27 This page left intentionally blank...
Page 37: ...28 This page left intentionally blank...
Page 40: ...31 Menu Printout...
Page 85: ...76 7 Addendum 7 1 Character Set standard character set 1 standard character set 2...
Page 86: ...77 IBM character set 1 IBM character set 2...
Page 87: ...78 OCR A character set 1 OCR A character set 2...
Page 88: ...79 OCR B character set 1 OCR B character set 2...
Page 119: ...110 9 2 Non Scalable Fonts Code Pages and National Character Sets...
Page 120: ...111...


