55
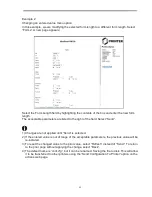
Example 2
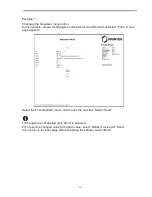
Changing an entered value menu option.
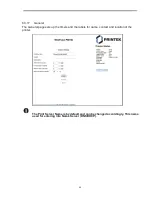
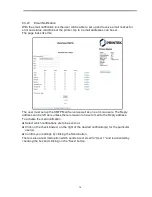
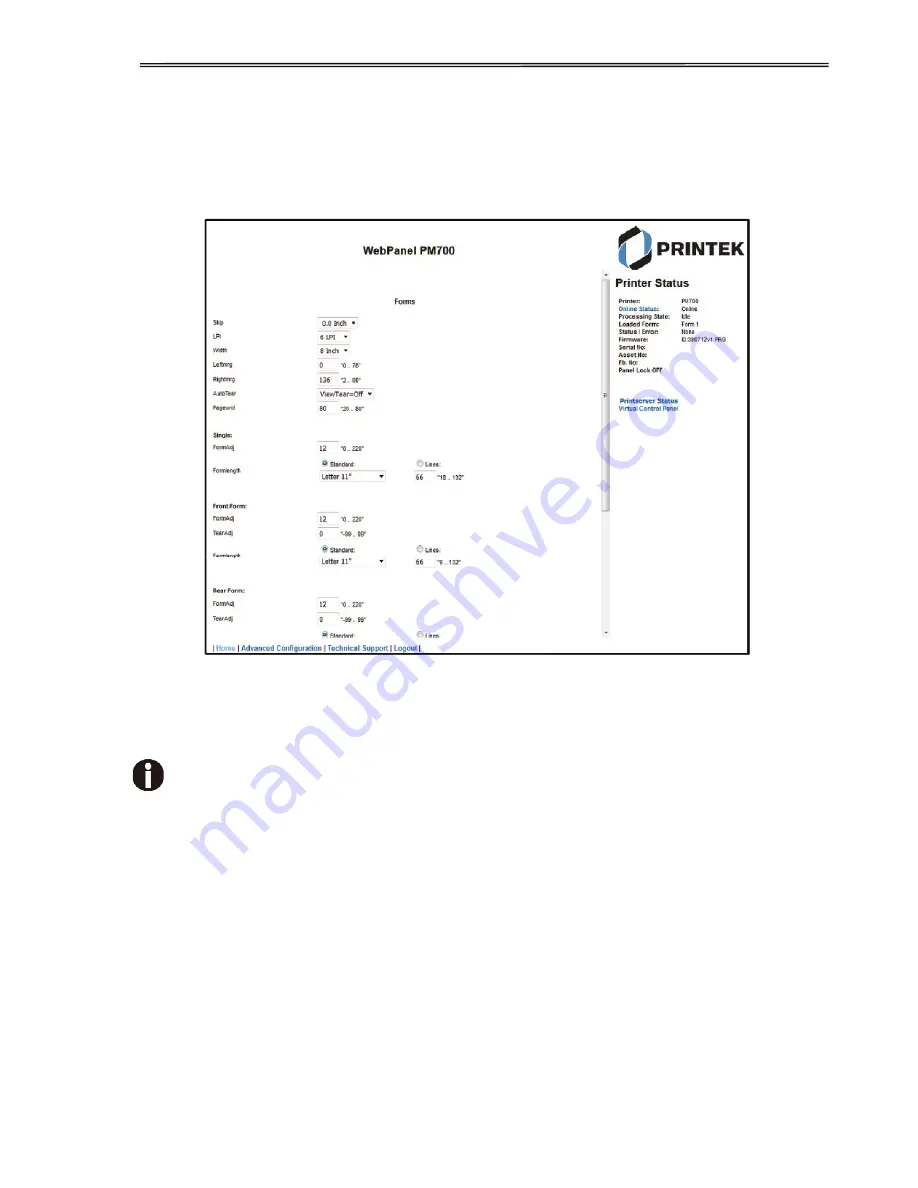
In this example, we are modifying the selected form length to a different form length. Select
“Forms”. A new page appears:
Select the Form Length field by highlighting the contents of the box and enter the new form
length.
The acceptable parameters are listed to the right of the field. Select “Send”.
1) Changes are not applied until “Send” is selected.
2) If the entered value is out of range of the acceptable parameters, the previous value will be
re-instated.
3) To reset the changed value to the prior value, select “Refresh” instead of “Send”. To return
to the prior page without applying the change, select “Back”.
4) The default name is “conf.cfg”, but it can be renamed. Saving the file to disk. This will allow
it to be transferred to other printers using the “Send Configuration To Printer” option on the
actions web page.
Summary of Contents for PrintMaster 700 Series
Page 1: ...PrintMaster 700 Series Printer...
Page 2: ......
Page 11: ...2 1 3 Prepare your printer n Front View n Rear View...
Page 12: ...3 n For Fanfold n For Cut Sheets...
Page 23: ...14 3 2 2 2 Rear tractors for fanfold...
Page 24: ...15 3 2 2 3 Top pull tractors for fanfold For the steps and please refer to the 2 3...
Page 27: ...18 This page left intentionally blank...
Page 28: ...19 This page left intentionally blank...
Page 29: ...20 This page left intentionally blank...
Page 30: ...21 This page left intentionally blank...
Page 31: ...22 This page left intentionally blank...
Page 36: ...27 This page left intentionally blank...
Page 37: ...28 This page left intentionally blank...
Page 40: ...31 Menu Printout...
Page 85: ...76 7 Addendum 7 1 Character Set standard character set 1 standard character set 2...
Page 86: ...77 IBM character set 1 IBM character set 2...
Page 87: ...78 OCR A character set 1 OCR A character set 2...
Page 88: ...79 OCR B character set 1 OCR B character set 2...
Page 119: ...110 9 2 Non Scalable Fonts Code Pages and National Character Sets...
Page 120: ...111...

