71
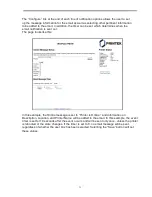
The “Configure” link at the end of each line of notification options allows the user to set
up the message information for the email as well as selecting other pertinent information
to be added to the email. In addition, the timer can be set which determines when the
email notification is sent out.
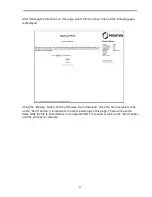
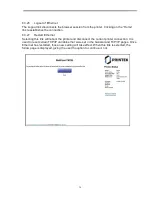
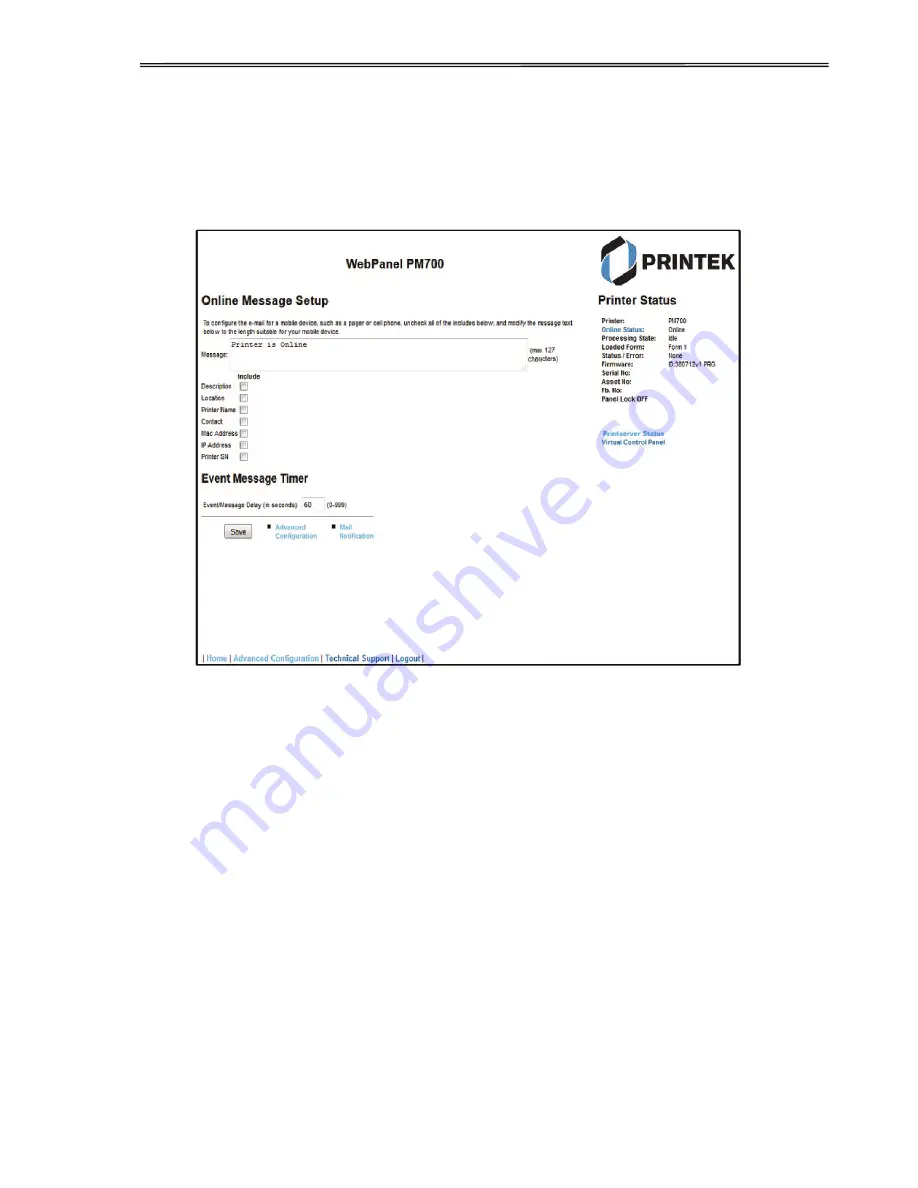
The page looks like this:
In this example, the Online message is set to “Printer is Online”, and information on
Description, Location, and Printer Name will be added to the email. In this example, the event
timer is set for 10 seconds after the event occurs and will be sent only once, unless the printer
is rebooted or the state changes. If the timer is set to 0, no email message will be sent,
regardless of whether the user box has been selected. Selecting the “Save” button will set
these values.
Summary of Contents for PrintMaster 700 Series
Page 1: ...PrintMaster 700 Series Printer...
Page 2: ......
Page 11: ...2 1 3 Prepare your printer n Front View n Rear View...
Page 12: ...3 n For Fanfold n For Cut Sheets...
Page 23: ...14 3 2 2 2 Rear tractors for fanfold...
Page 24: ...15 3 2 2 3 Top pull tractors for fanfold For the steps and please refer to the 2 3...
Page 27: ...18 This page left intentionally blank...
Page 28: ...19 This page left intentionally blank...
Page 29: ...20 This page left intentionally blank...
Page 30: ...21 This page left intentionally blank...
Page 31: ...22 This page left intentionally blank...
Page 36: ...27 This page left intentionally blank...
Page 37: ...28 This page left intentionally blank...
Page 40: ...31 Menu Printout...
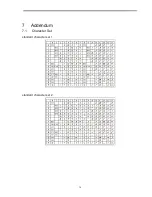
Page 85: ...76 7 Addendum 7 1 Character Set standard character set 1 standard character set 2...
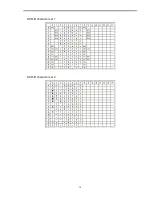
Page 86: ...77 IBM character set 1 IBM character set 2...
Page 87: ...78 OCR A character set 1 OCR A character set 2...
Page 88: ...79 OCR B character set 1 OCR B character set 2...
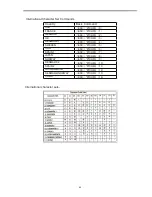
Page 119: ...110 9 2 Non Scalable Fonts Code Pages and National Character Sets...
Page 120: ...111...

