D A I L Y O P E R A T I O N
14
ALIGN/ITEM
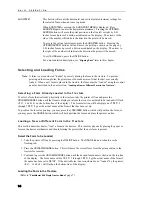
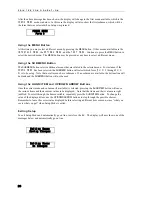
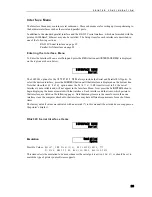
This button will access the horizontal and vertical print adjustment settings for
the selected form, when not in set up mode.
When
ALIGN/ITEM
is pressed, the
ALIGN
PRINT MENU
is displayed. Press
ALIGN/ITEM
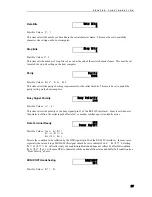
again to enter the horizontal adjustment. Pressing the
UP/DOWN
ARROW
buttons will move the print position on the line left or right by 0.01
inches for each press of a button as indicated on the display. The arrows to the
side of the number will indicate the direction the print will be moved.
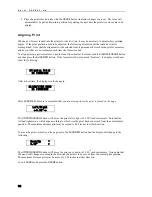
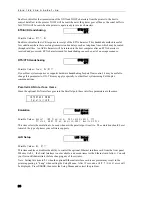
To access the vertical adjustment, press the
ALIGN/ITEM
button. Pressing the
UP/DOWN ARROW
buttons will now move the print up or down on the page by
0.01 inches for each press of a button as indicated on the display. The arrow to
the right of the number will indicate the direction the print will be moved.
To exit
ALIGN
mode, press the
ONLINE
button.
For a more detailed description, see “
Aligning Print
” later in this chapter.
Selecting and Loading Forms
Note
: A form is not considered “loaded” by merely placing the form in the tractors. To prevent
printing on the wrong form, the printer must be made aware of what form(s) are currently
loaded. When a new form is placed in the tractors, the form must be “loaded” using the control
panel as described in the next section, “
Loading a New or Different Form in the Tractors”.
Selecting a Form Already Loaded in the Tractors
To select a form that is already physically in the tractors, take the printer off line and press the
UNLOAD/CHANGE
button until that form is displayed (a form that is not considered to be loaded will flash
<
Not Loaded
>
on the bottom line of the display). The form selection will be displayed as
FORM 0
through
FORM 9
or as the actual name of the form if that has been set up.
To position the form for printing, you may press the
LOAD/FEED
button, which will position the form, or
you may press the
ONLINE
button, which will both position the form and place the printer on line.
Loading a New or Different Form In the Tractors
This section describes how to “load” a form in the tractors. This involves physically placing the paper or
form in the tractor mechanism and then informing the printer that the new form is present.
Select the Form to be Loaded
1. Take the printer off line by pressing the
ONLINE
button. The
ONLINE
indicator should now be
flashing red.
2. Press the
UNLOAD/CHANGE
button. This will move the current form from the print position to the
tractors for removal.
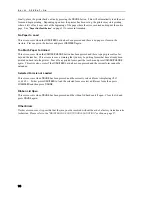
3. Continue to press the
UNLOAD/CHANGE
button until the desired form name is shown on the top line
of the display. The form name will be
FORM 0
through
FORM 9
or the actual name of the form if
the name has been set in
SETUP
. If the desired form is not considered to be “loaded” by the printer,
<
Not Loaded
>
will flash on the bottom line of the display.
Loading the Form in the Tractors
(Refer to “
PrintMaster 860 Single Tractor Model
” page 7)
Summary of Contents for PrintMaster 860
Page 4: ......
Page 8: ......
Page 42: ......
Page 44: ......
Page 46: ......
Page 50: ...U S I N G R E M O T E S E T U P 44...
Page 52: ......
Page 56: ......
Page 58: ......
Page 65: ...ASCII CHARACTER TABLES Epson FX Font Character Set PC Font Character Set 59...
Page 67: ...A S C I I C H A R A C T E R T A B L E S OCR A Font Character Set OCR B Font Character Set 61...
Page 68: ...A S C I I C H A R A C T E R T A B L E S ML Euro 858 ML 850 62...
Page 72: ......
Page 75: ...69...

