OPERATING INSTRUCTIONS FOR THE RAT
1. BATTERY OPERATION:
For battery operation high-quality 9-volt alkaline battery (Mallory MN1604
or equivalent) is recommended. THE RAT DOES NOT COME WITH THE BATTERY INSTALLED.
2. BATTERY INSTALLATION:
Turn the unit over and remove the round knurled thumbscrew to remove
battery compartment cover. Observing proper polarity, snap the battery terminals into the battery clip
provided. Tuck the battery into the battery holder in the cover. Replace the cover on the battery
compartment (be sure the wires are safely inside) and replace and tighten the thumbscrew.
IMPORTANT NOTE:
Inserting a plug in the INPUT jack turns the battery on. The plug must be a
standard 1/4” 2-conductor type such as a Switchcraft #280 or #228. “Stereo” (3-conductor) plugs,
or 2-conductor plugs with long insulators between the tip and sleeve (Switchcraft #288) will NOT work
with THE RAT.
3. POWER SUPPLIES:
The jack marked “+9VDC” between the INPUT and OUTPUT jacks disconnects
the battery when a mini-plug is inserted in it. This allows the use of an external power supply or “AC
adapter” (Pro Co RPS-1 or equivalent). The power supply should be well-filtered to minimize hum and
should not 15VDC. The current required is very low (approximately 5 mA).
WARNING! The power supply must use a negative ground (tip of the plug
must be positive). Use of negative supplies can result in damage to both
THE RAT and the power supply. If THE RAT works on battery power but
does not work when the external power supply is connected the probability
is almost 100% that the power supply is of the wrong polarity.
Disconnect it immediately to avoid damage.
4. OPERATION:
Install a battery or connect a suitable power supply. Connect your instrument to the
INPUT jack (for best results with guitars, set your instrument controls to full). Connect your amplifier
to the OUTPUT jack and set its controls as you normally would.
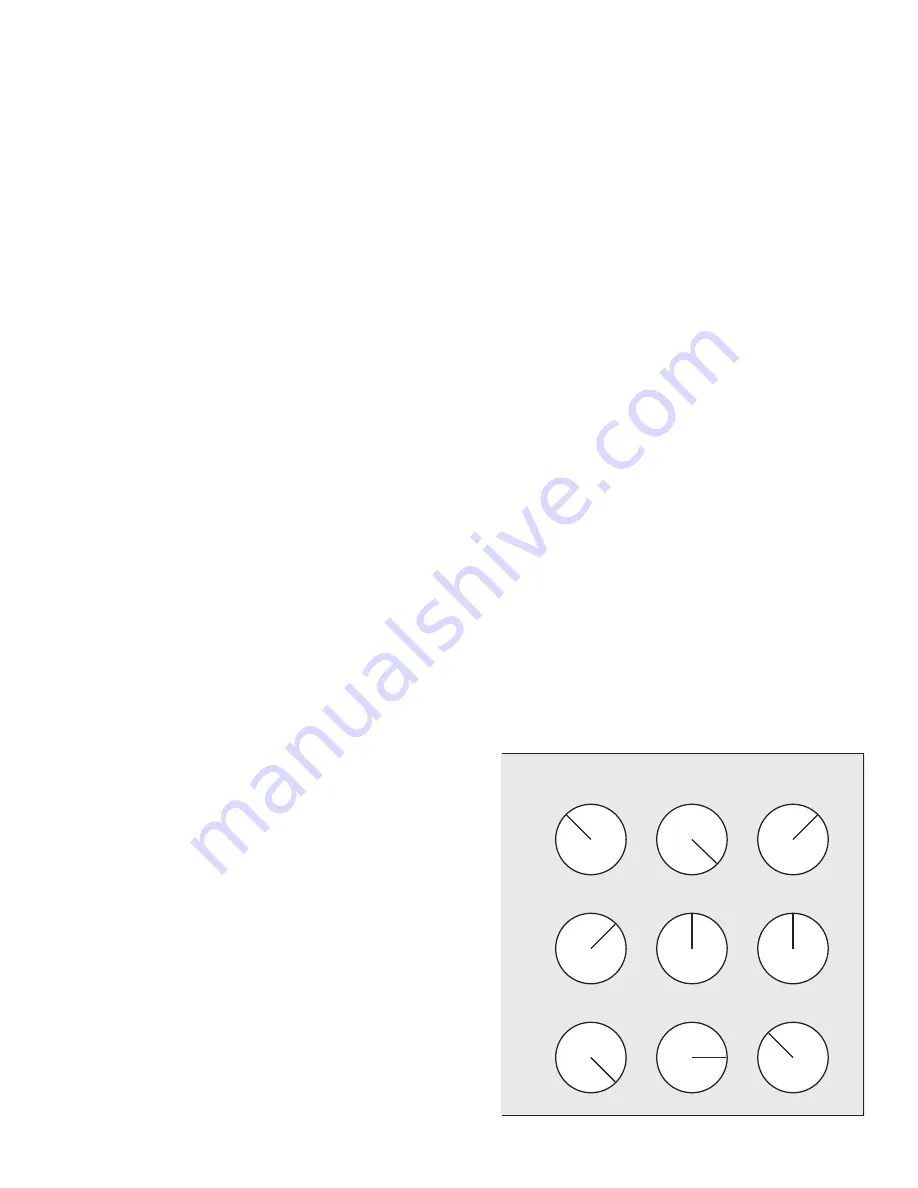
Set the controls on THE RAT as shown in Fig.
1. Press the footswitch to turn on the effect.
This setting produces a “bluesy”, soft-clipped
distortion much like that of a small tube amp.
Fig. 2 is a very “biting” lead sound with lots
of harmonic emphasis; use the treble pick-
up on your guitar and vary the DISTORTION
control a bit to “home in” on the overtones
for a subtle, fixed — “wah” effect. Fig. 3 is
the bone-crunching
heavy metal or fusion
sound, yielding incredible power and smooth
effortless sustain.
DISTORTION
FILTER
VOLUME
Fig. 1
Fig. 2
Fig. 3
WFRAT01 - 12/09


