16
17
HOW TO USE A PULSE PROGRAM
Follow the steps below to use a pulse program.
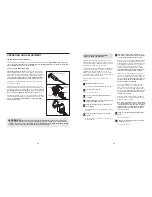
Put on the chest pulse sensor.
You must wear the chest pulse sensor to use a
pulse program.
Insert the key into the console.
See HOW TO TURN ON THE POWER on
page 12.
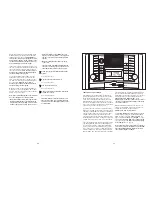
Select one of the pulse programs.
To select a pulse program, press the Pulse
Control button repeatedly until “PLS1,” “PLS2,”
“PLS3,” or “PLS4” appears in the priority display.
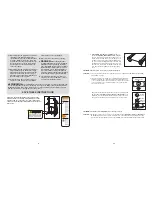
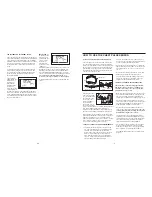
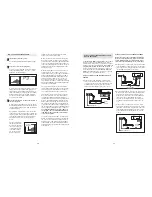
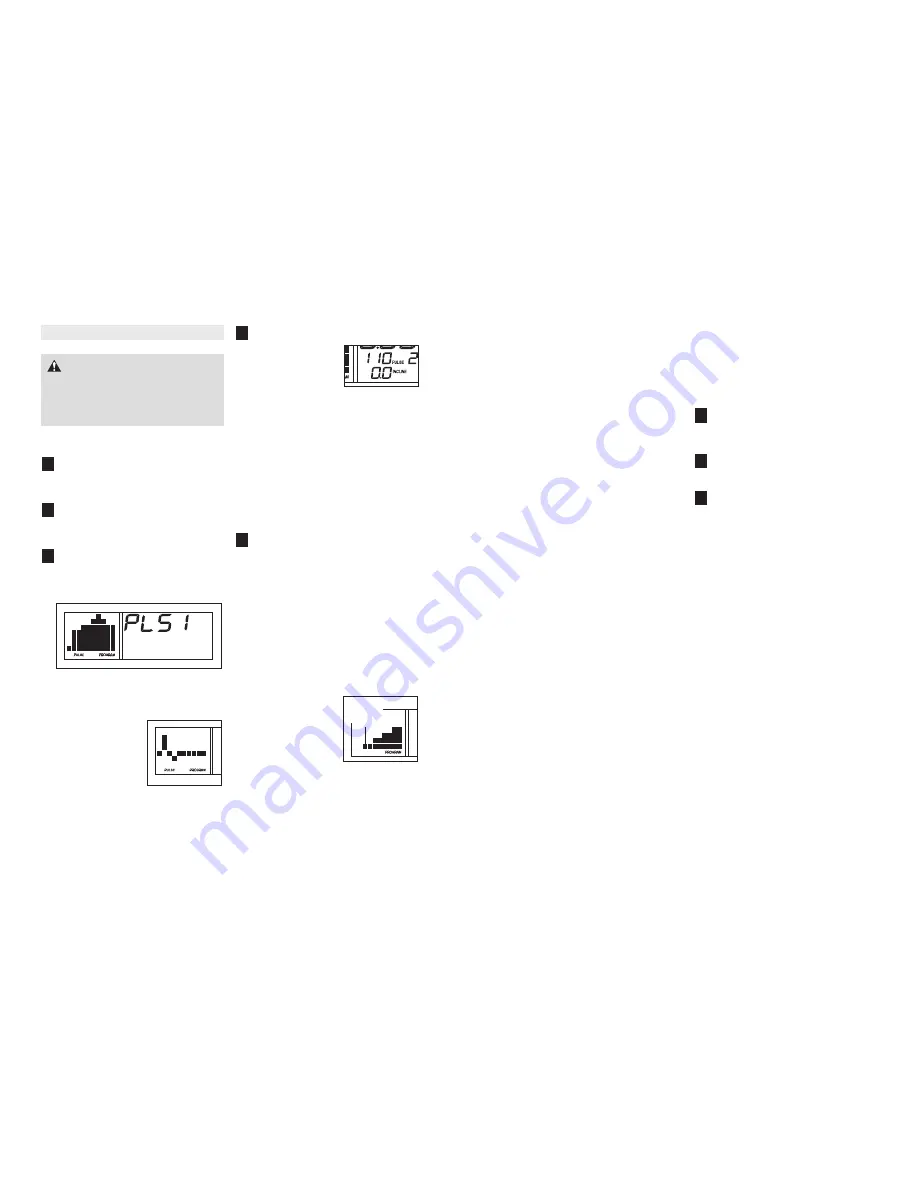
If pulse program 1, 2, or 3 is selected,
a profile
of the target heart rate settings of the program will
scroll across the matrix (see the drawing above).
If pulse program 4 is
selected,
a pulse
symbol will scroll
across the matrix.
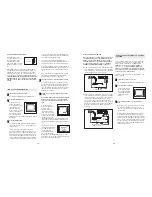
Enter a target heart rate setting.
If pulse program 1, 2,
or 3 is selected,
the
maximum target heart
rate setting of the pro-
gram will flash in the
display. If desired,
press the increase and
decrease buttons above the Pulse Control button
to change the maximum target heart rate setting
(see EXERCISE INTENSITY on page 30).
Note:
If the maximum target heart rate setting is
changed, the intensity level of the entire program
will change.
If pulse program 4 is selected,
the target heart
rate setting for the entire program will flash in the
priority display. If desired, press the increase and
decrease buttons above the Pulse Control button
to change the target heart rate setting
(see EX-
ERCISE INTENSITY on page 30).
Press the Start button or the Speed + button to
start the program.
A moment after the button is pressed, the tread-
mill will automatically adjust to the first speed and
incline settings of the program. Hold the handrails
and begin walking.
Pulse programs 1, 2, and 3 are divided into sev-
eral one-minute segments. One target heart rate
setting is programmed for each segment. (Note:
The same target heart rate setting may be pro-
grammed for two or more consecutive segments.)
Pulse program 4 is divided into 40 one-minute
segments. The same target heart rate setting is
programmed for all segments. Note: For a shorter
workout, simply stop the program before it ends.
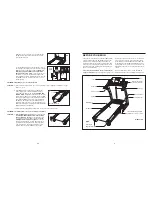
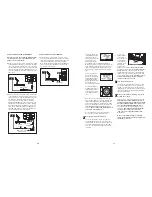
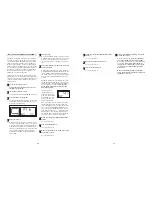
If pulse program 1, 2,
or 3 is selected, the tar-
get heart rate setting
for the first segment will
be shown in the flash-
ing Current Segment
column of the matrix.
The target heart rate
settings for the next
several segments will be shown in the columns to
the right. When only three seconds remain in the
first segment of the program, both the Current
Segment column and the column to the right will
flash and a series of tones will sound.
5
4
3
2
1
CAUTION:
If you have heart prob-
lems, or if you are over 60 years of age and
have been inactive, do not use the pulse pro-
grams. If you are taking medication regularly,
consult your physician to find whether the
medication will affect your exercise heart rate.
Current
Segment
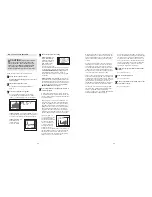
When the first segment ends,
all target heart rate
settings will move one column to the left.
The tar-
get heart rate setting for the second segment will
then be shown in the flashing Current Segment
column.
During all pulse programs, the console will regu-
larly compare your heart rate to the target heart
rate setting. If your heart rate is too far below or
above the target heart rate setting for the current
segment, the speed of the walking belt will auto-
matically increase or decrease to bring your heart
rate closer to the target heart rate setting.
If the speed or incline setting is too high or too low
at any time during the program, you can adjust the
setting with the Speed or Incline buttons. However,
each time the console compares your heart rate to
the target heart rate setting, the speed of the
treadmill may automatically change to bring your
heart rate closer to the target heart rate setting.
If your pulse is not detected during the program,
the letters “PLS” will flash in the display and the
speed of the treadmill may automatically
decrease. If this occurs, see CHEST PULSE SEN-
SOR TROUBLESHOOTING on page 9.
To stop the program at any time, press the Stop
button. To restart the program, press the Start but-
ton or the Speed + button. The walking belt will
begin to move at 2 km/h. When the console com-
pares your heart rate to the target heart rate set-
ting, the speed and/or incline of the treadmill will
automatically change to bring your heart rate
closer to the target heart rate setting.
Follow your progress with the matrix and the
display.
See step 5 on page 12.
Turn on the fan if desired.
See step 7 on page 13.
When you are finished exercising, remove the
key from the console.
See step 8 on page 15.
8
7
6

