


14
Each Heart Rate program helps you to keep your
heart rate near a certain
percentage of your maximum
heart rate during your workout. (Your maximum heart
rate is estimated by subtracting your age from 220.
For example, if you are 25 years old, your maximum
heart rate is 195.) Heart Rate program 5 is designed
to keep your heart rate between 65% and 85% of your
maximum heart rate while you exercise; Heart Rate
program 6 is designed to keep your heart rate
between 65% and 80% of your maximum heart rate.
Follow the steps below to use a Heart Rate program.
Turn on the console.
Refer to step 1 on page 12.
Select one of the two Heart Rate programs.
Each time the
console is
turned on, the
manual mode
will be selected.
To select a
Heart Rate pro-
gram, press the
Program button repeatedly until the number 5 or 6
appears in the upper right corner of the display.
The profiles numbered 5 and 6 on the right side
of the console show the resistance settings for
the Heart Rate programs. For example, profile
number 5 shows that when Heart Rate program 5
is selected, the resistance level will gradually
increase during the program and then decrease
near the end.
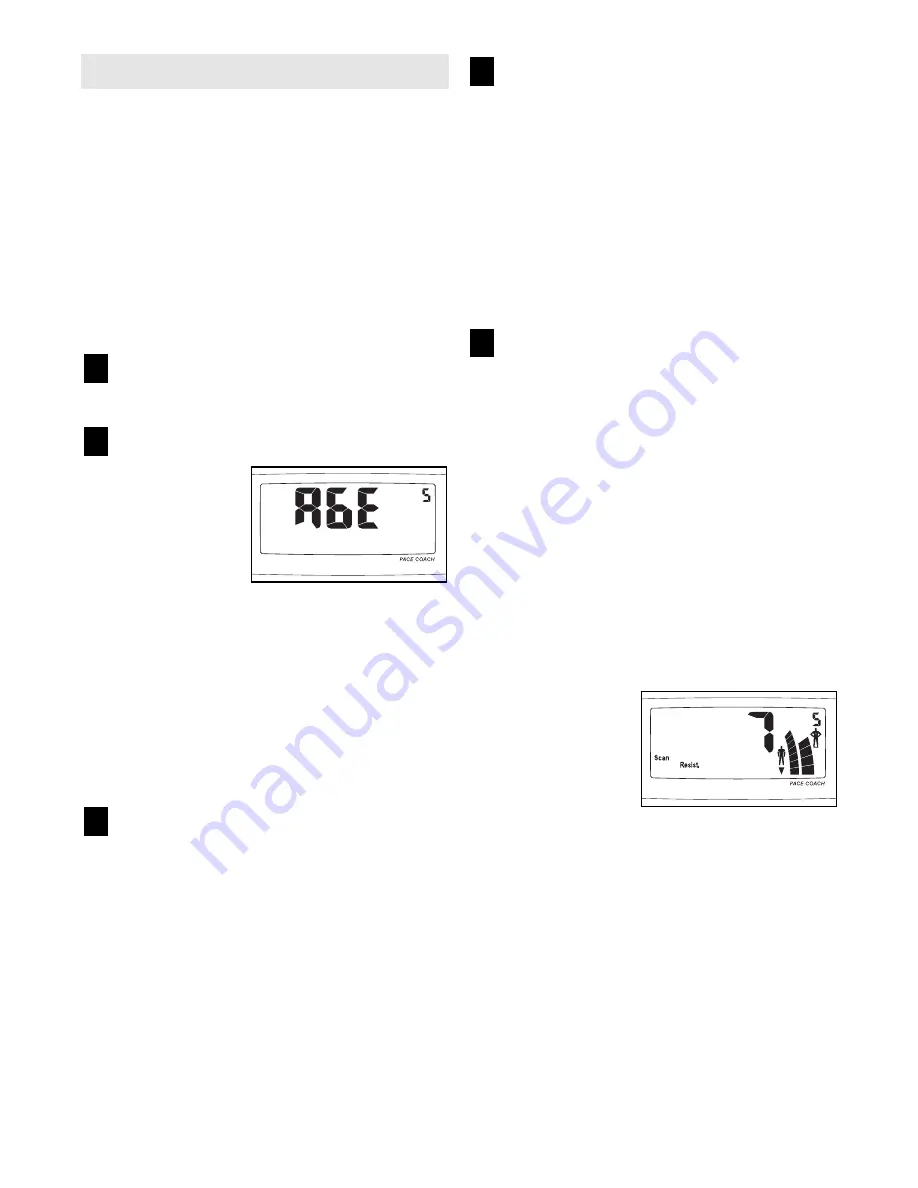
Enter your age.
When a Heart Rate program is selected, the word
AGE will appear in the display. You must enter
your age to use a Heart Rate program. To enter
your age, first press the + or – button. The current
age setting will then be shown. Next, press the +
or – button repeatedly to enter your age. Once
you have entered your age, your age will be
saved in memory until the batteries are replaced.
Hold the handgrip pulse sensor.
When using a Heart Rate program, you must use
the handgrip pulse sensor (refer to step 5 on
page 12) or the optional chest pulse sensor (refer
to page 20). If you use the handgrip pulse sensor,
it is not necessary to hold the handgrips continu-
ously during the program. However, you should
hold the handgrips frequently for the program to
operate properly. Each time you hold the hand-
grips, keep your hands on the metal contacts
for at least 30 seconds. Note: When you are not
holding the handgrips, the letters PLS will appear
in the display instead of your heart rate.
Start the program.
To start the program, simply begin exercising.
Each Heart Rate program consists of twenty, one-
minute periods. One resistance setting and one
heart rate setting are programmed for each peri-
od. (The same resistance setting and/or heart
rate setting may be programmed for consecutive
periods.)
During the program, the resistance of the elliptical
crosstrainer will automatically change as shown
by the applicable profile on the console. If the cur-
rent resistance level is too high or too low, you
can adjust the resistance level by pressing the +
and – buttons. However, when the current period
of the program is completed, the resistance level
will automatically change if a different resistance
setting is programmed for the next period.
As you exercise,
the bar graphs
will help you to
keep your heart
rate near the
heart rate setting
for the current
period. The left
bar graph will show your actual exercise pace.
The right bar graph will show a target pace. When
you hold the handgrip pulse sensor (or wear the
optional chest pulse sensor), the console will
compare your heart rate to the heart rate setting
for the current period. If necessary, the right bar
graph will then change to prompt you to increase
or decrease your pace to bring your heart rate
closer to the current heart rate setting. When the
5
4
3
2
1
HOW TO USE A HEART RATE PROGRAM


