

20
Jar Jar Sr
ELPF59920
PFEL59920
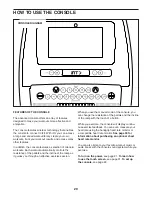
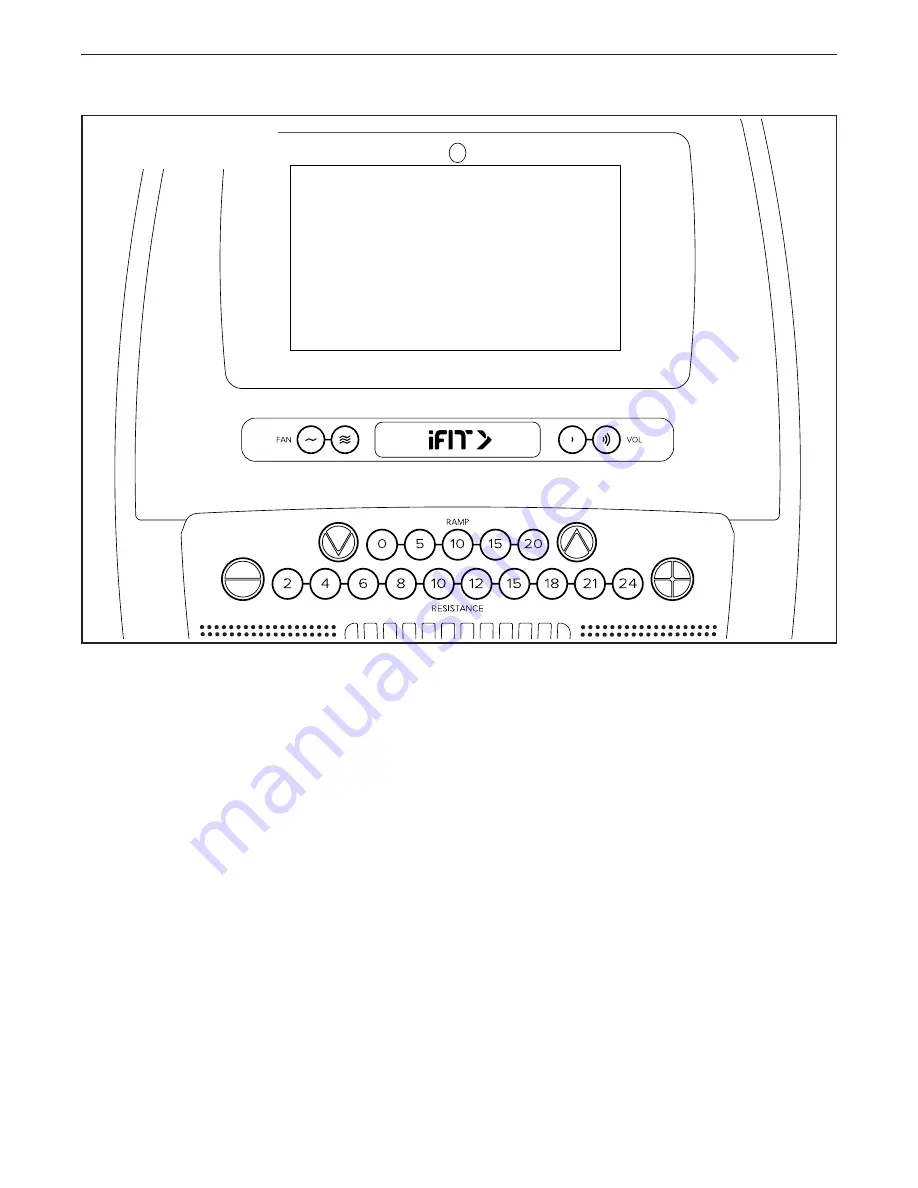
CONSOLE DIAGRAM
FEATURES OF THE CONSOLE
The advanced console offers an array of features
designed to make your workouts more effective and
enjoyable.
The console features wireless technology that enables
the console to connect to iFit. With iFit, you can access
a large and varied workout library, create your own
workouts, track your workout results, and access many
other features.
In addition, the console features a selection of onboard
workouts. Each workout automatically controls the
resistance of the pedals and the incline of the ramp as
it guides you through an effective exercise session.
When you use the manual mode of the console, you
can change the resistance of the pedals and the incline
of the ramp with the touch of a button.
While you exercise, the console will display continu-
ous exercise feedback. You can even measure your
heart rate using the handgrip heart rate monitor or
a compatible heart rate monitor. See page 30 for
information about purchasing an optional chest
heart rate monitor.
You can also listen to your favorite workout music or
audio books with the console sound system while you
exercise.
To turn on the power, see page 21. To learn how
to use the touch screen, see page 21. To set up
the console, see page 22.
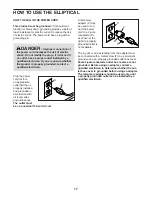
HOW TO USE THE CONSOLE
Summary of Contents for CARBON E7
Page 5: ...5 STANDARD SERVICE PLANS ...


