23
HOW TO USE IFIT.COM CD AND VIDEO
PROGRAMS
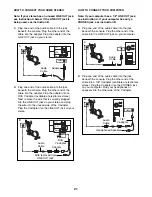
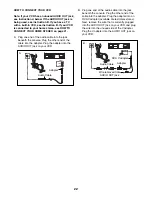
To use iFIT.com CDs or videocassettes, the elliptical
exerciser must be connected to your portable CD
player, portable stereo, home stereo, computer with
CD player, or VCR. See HOW TO CONNECT YOUR
CD PLAYER, VCR, OR COMPUTER on page 20.
To
purchase iFIT.com CDs and videocassettes, call
the telephone number on the front cover of this
manual
Follow the steps below to use an iFIT.com CD or
video program.
1. Begin pedaling to activate the console.
See step 1 on page 15.
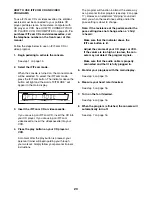
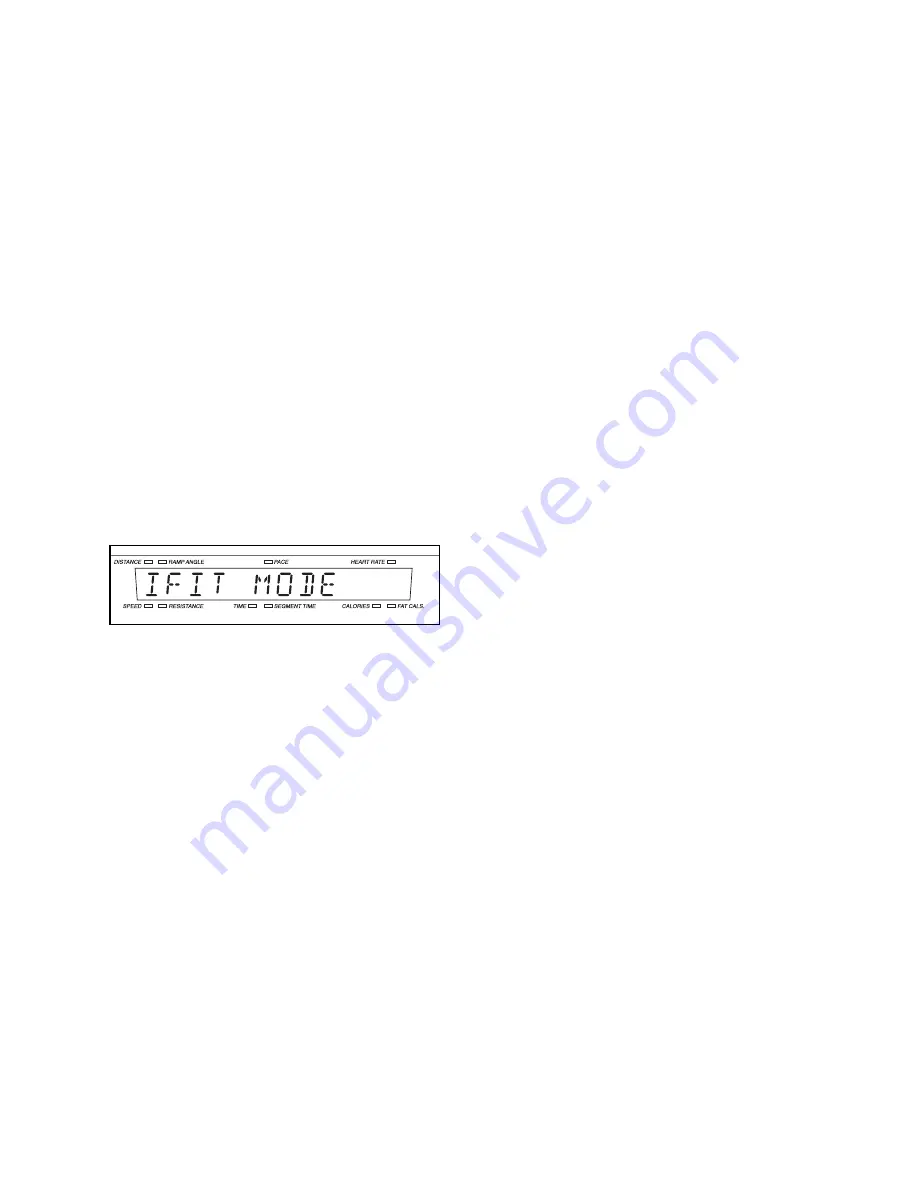
2. Select the iFIT.com mode.
When the console is turned on, the manual mode
will be selected. To select the iFIT.com mode,
press the iFIT.com button. The indicator above the
button will light and the words “IFIT MODE” will
appear in the main display.
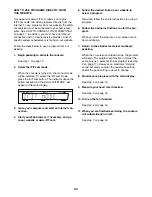
3. Insert the iFIT.com CD or videocassette.
If you are using an iFIT.com CD, insert the CD into
your CD player. If you are using an iFIT.com
videocassette, insert the videocassette into your
VCR.
4. Press the play button on your CD player or
VCR.
A moment after the play button is pressed, your
personal trainer will begin guiding you through
your workout. Simply follow your personal trainer’s
instructions.
The program will function in almost the same way
as a personal trainer program (see step 3 on page
17). However, an electronic “chirping” sound will
alert you when the resistance setting and/or the
pace setting is about to change.
Note: If the resistance of the pedals and/or the
pace setting does not change when a “chirp”
is heard:
• Make sure that the indicator above the
iFIT.com button is lit.
• Adjust the volume of your CD player or VCR.
If the volume is too high or too low, the con-
sole may not detect the program signals.
• Make sure that the audio cable is properly
connected and that it is fully plugged in.
5. Monitor your progress with the main display.
See step 4 on page 15.
6. Measure your heart rate if desired.
See step 5 on page 16.
7. Turn on the fan if desired.
See step 6 on page 16.
8. When the program is finished, the console will
automatically turn off.
See step 7 on page 16.

