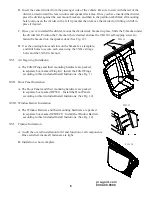
pro-gard.com
800.480.6680
2
I.
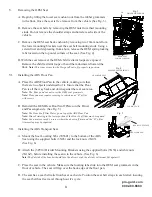
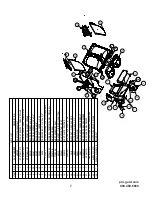
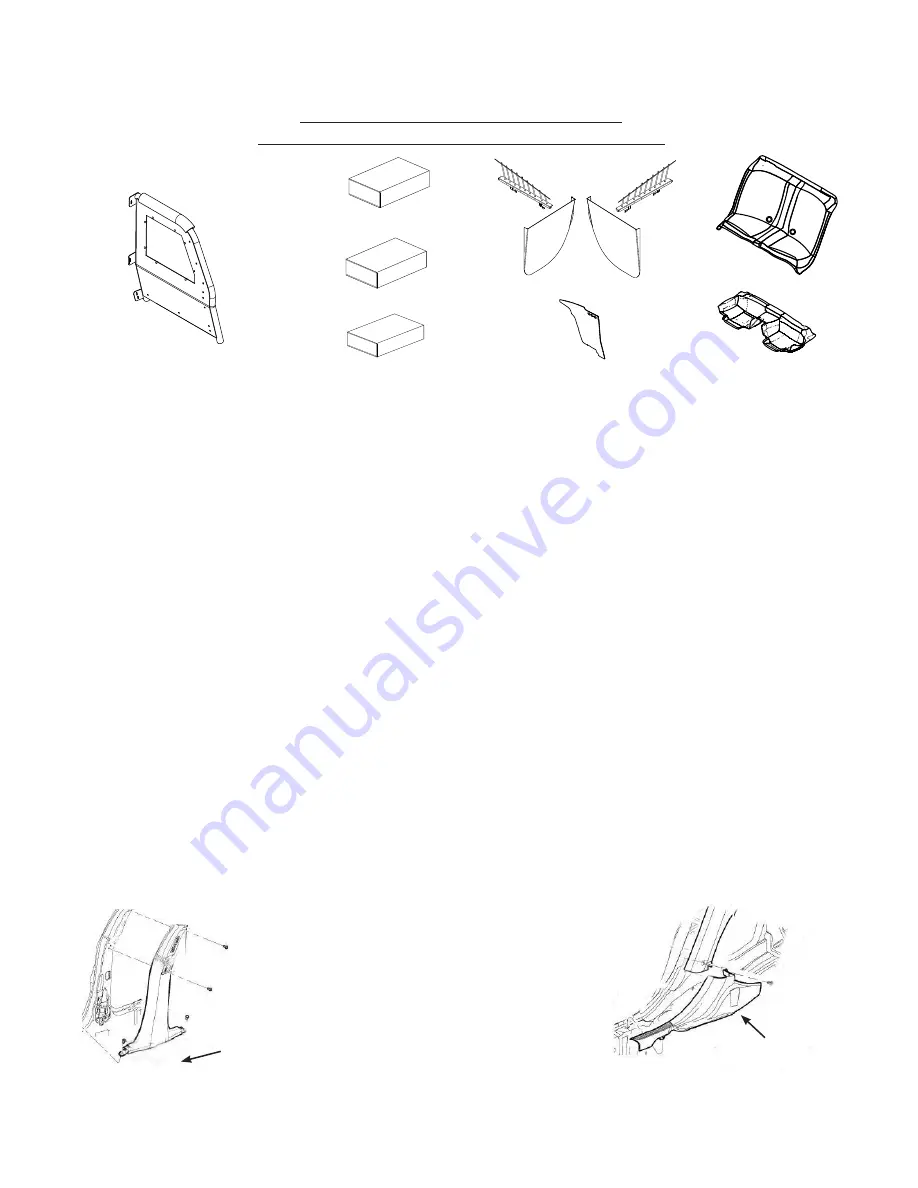
Refer to the diagram on the last page of these instructions to verify all parts were received.
II.
The following tools will be required to complete the installation.
A. 1/4” or 3/8” drive ratchet with 3/8”, 7/16”, 7mm, 10mm, 18mm, socket
B. 3/16” Allen key
C. 1-1/2” Hole saw
D. Drill with 3/8” Socket
E. T15 Torx Driver
III.
Read all instructions carefully before starting the assembly process.
Caution:
Locate all Wiring, Fuel Lines, Brake Lines, and/or Cooling Lines before drilling holes or installing Fasteners.
IV.
Removing the OEM Trim Panels
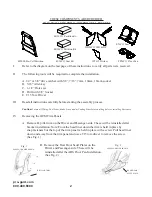
A. Remove B-pillar trim on the Driver and Passenger-side. These will be reinstalled after
bracket installation. Note: From the head liner down the trim is held in place by
snap fasteners but the top of the trim panel is held in place with a screw. Pull head liner
down and away from the trim panel and use a T15 torx driver to remove the screw.
(See Fig. 1)
B. Remove the Rear Door Scuff Plates on the
Driver and Passenger-side. These will be
reinstalled after the ABS Floor Pan Installation.
(See Fig. 2)
THESE COMPONENTS ARE REQUIRED
TO INSTALL THE PRO-GARD PRO-CELL SYSTEM
S56C11 Seat
4P1000 Pro-Cell Partition
4S56C11 Seat Kit
3P5615 Divider
4K56C11 Partition Kit
4K56C11 Partition Kit
FP56C11 Floor Pan
WB56C11 WB & DP
Fig. 2
PASSENGER SIDE SHOWN
REAR DOOR
SCUFF PLATE
Fig. 1
PASSENGER SIDE SHOWN
B-PILLAR TRIM


