
© Pro-Ject Audio Systems · Pro-Ject Debut Pro · Revision 2021.09.01
5
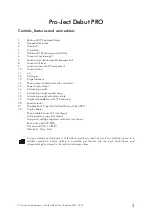
First Set-up
–
Making your Debut PRO ready for playback
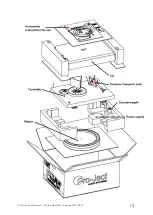
The deck is supplied partially disassembled and carefully packaged for safe transport. The Setup Guide,
included in the packaging with your Debut PRO, explains the setup process step by step with pictures, so be
sure to follow it first and then refer to this guide should you want more detailed explanations. Here, some of
the more technical set-up steps are covered in detail and you will gain a lot of important background
information which will make you more comfortable with everything your new Debut PRO has to offer.
PRO Info provides additional background information and insights into your Debut PRO and can be
skipped for the first setup. Read them later on if you want to know everything about your Debut PRO.
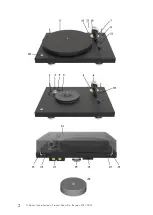
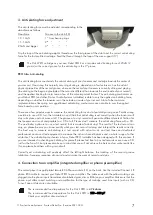
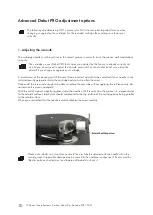
1. Positioning and levelling your turntable
Make sure the surface you wish to use the turntable on
is level (use a spirit level) before placing the turntable
on it. The height adjustable aluminium feet (19) on the
Debut PRO will also allow you to level the turntable
itself, in case you cannot get the surface it is placed on
to be level. Great surfaces to put your record player on
are typically massive, heavy, stable and also as far as
possible away from your speakers. This will avoid the
sound of footsteps and other low frequency rumble
noises to be transmitted via your floor and
furniture/surface and picked up by your turntable. If
your record player is super close to your speakers
and/or placed on the same surface as your speakers are, then the sound from your speakers will be picked up by
your turntable over the sound pressure waves in the air and vibrations from speakers to the surface. It will be a
great idea to decouple the speakers from the surface (for example with our Damp it) and/or get a really heavy,
massive and decoupled surface for your turntable (for example our Ground it range of accessories). Different
locations/rooms/set-up places have different requirements and if you think you might be running into troubles with
your set-up, definitely do check these upgrades out, so your Debut PRO can unfold all of its performance.
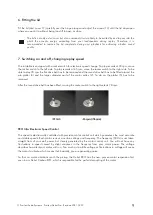
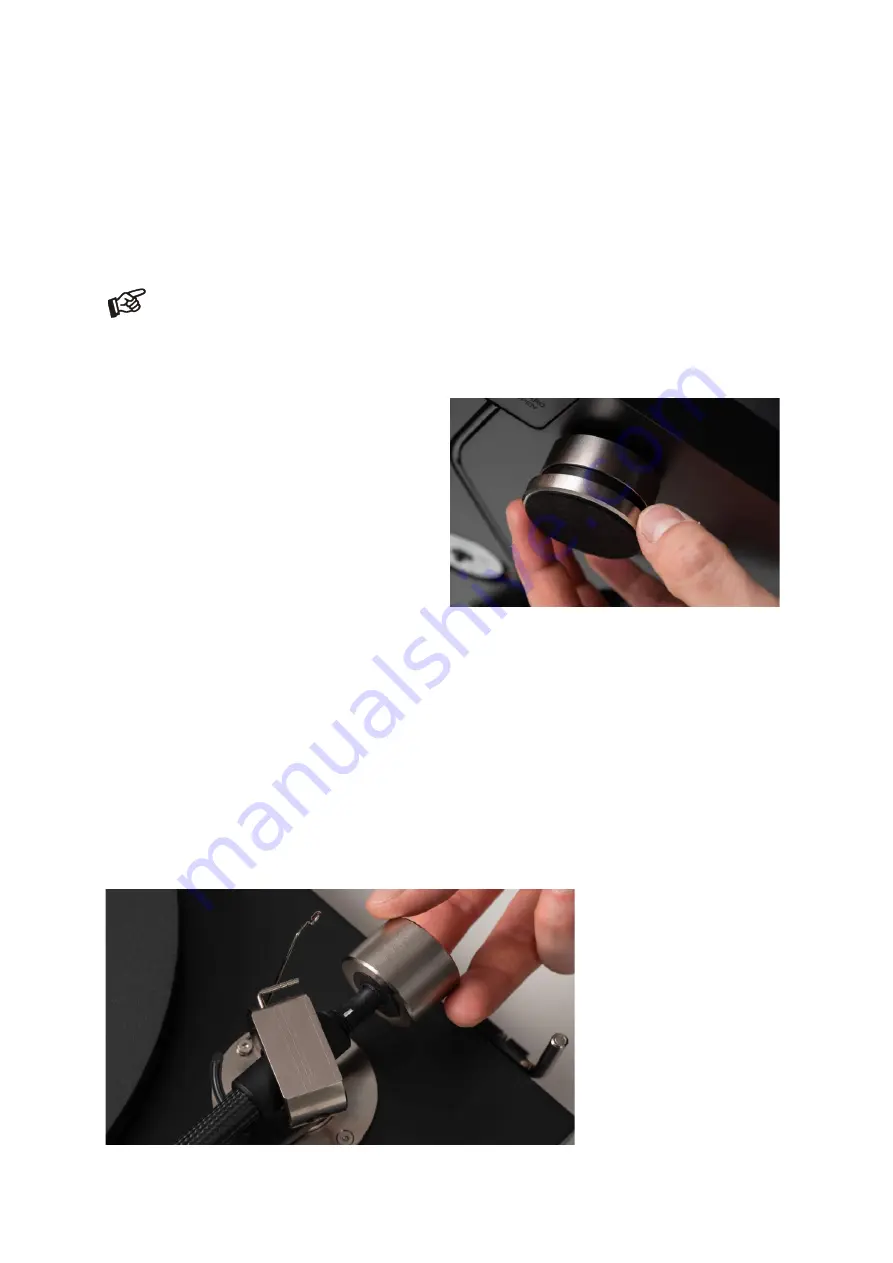
2. Cartridge tracking force adjustment (VTF = vertical tracking force)
The counterweight (6) supplied is suitable for cartridges weighing between 7
–
10.5g (Pro-Ject Pick it PRO -
weight no. 58).
When using different cartridges than the ones supplied with the Debut PRO, confirm the exact weight of your
cartridge before you set the VTF.
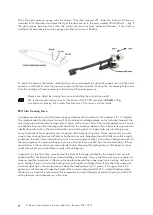
Pushing carefully, move the
counterweight (6) onto the rear
end of the counterweight
support rod as shown in the
picture below.


