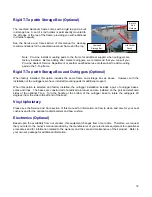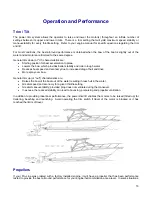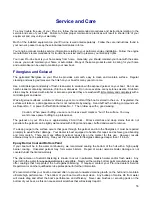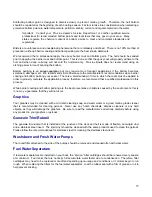
procedures and for information related to the care and maintenance of their product. When in doubt, always defer
to the engine manufacturer’s instructions and/or recommendations.
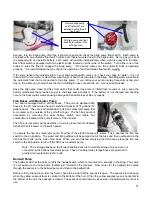
If your engine package requires the installation of fuel water separators, they will be mounted to a stringer or
bulkhead in the bilge. There is one unit for each motor. The “spin on” filter cartridges should be renewed every
season at a minimum. Fuel tanks that are not kept full accumulate water faster due to condensation. Therefore,
the filter cartridges may need to be replaced more often depending upon usage and conditions or if motors begin
to run rough. When replacing the filter cartridges for the fuel water separators, coat the rubber seal with a film of
grease or oil to help prevent sticking.
If water should somehow enter your fuel tank via condensation, your fuel source, etc., it will become trapped in
the fuel water separator before it is able to travel through the fuel system and to your engine.
Please refer to the owner’s manual provided by your engine manufacturer for proper procedures. Some engines
will not have a separate fuel water separator located in the bilge. Instead it will be located on the engine itself.
Check engine specs.
Primer Bulbs
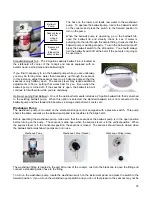
There is a primer bulb installed for each engine and it is used to prime the fuel pump in the motor with fuel.
Squeeze the primer bulb a few times until resistance is felt in order to prime. If no resistance develops and the
fuel pump will not prime, you may be out of fuel, the primer bulb may be defective, or a leak may have developed
allowing air into the system. Primer bulbs (if applicable) are located with the rigging tubes where they exit the
bilge and are easy to get to by standing on the dive platform.
Note: Not all engines require primer bulbs. Refer to the engine manual for verification.
Make sure that the oil tanks are well stocked with the type of engine oil that is recommended for your engines.
Refer to your engine manual. It is imperative that the oil supply remains clean and uncontaminated by water or
dirt. Check to make sure the oil lines are free from leaks, kinks and chafing. Some motors use a primer bulb to
initiate oil flow. Air may periodically enter the system and require purging. Refer to your engine manual for
specific instructions.
Oil Tank and Fill
Depending on your selection of the various optional engine packages
(i.e., oil injected outboard engines), your boat may be equipped with
remote oil tanks. If your engine package requires the installation of
an oil tank, it will be mounted in the bilge as far aft as possible. The
oil fill will be installed on the outside of the transom above the motor
well.
If your optional engine package requires the installation of remote oil tanks, please refer to the owner’s manual
provided by the engine manufacturer for operational procedures and for information related to the care and
maintenance of their product. When in doubt, always defer to the engine manufacturer’s instructions and/or
recommendations.
Fuel / Oil Leaks
The fuel tank is vented overboard and the vent should be inspected for obstructions regularly. Verify that all of
the fuel hoses remain properly secured and located according to NMMA standards. Inspect all hose clamps and
fittings to ensure they are double clamped where needed and that there are no fuel leaks in any of the hoses.
Also, inspect the oil system, if applicable, and ensure that the oil tank and hoses remain properly connected and
secured.
If you notice a fuel odor or see fuel in the bilge, there may be a leak somewhere in the fuel system. Correct any
fuel leaks before operating the vessel.
Caution: If at all possible
, any fuel tank and or fuel system repair should be handled by your
Pro-Line dealer’s service department or by another qualified service professional.
25
Summary of Contents for 2009 26 Super Sport
Page 2: ...ii...


