14
Lighting Systems
Navigation and Anchor Lights
The navigation and anchor lights are required to be used for operation at night or under low visibility conditions to indicate
your position to other boaters. Visually verify the operation of your navigation and anchor lights and verify that the lights
are free from obstructions. You should check your navigation lights monthly during optimum visibility conditions.
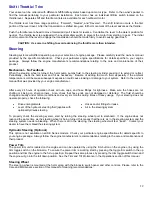
When you are underway in low visibility conditions, you should have the
navigation/anchor switch in the up or forward position. This will activate the
navigation lights, as well as your Anchor light.
When you are anchored or in low visibility conditions, you should turn on the
Aachor light. Press the Navigation/Anchor switch to the down or aft position to
turn on the anchor light.
The navigation lights consist of a pair of lights that are mounted at the bow of
the boat. The red light is installed on the port side and the green light is
installed on the starboard side.
The U.S. Coast Guard requires that the anchor light be installed at the highest point on the boat
and must be secured in the up position when you are underway. Therefore, this light will be
installed as follows based upon the optional top that you may have selected:
T-Top – Light will be mounted on the center of the T-Top
Bimini top or no top – Outlet for the removable light will be installed on the
forward edge of the motor well.
Instrumentation
Compass (Optional)
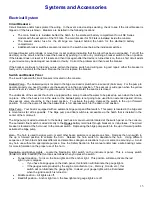
The compass is located on the dash on top of the console. To ensure that the
compass light is working properly, press the Navigation/Anchor switch in the
forward position to turn on the red LED light inside the compass. When finished,
turn the Navigation/Anchor switch back to the middle position.
Please refer to the owner’s manual provided by the manufacturer of the compass
for operational procedures and for information related to the care and
maintenance of their product. When in doubt, always defer to the compass
manufacturer’s instructions and/or recommendations.
Horn - Electric
The horn is used to signal, warn or alert other boats or persons on shore. The horn switch is located on the switch panel.
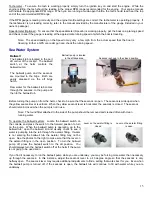
The horn device is located on the starboard side of the console.
Depress the horn switch to the up or forward position to
activate the horn, and then release the horn switch to deactivate the horn. Using different sequences of horn blasts
indicates different and sometimes dangerous situations to you or someone around you.
See the Safety Section in this manual for more information. Avoid any horn use without an appropriate purpose.
Additional information regarding audible warning signals should be covered in a safe boating course.
Gauges (Analog)
All gauges are installed on the console but the configuration and specific location of your gauges will vary depending upon
the selection of the various optional engine packages. If your engine package includes the standard analog gauges (i.e.,
Faria), the gauges will light up when the navigation lights are on.
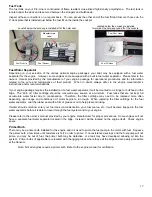
Fuel - The fuel gauge reads the amount of fuel remaining in the tank. To check the fuel gauge, place a known amount of
fuel into the fuel fill and fill the tank. Turn the ignition key on and the fuel gauge should read the approximate amount of
fuel in the tank.
For example: If the fuel tank holds 40 gallons of fuel and you pumped 10 - 11 gallons of fuel into the tank,
the fuel gauge should read approximately ¼ of a tank. This ensures that the fuel gauge and the fuel
sender are working properly.
If the fuel gauge is not reading correctly, we recommend that you have the fuel sender checked by a qualified professional
before considering changing out the gauge. For more information, please refer to the Fuel/Oil Systems section of this
manual.
Summary of Contents for 2012 21 CC
Page 6: ...2...

