8
INSTALLATION AND OPERATING INSTRUCTIONS
9. Place items for storage into the sealed bag.
Note:
Do not overload the bag. Always allow enough space at
the open end of the bag to be properly placed into the Vacuum
Chamber.
10. Insert open end of filled bag into the Vacuum Chamber over
the Sealing Profile. Ensure the Air Intake is not covered by the
bag
Note: Ensure no items or food is covering the Sealing Profile and
make sure bag has no wrinkles or ripples that will inhibit the seal.
Note:
The Vacuum Chamber draws air out of the bag and catches
any in the removable drip tray. Lower Gasket and Vacuum
Chamber should be cleaned regularly. Always ensure these parts
are cleaned immediately after handling raw meat, poultry or fish.
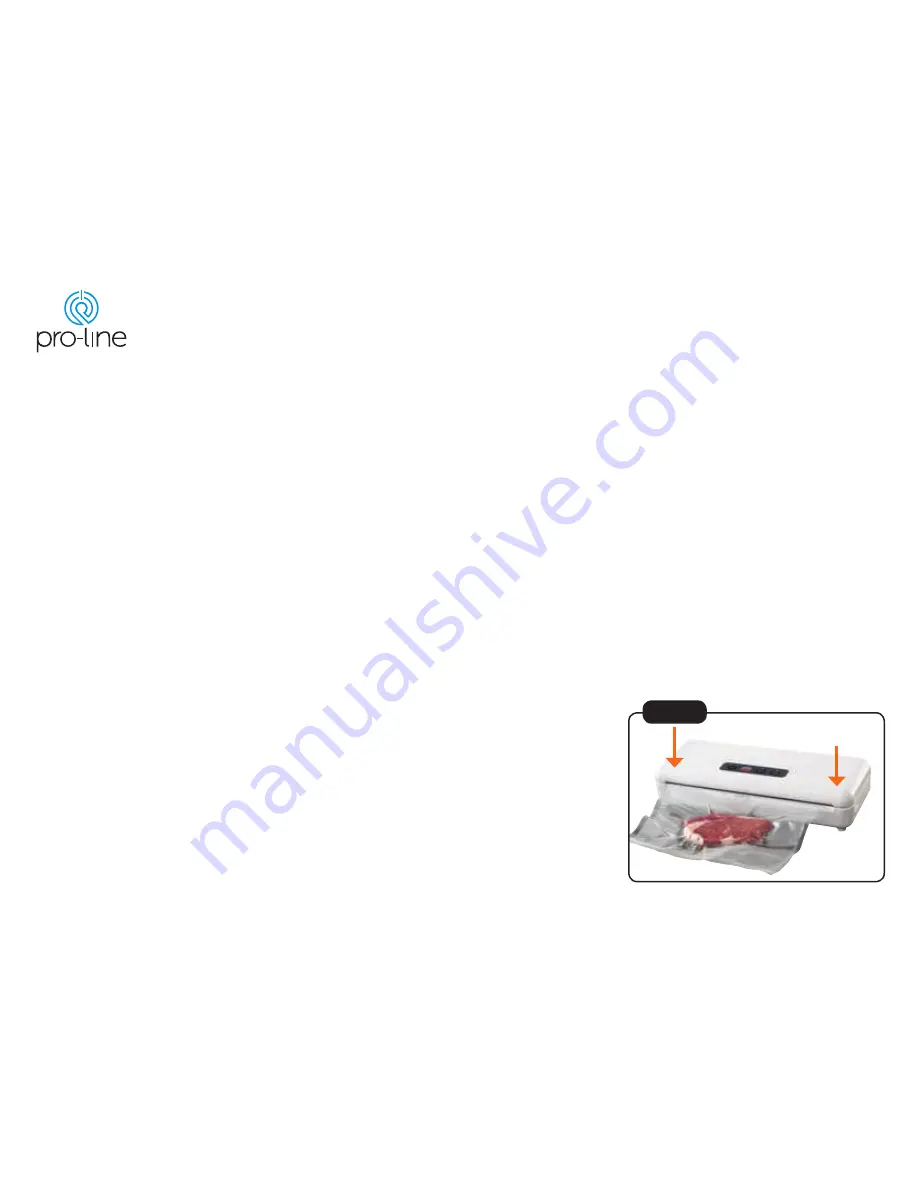
11. Close the cover and lock the cover by placing the palms of
your hands palm down on either end of the machine, push
firmly until you hear 2 clicks confirming the lid is in the locked
position. See Fig 4.
12. Check the LED Indicator status of the Food Button to confirm
the moisture status of the item to be sealed (Normal or Moist)
13. Press the Vac & Seal button. The unit will start to vacuum
and will seal the bag automatically. Wait for indicator lights to
switch off before opening cover.
14. Refrigerate or freeze sealed food bag if needed.
15. Before repeating with a new bag and food item, always wipe
any excess liquid or food residue in the vacuum chamber after
each bag package.
Fig 4
Summary of Contents for VS-D1
Page 1: ...VS D1 User Manual DOMESTIC VACUUM SEALER...
Page 22: ...22 INSTALLATION AND OPERATING INSTRUCTIONS...
Page 23: ......


